Hello DIYers! Welcome to today’s post where I’m sharing how to make ruffled bucket- drawstring bags!
(This post contains affiliate links which means, I will be compensated if you purchase after clicking these links.)
Can you guess where exactly the idea for this bag came from? Well, it was a day when I was browsing through online fashion store and stumbled across this bag.
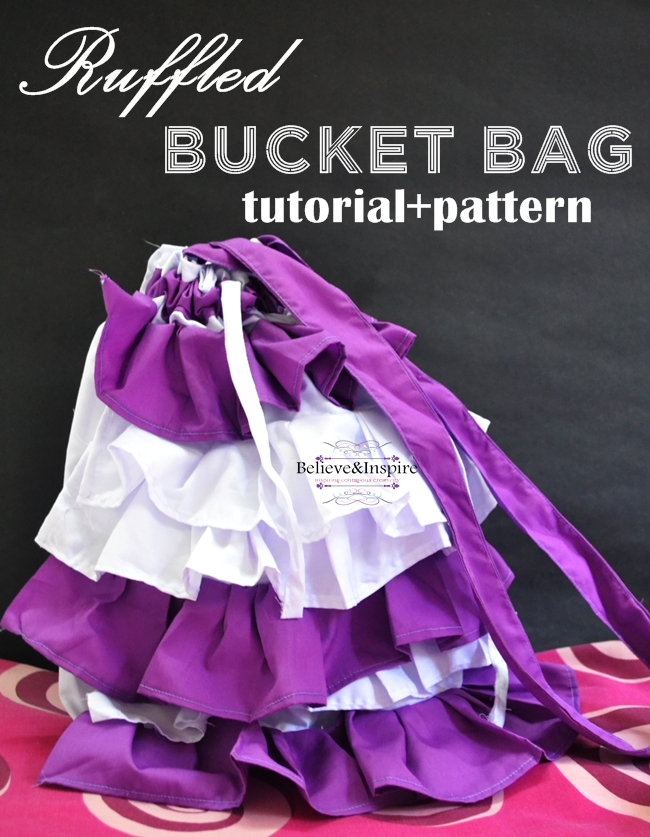

And I was like WOW! Now that’s a totally different and pretty bag! How come I never made anything like that ever?!? And the answer I got was, I don’t KNOW how to make one. But then it struck me, Craftsy has a free mini class with free downloadable pattern on making BOTH bucket and drawstring bags! Wohoo! Problem solved right there.
The reason behind going for ruffles was the fact of not finding the perfect print for the bag, plus ruffles just make everything so pretty. ^-^ And hence, the idea for the ruffled drawstring, bucket bag was born.
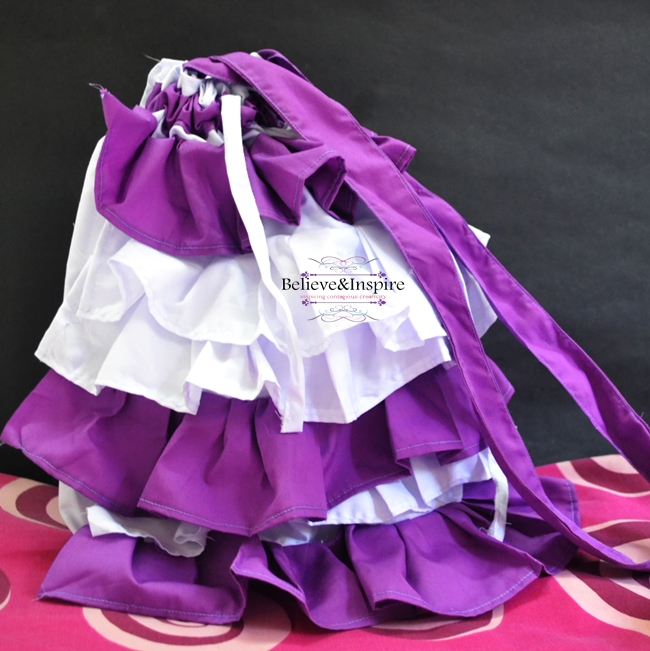
Alright, onto the tutorial:
If you wish to go for a bag that’s not ruffled you can jump right away to craftsy and sign up for FREE and watch the class.

But, if you are a ruffle girl like yours truly you might want to stick around a bit. 😉
How to make DIY Ruffled Drawstring Bags
Supplies:
- 1 yard white cotton
- ½ yard purple cotton
- Sewing supplies and sewing machine
Directions:
Step 1
Cut out the following pieces of fabrics and name them accordingly
- A: 30”x15” exterior fabric from white cotton
- B:30”x15” interior fabric from white or purple cotton (upto you)
- C: 4 30”x3.5” strips from white fabric
- D: 5 30”x3.5” strips from purple fabric
- E: 1 30”2.5” strip from purple fabric
- F: 1 30”x2.5” strip from white fabric
- H: a circle measuring 10” in diameter from white
- I: a circle measuring 10” in diameter from purple
I used a plate roughly measuring 10” to draw the template for my circle.
Step 2 Make the exterior
First of take all of your C and D strips and using your hemming foot fold them in from one side.
Next, take your A and fold it into a half and mark where the ends meet.
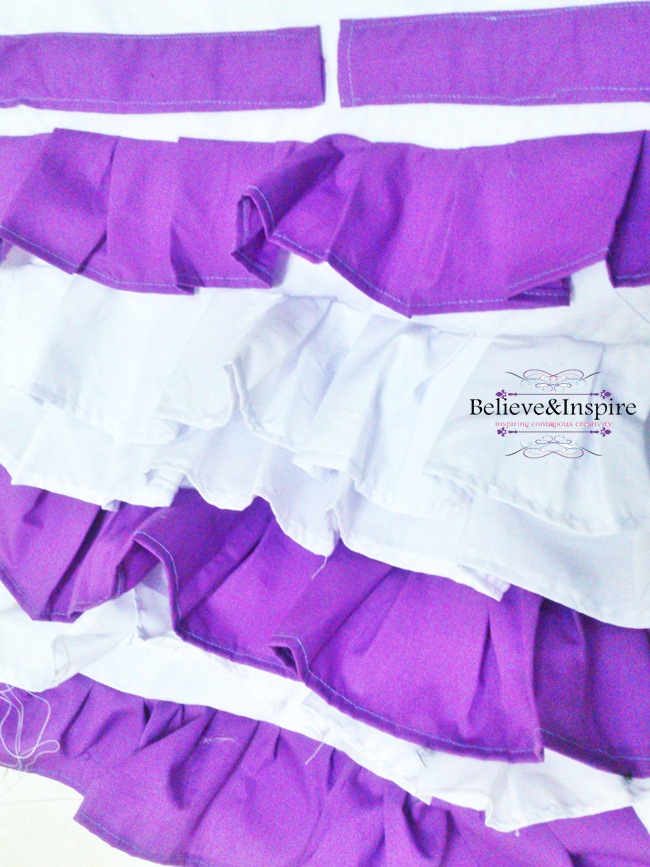
Take your C and D strips and start sewing them onto your exterior fabric adding ruffles as you go. Follow the order you like best.
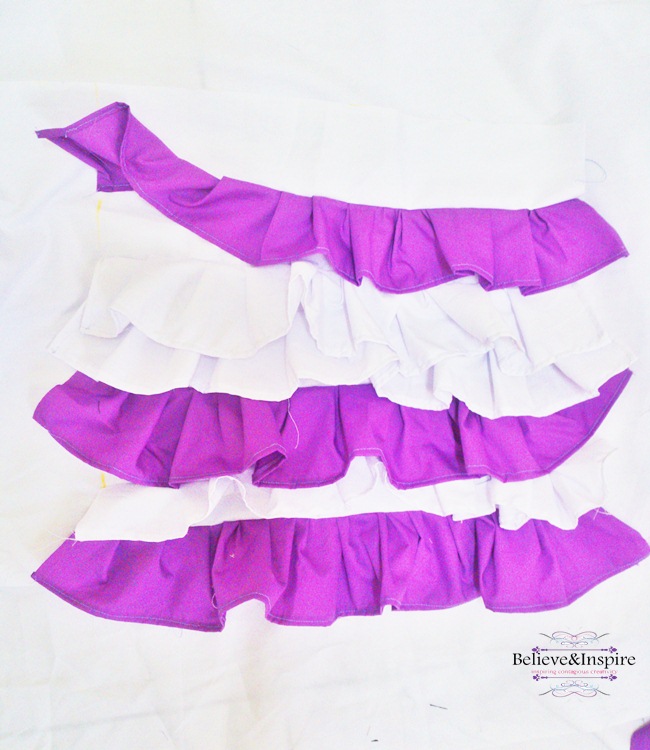
Make sure to leave off 5 inch of space from the top to sew in the pocket for the drawstring.
Step 3
After the ruffles are done, take the fusings and iron them onto the wrong side of A. fold the A piece with right sides together and sew from the side.
Step 4
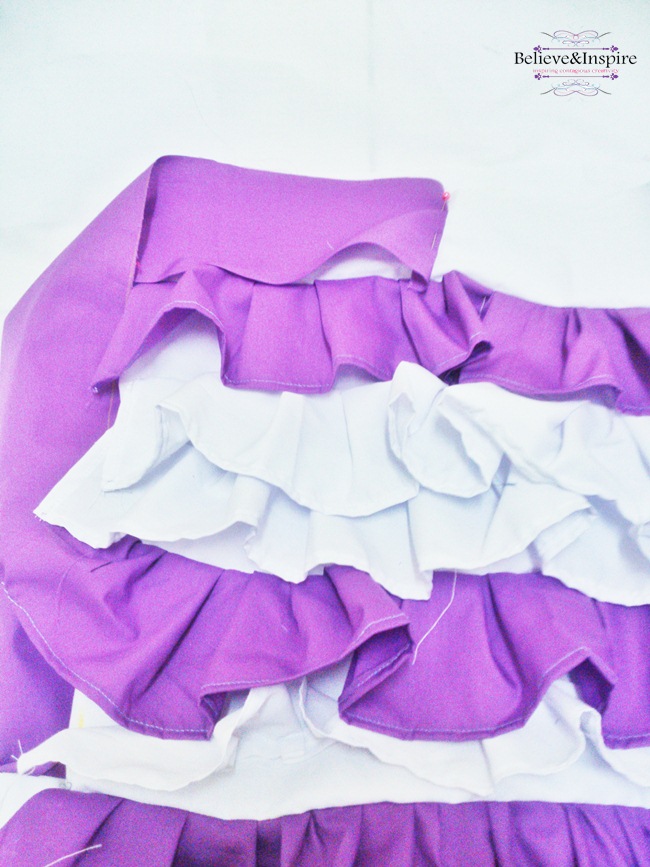
Next, we’ll add the pocket for the drawstring.
Take your E piece and press it folding the edges as you go. Pin it onto your A and sew it from all the side
Step 5
Add the bottom. Before adding the circular bottom iron the fusing onto the fabric and then sew it. And that marks the last step for your exterior.
Step 6
Now take your B sew it from the side and attach the I piece to it.
Step 7
Next, sew the strap. Take the last of your D piece, fold it sew it and sew from sides. Turn the right side out and sew from all sides.
Step 8 Assembling the bag:
Place the lining fabric and the strap inside the exterior. Make sure the right sides are facing together and sew from all sides l keeping a part open to turn everything out.
In the end finish off by closing the opening.
Step 9
Next make the string. Take your piece and press it to fold in the edges. Next, fold it again on itself and sew making sure to fold the bottom too.
Using a pen insert the string into the hole and you’re done!
Want some more bag ideas?
Check out my DIY bags board on pinterest,
Follow Javeriya @ Believe&Inspire’s board DIY Bags on Pinterest.
Or visit craftsy for a huge collection of both free and affordable bag patterns.
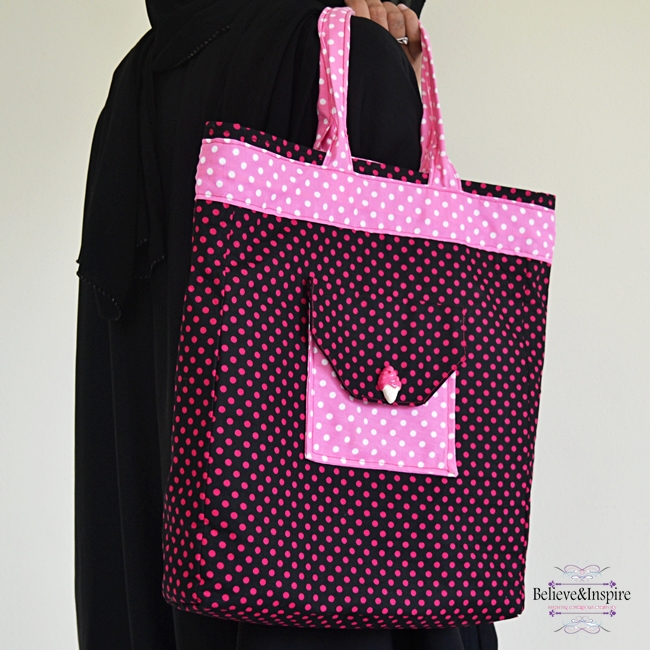
Here’s a bag I made using free pattern from Craftsy.
Thanks so much for dropping by! I hope you enjoyed the tutorial! xo
 Linking up to these blogs: Not just a housewife, Savvy Southern Style, Funky Junk Interiors, French Country Cottage, Six Sister’s Stuff, Sew Much Ado, DIY Show Off, I heart Naptime, Craft berry Bush, Coastal Charm, DIY by Design, Too Much Time , The Charm of Home, Flamingo toes, Flour Me With Love, Someday Crafts, Alder-berry Hill. What’s Cooking Love, The Crafty Blog Stalker, Raising Reagen, Create Craft Love, Mom On Timeout, My Romantic Home, Sugar Bee Crafts, Time to Sparkle @ The Gunny Sack, Home Stories A to Z, By Stephanie Lyn, The Girl Creative, Kathe With an E, The 36th Avenue, It’s Overflowing, Lil’ Luna, Love Bakes Good Cakes, http://freshideastudio.com, DIY Home Sweet Home, Ginger Snap Crafts, Oombawka Design, Titi Crafty by Camila, Livin Better Together, Common Ground-Do.com, My Re-purposed Life


[…] DIY Ruffled Drawstring Bags Tutorial […]