I finally got myself a power bank. Believe me, if you live in KL, it’s a must. And ofcourse, the power bank needs its casing too as I’m a super paranoid person. What if it gets banged on the floor or something, though, that has already happened twice or thrice.
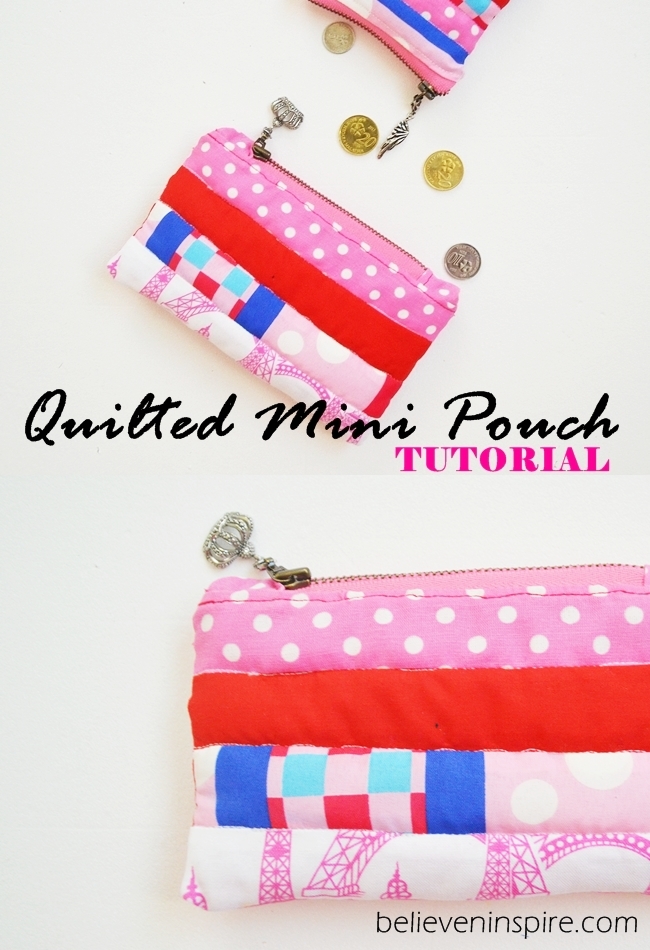
So, it was decided, a mini pouch had to be made, but that seemed too boring. I wanted to make a mini pouch but at the same time I wanted something more artistic, something new. Hence, I decided to make a quilted pouch, another one of simple sewing projects.
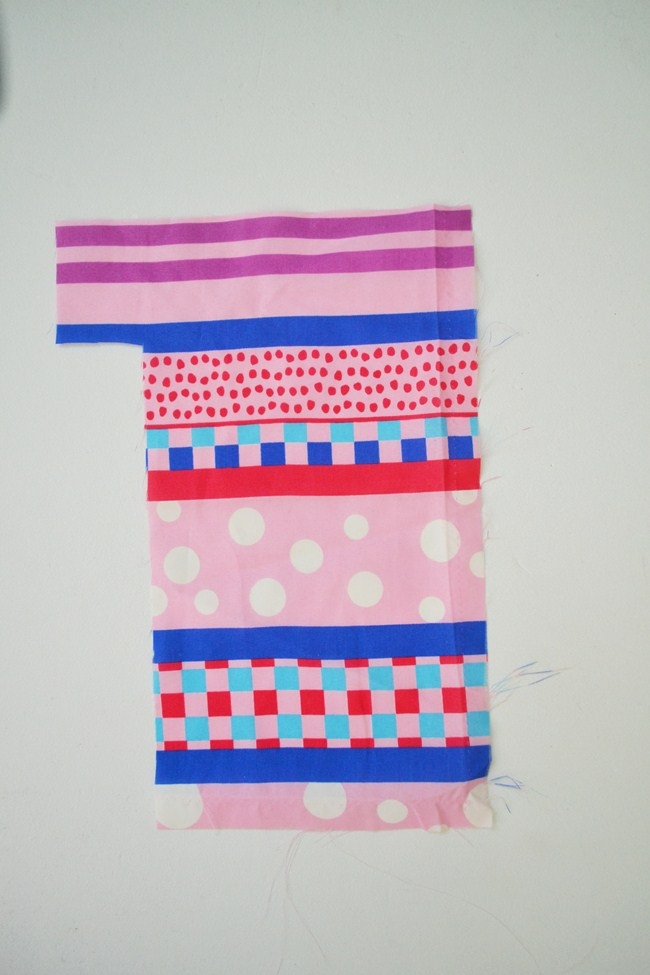
I literally used the scraps of fabrics I had for this project. This is the biggest scrap. I used this scrap as the main inspiration and picked out the other colors based on the colors found on this fabric, which made the task quite easy.
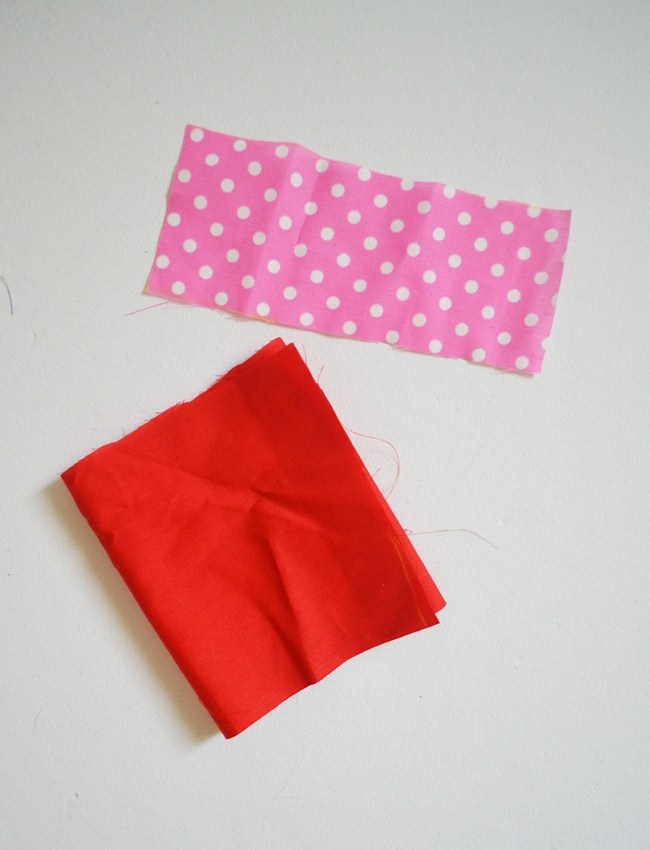
If you’re finding it difficult to match colors for quilting, you can watch (AD) this free class on Craftsy on color theory. I’m sure you’ll find it very helpful and you’d be able to mix and matching colors like a pro.
How to make Mini Quilted Pouch (Simple Sewing Projects)
Supplies:
I measured the width, and depth of my power bank. Added them together to get the final width of the pouch, then added 1 inch extra for seam allowance. So my final width was 6″.
I did the same for the height and the final height was 4″.
So I first cut out the lining fabric.
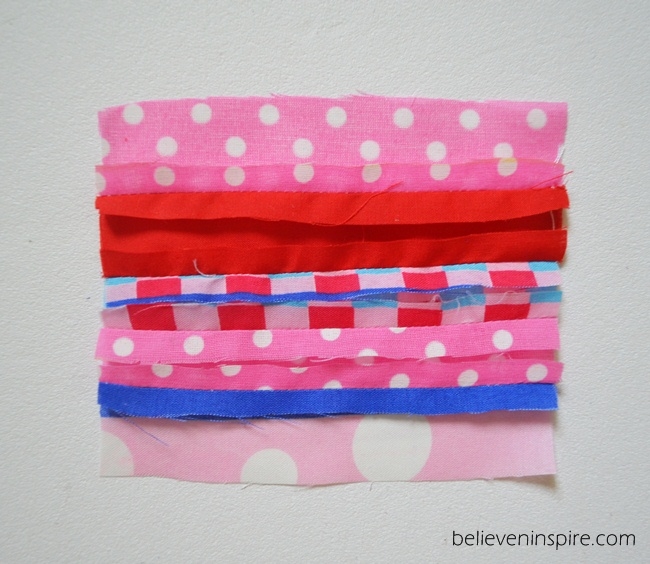
And then, I cut out 2″ by 6″ strips from different scraps of fabrics. For the front and back of the exterior.
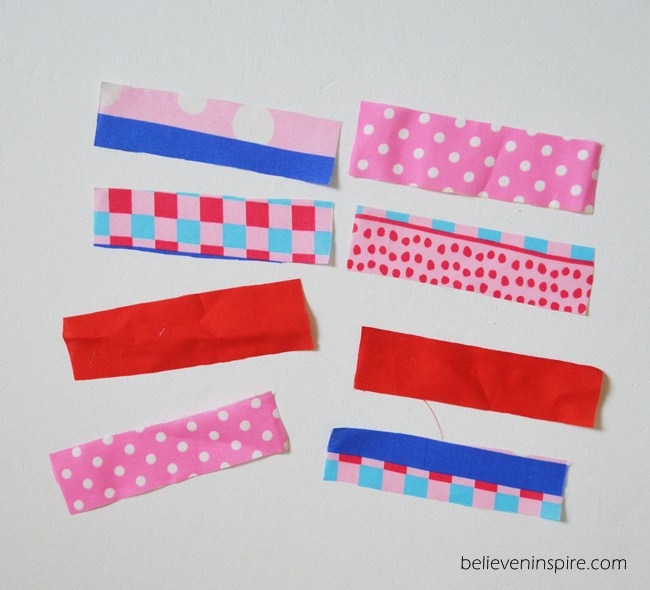
Next, I sewed all the pieces together, turned it and pressed to open the seam.
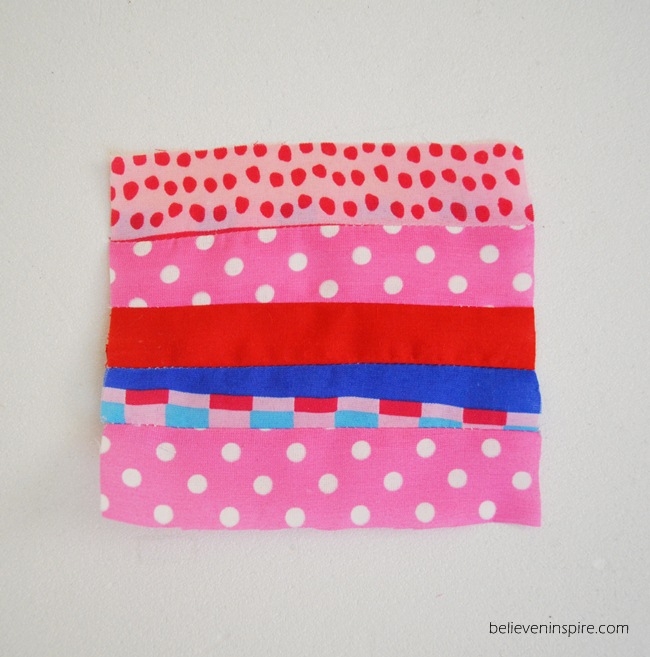
Next, I cut out batting 1″ shorter than the width and height of the final exterior rectangle.
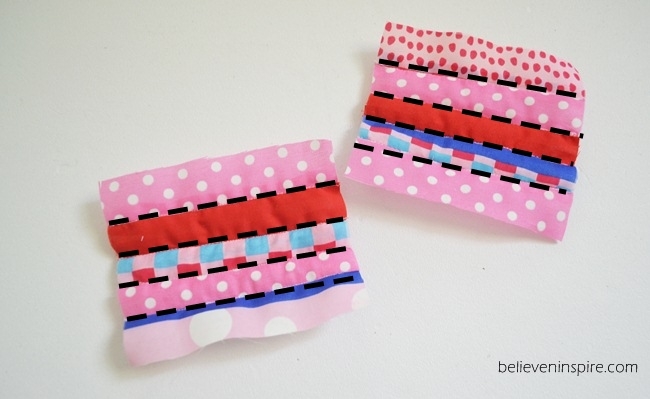
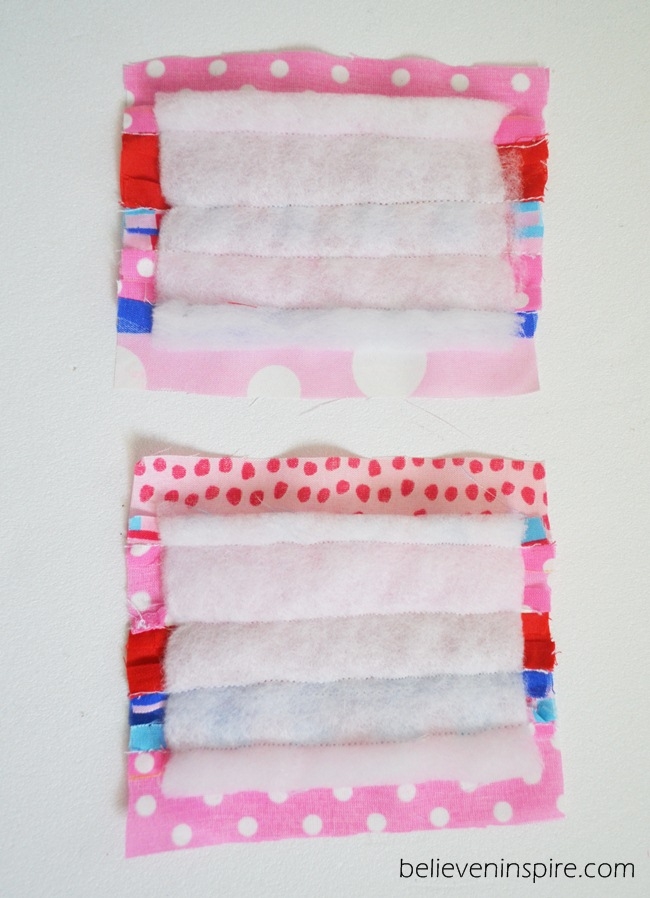
I pinned the batting to the exterior fabric and carefully sewed straight lines at the point where the two pieces meet as represented by the dotted lines.
This is how it looks like from the back.
Next, I sandwiched the zipper in between the exterior and lining, right sides facing each other and sewed.
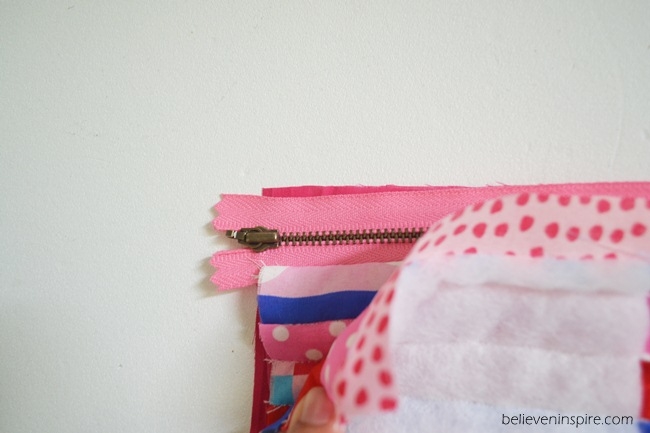
This is how it should look like after you’ve attached the zipper. I also did a top stitch at zipper.
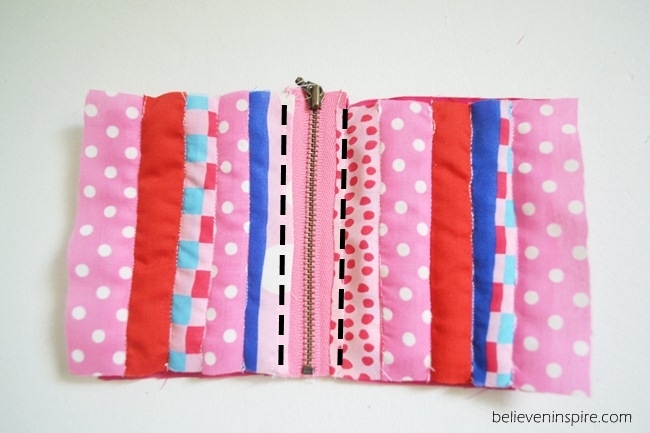
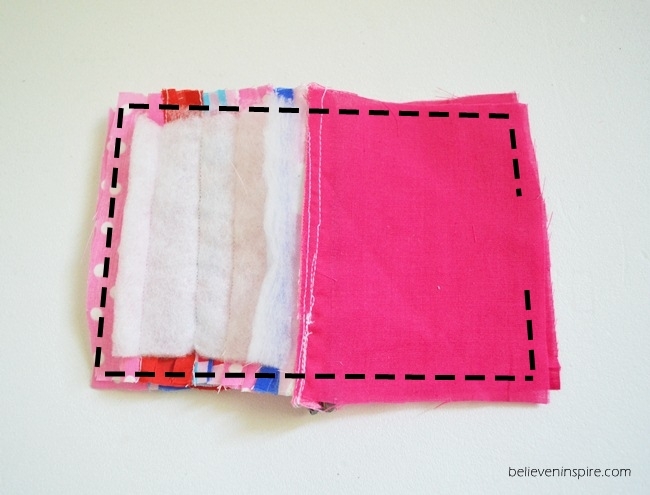
Next, keeping the linings together and the exteriors together, right sides facing each other I sewed all around leaving a small hole to turn the right side out. Before doing that I clipped the corners. Next, I turned the right side out, closed the gap that I left earlier and pressed.
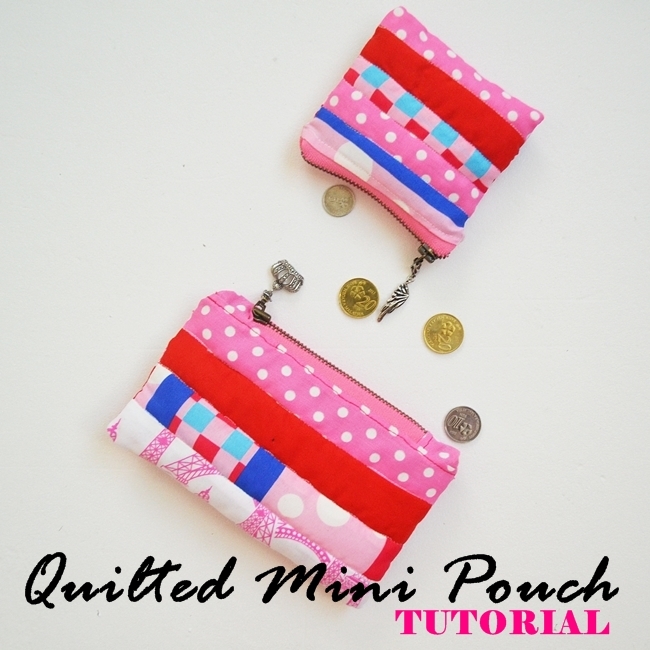
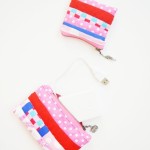
And ta-da! My pouch was ready. I made two pouches in a day. These are great gift ideas too.
That’s the end of the post where I shared how to sew super easy quilted pouch. Will you be making one anytime soon? If so, be sure to pin this post on your Pinterest board. Also, if you have any questions you are welcome to ask them. 🙂
You might also like 12 Back to School Sewing Ideas.
Don’t forget to sign up for our twice a month newsletter for FREE printable!


What is a “power bank”?
Now that Ive seen your pic, I am no longer interested. Americans are not stupid like you think we are.
We are not going to tolerate Sharia law just because women are friendly or do things we are interested in. Why do you dress like that? Why do you have to push it on us. We are not interested in your ways, or your religion.
Hi Teresa!
I’m not sure what on this page gave the message that I want you to dress like me as this post is about making a pouch. However, I just wanted to make it clear I dress the way I dress for the sake of Allah and it’s really none of my business what you dress like. I think someone has given some wrong info. Sorry that you felt it this way. Happy sewing!