Last week I shared strawberry potholder tutorial and today I’m sharing how to make placemats from fabric. Might as well name it as kitchen sewing series. Haha. Anyway, sewing placemats is a really easy thing. This project is great for beginner sewing as it involves a lot sewing in a straight line.
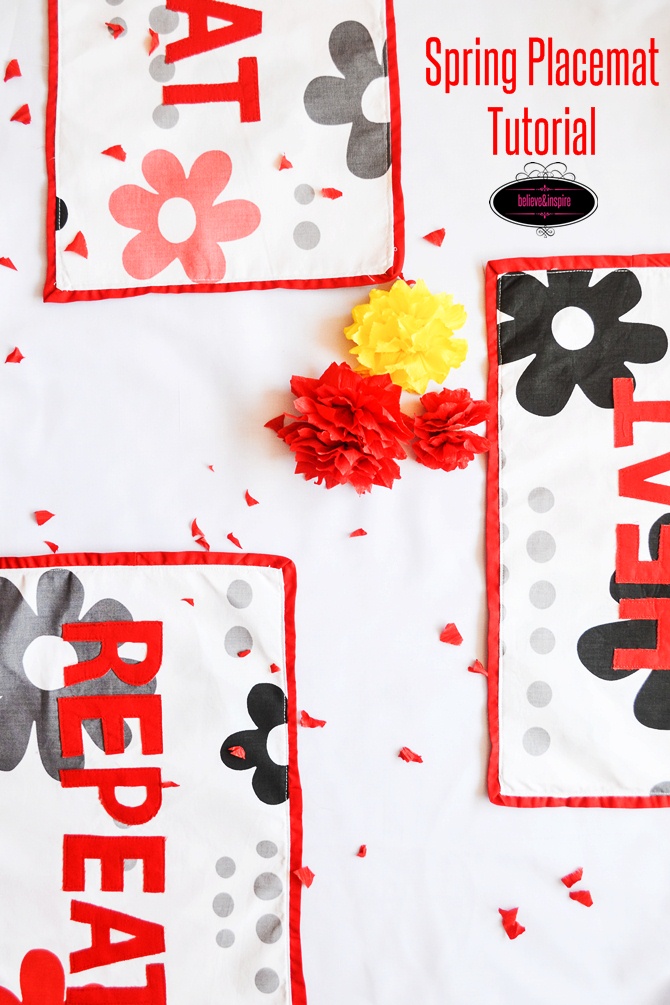
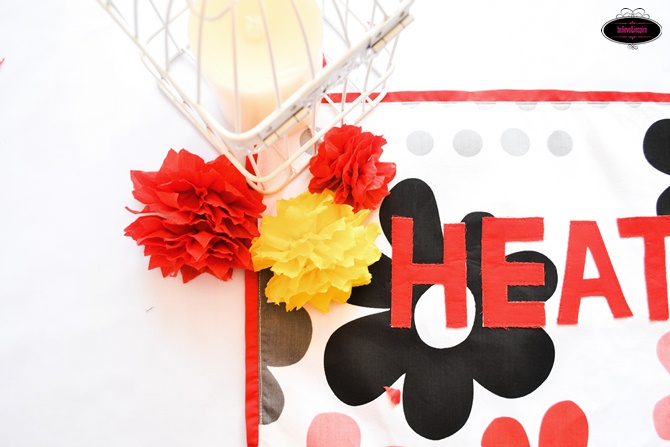
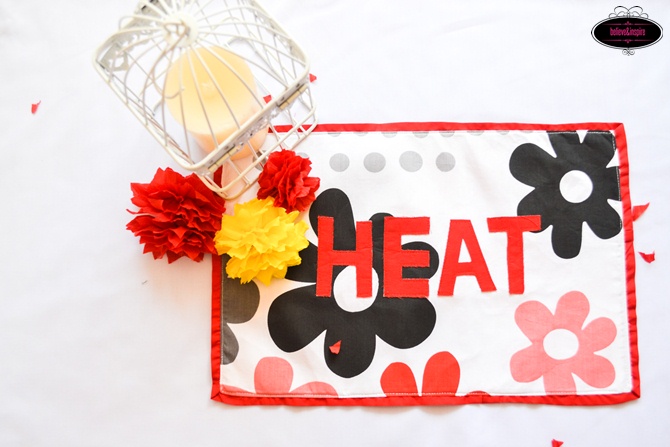
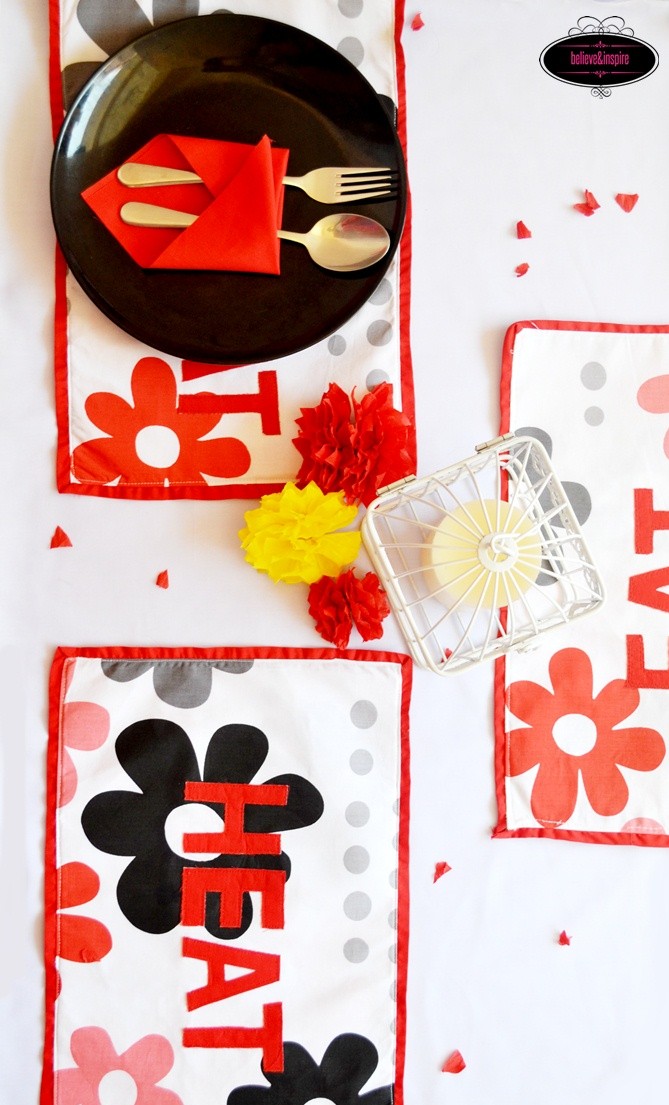
To give a unique touch I appliqued the placemats with HEAT-EAT-REPEAT. That’s the only thing I could thing of in rhyming terms, plus you won’t need to cut a lot of different letters.
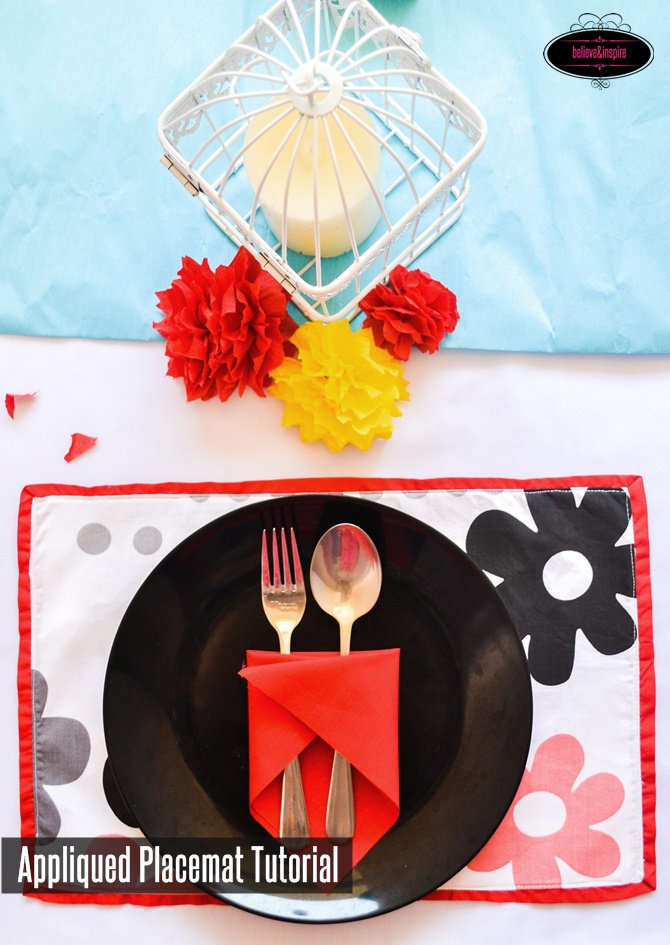
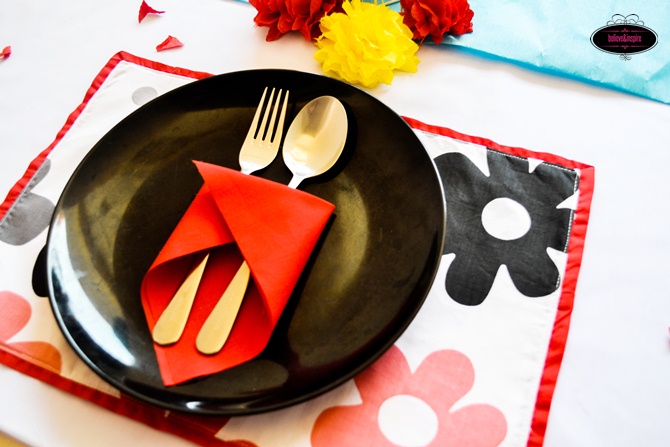
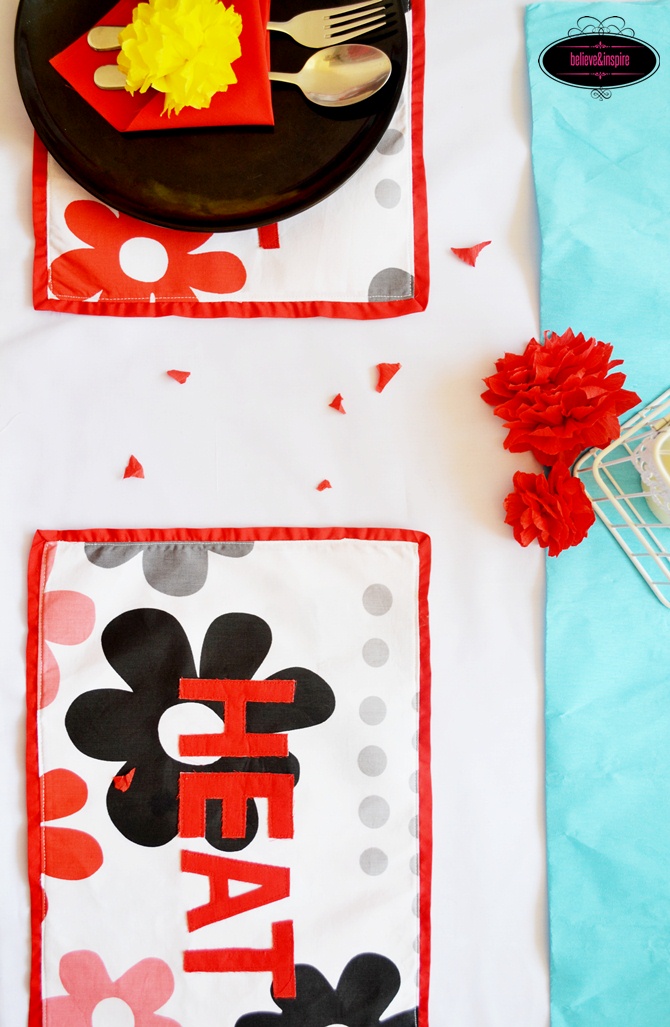
These easy sew placemats will make your tables stand out at any occasion.
To make fabric placemats you will need:
- Main fabric
- Contrast fabric
- Soft fusible interfacing OR wonder under
- Template for the words
First, cut out the following
- 6 rectangles each measuring 15″x10″. This will make 3 placemats.
- 3 1″x55″ strips
Next, print out those letters and trace them out all on the fusible interfacing on the non-shiny side (the one without glue). Note: When tracing P and R make sure they are facing in the opposite direction. In this picture I drew them wrong. They should’ve been the opposite way.
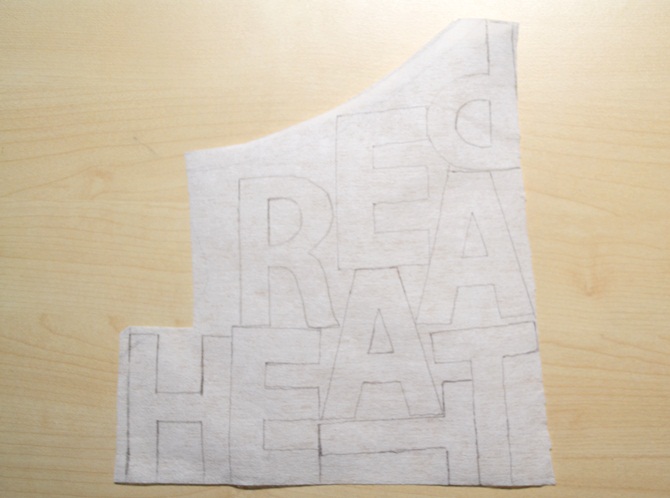
Fuse this piece onto the contrast fabric following the instructions by the manufacturer of the interfacing and cut the letters out.
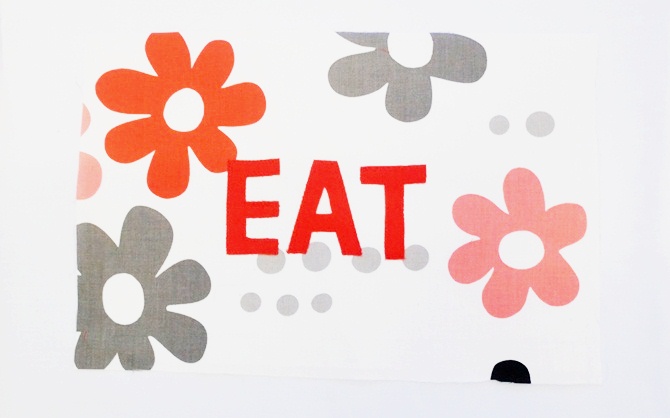
Fuse the letters onto the placemat piece and using the zig zag stitch sew all around. If you are not using wonder under you can just pin and sew all around.
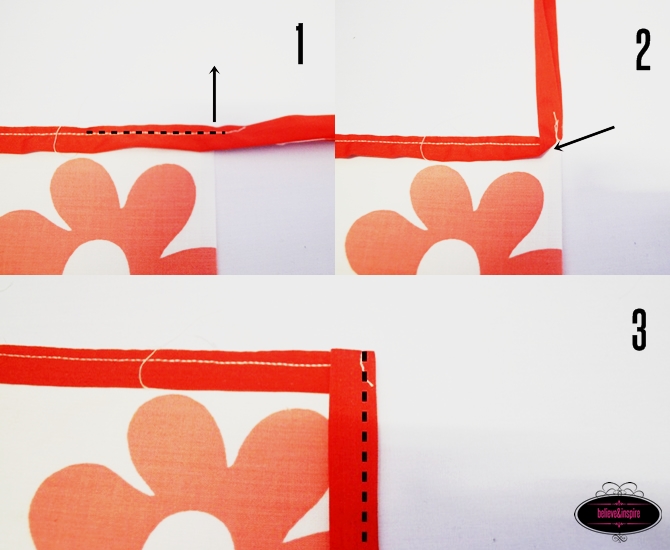
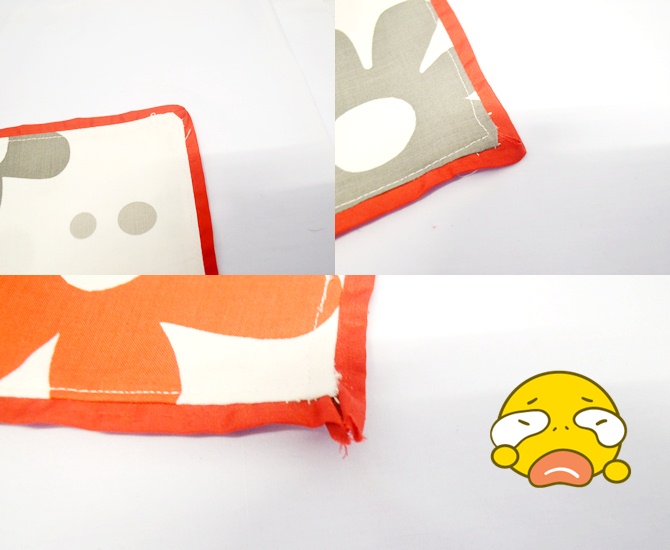
Now it’s time sew the trims. It’s better to do it step-by-step so that you can fold the corners sharply. It took me a little while to figure out the right way but I somehow managed. You can see the fail attempt at the bottom of the post.
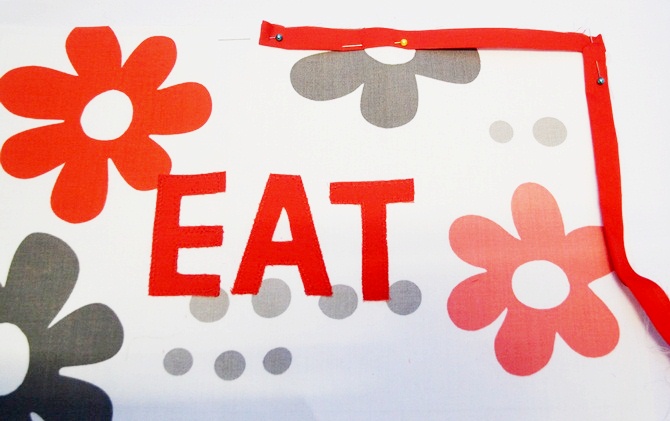
So, this is what you gotta do;
- Sew till the edge of the fabric
- Fold it upwards at 90 degrees so that it forms an angle where the arrow is pointing.
- Fold it downwards back on itself and sew along the dotted lines, making sure the angle is still there.
Sew all around in similar way. Next, place the back side onto the front piece so that the right sides are facing each other. Sew from all sides, leave around 1 inch of gap at all corners and 5″ gap at the side. Turn the right side out from the gap, press, hand stitch the corners, then edge stitch all around the placemat. Repeat the same thing with the other two placemats and you’re DONE!
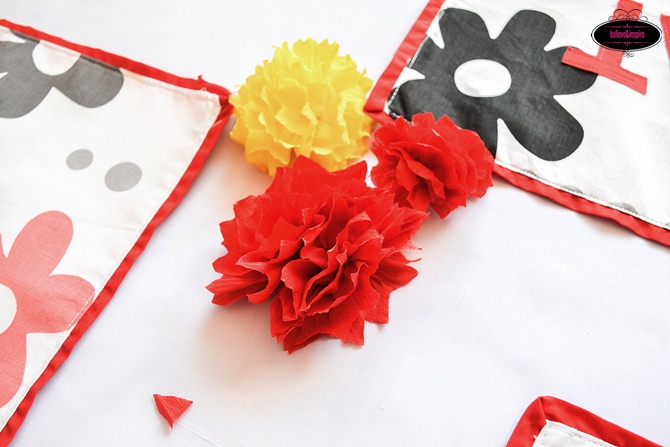
I had so much fun shooting the final pictures, I just couldn’t stop. I had been planning on the set up the whole week and I love how it all turned out, considering I had no proper dining table and the pictures were taken at the entrance of my dorm room. Haha
Linking up to these blogs:
Savvy Southern Style, Funky Junk Interiors, French Country Cottage, diy show Off, I heart Naptime, Craft berry Bush, Coastal Charm, The Charm of Home, Flamingo toes, Flour Me With Love, Someday Crafts, The Crafty Blog Stalker, My Romantic Home, Sugar Bee Crafts, Home Stories A to Z, The Girl Creative, Kathe With an E, The 36th Avenue, Lil’ Luna, http://freshideastudio.com, My Re-purposed Life, 2 Crochet Hooks, It’s Overflowing, Live Laugh Rowe, One Dog Woof, One Project Closer, Glitter Glue and Paint, Lolly Jane, Gina’s Craft Corner
This post first appeared on Believe&Inspire.
Don’t forget to sign up for our weekly summary of blog posts. Psst. there are FREE printables hidden inside! XD



Leave a Reply