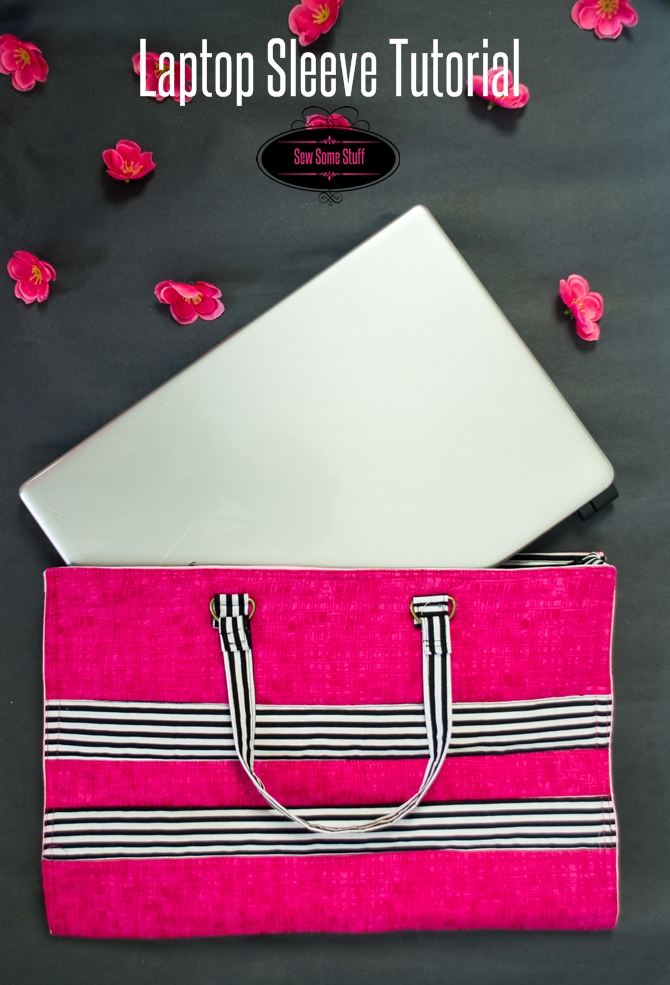
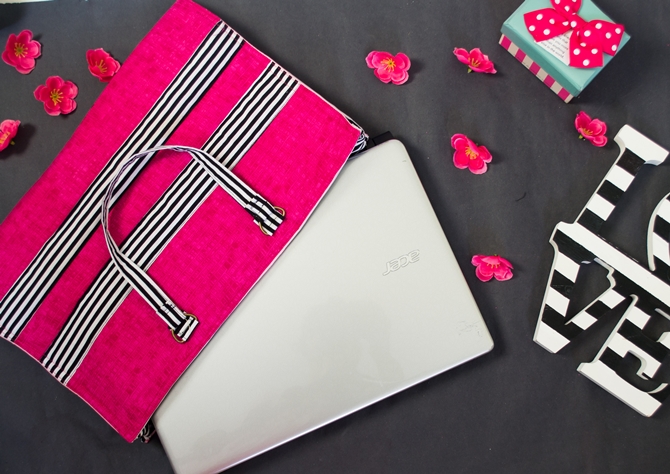
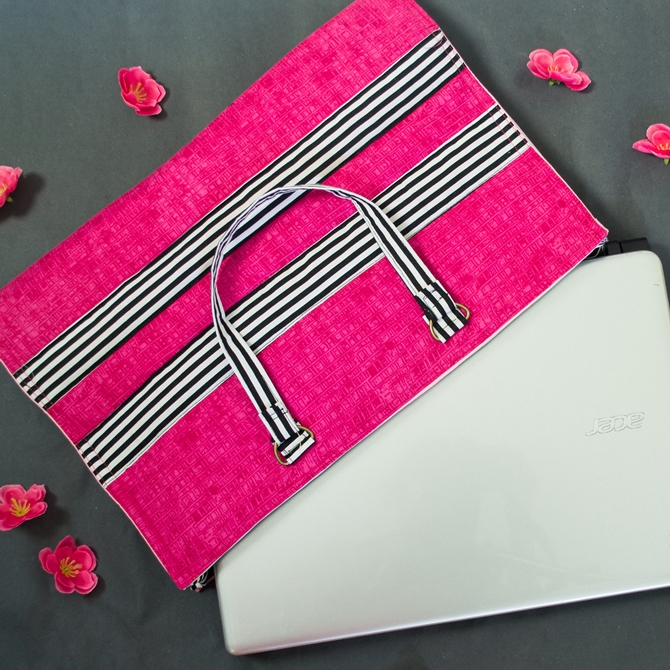
Hello girls! Today I’ll be showing you how to sew a laptop bag. The lengths given here will make a perfect laptop bag for a 15″ laptop. The straps are totally optional. You can skip them if you want to just use it as a laptop sleeve, but if you want to carry it around in a hassle free way, just follow the directions of the tutorial.

Pin this image on your sewing board for future reference.
How to sew a Laptop Bag
These measurements make up for a 15″ laptop bag.
Supplies
These are the supplies you would be needing for the tutorial “how to sew a laptop bag”:
- -1/2 yard Soft fusible interfacing
- -1/2 yard By Annie’s Soft and Stable
- -1/2 yard exterior fabric
- -1/2 yard lining fabric
- -1/4 yard accent fabric
- -17″ zipper
- -4 Rectangle metal rings
Cutting:
So the first thing you gotta do is cut out all the pieces based on the list given below.
- Main body: 22″x17″ (also cut from interfacing)
- Lining: 22″x17″
- By Annie’s Soft and Stable: 21.5″x16.5″
- Straps 2.5″x17″ (cut 2) (Cut 2 from interfacing)
- Accent strips: 2.5″x17″ (cut 2)
- Gusset:3.5″x10″ (cut 2)
- Zipper case: 3.5″x17″
- Extenders: 2.5″x2.5″
Sewing:
Next, fuse the interfacing to the exterior fabric with batting as a sandwich. The edges would be used to keep the batting in place.
So here it is all done. Here you can see it looks quite sturdy and soft perfect for making a protective cover.
Now let me show you the other pieces that you have to cut out. The first one here the accent which will go on top. I have already folded and pressed the edges by a quarter inch from both sides. So we have two of these.
Next is the strap. I’ve fused the interfacing and folded it. To read in detail about how to prepare your strap piece you can check the tutorial given in the link below.
These are the squares that would make the extenders and this is my lining fabric.
Okay now onto sewing. The first thing I’m going to do is sew the accent strips in place. Just going to place it roughly at first. Now to make sure they are straight I’m going to measure them accurately. The top one is 5 inches away from the edge. And the second one is 1.5 inch away from the first one.
Once this is all settled, I will pin and sew it in place. I will be using the widest stitch length because it is not a construction stitch.
Next, I’m going to sew the strap pieces together. Just going to fold in the edges first.
Now these are my extenders which are going to fit into the ring like this.
Let me show you how to actually make one.
What I’m going to do is just press the edges first, from all the sides and then I’m going to fold it back on itself and ta-da! It’s ready.
Now I’m going to sew the sides together. Next, I places the ring inside and stitched using a zipper foot.
Now I’m going to show you how to attach the extenders as I have done on the front side.
Each extender is 5” away from both sides. And 1.5” away from the top. Just going to pin it in place and then using my zipper foot I’ll sew it to the main piece.
To attach the strap to the ring, I inserted the strap inside and then folded it back on itself by 1” and I’m going to sew it now. As you can see using the zipper foot makes it really easy to sew close to the metal ring so it’s a real help if you can get an access to one.
Okay now I’m going to sew the lining and exterior pieces together. So, place the lining on top of the exterior so that the right sides are facing each other. Pin in place.
Next, sew the two layers together. Now you must have noticed using a smaller thick interfacing makes it so easy to sew as there is no bulk and the fabric feeds in smoothly.
Okay, I’m all done here. Next, I’m just going to clip off the corners and turn the right side out. Now I’m going to do a top stitch all around.
So here it is. Looking all good. Let me show you the top stitch closely.
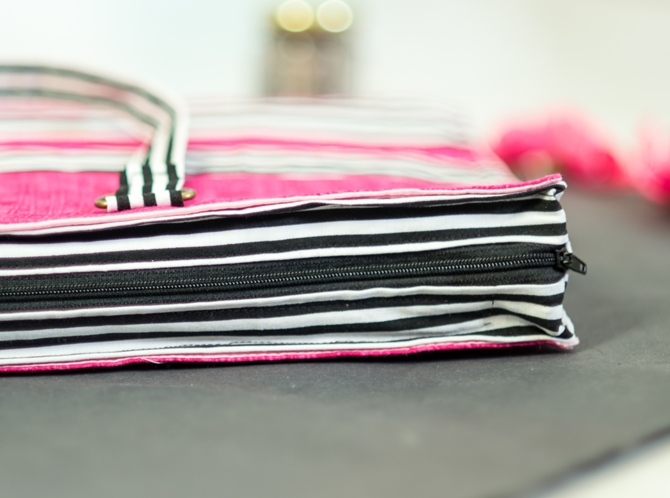
Now its time to attach the gusset and the zipper. To do that I’m first going to make the zipper casing.
And for that I’m first going to fold the edges inside. And then fold again from the center. The zipper is going to go inside the casing like this. Next, using my zipper foot I’ll sew it in place. Now it’s time to fold the edges of the gusset.
Now I’m going to attach the gusset and the zipper together.
But, before that I’m going to close the zipper end using hand stitching. Now that the zip is closed, I’m going to attach the gusset to the main zipper. Next, I will fold the edge of the gusset.
Okay now it’s time to attach the gusset to the main body. I’m going to pin everything in place first. Now as you can see, the corners can be a pretty tricky thing to sew, so what I’m going to do is hand baste the corner in place first. And then I’ll sew all around.
So one side is done, now I’m going to sew the other side. The corners are already done. I’m going to start sewing from this edge. So the trick is to just keep the thing flat using your left hand while you sew.
And here we are! A completed laptop case.


So what do you think? Wasn’t it an easy sewing project? Share the “how to sew a laptop bag” with your sewing friends using the share buttons below.


Assalaamu Alaikum glad to know you Javeriya. I am from South Africa loves sewing for the home and grandchildren. Especially handmade gifts for Eid and Ashura .