One of the first and most common challenge when sewing with online digital patterns is learning to read and use them.
If you’re a beginner you might find it confusing at the beginning because digital patterns are a bit different compared to the usual printed patterns.
There are several things that you need to keep in mind when dealing with digital sewing patterns and we’re going to cover them all in this post. The information I’m sharing here is all based on my own Sew Some Stuff sewing patterns, however, the basic procedure of cutting and piecing applies to all digital sewing patterns.
How to Print Digital PDF Bag Sewing Patterns
All bag sewing patterns especially Sew Some Stuff patterns are designed to be opened with Adobe Acrobat PDF Reader. It’s a FREE software that you can download from Adobe website and install on your computer.
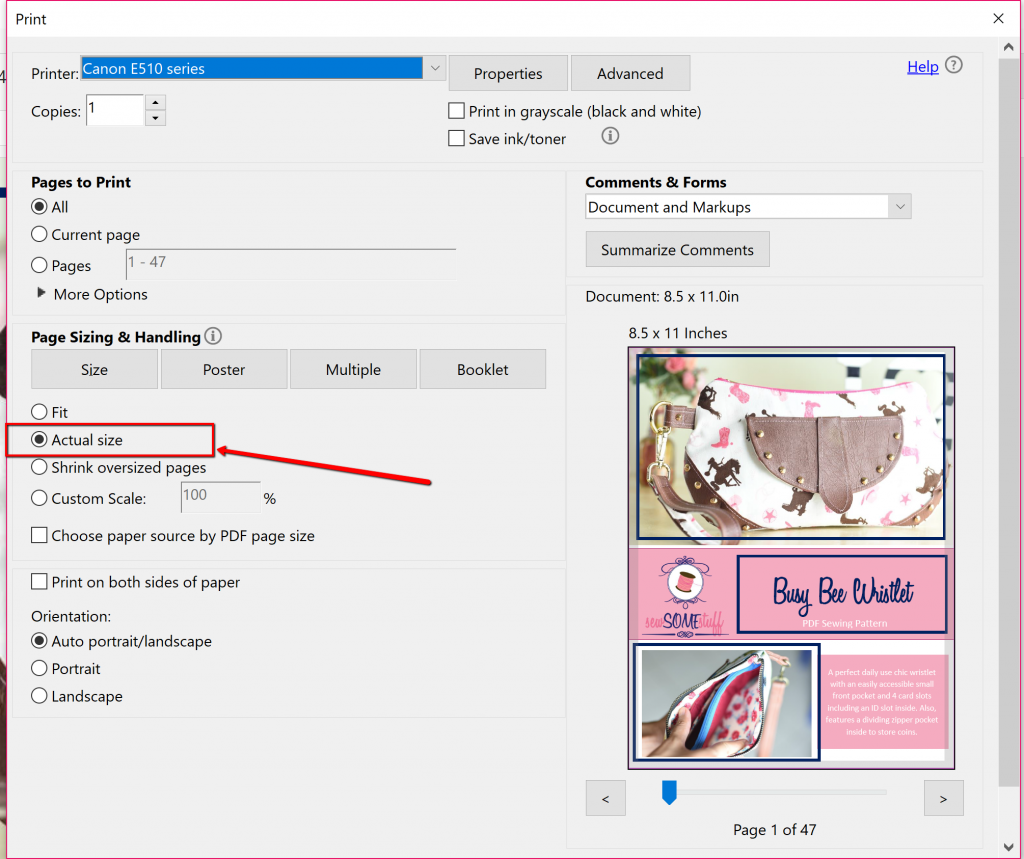
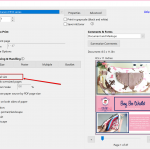
Once installed, you should open the PDF pattern using the software and print the pattern in actual size or custom scale at 100%.
US Letter or A4
The Sew Some Stuff patterns come in two different sizes; A4 and the US letter. All A4 pages have “A4” labels on them, so make sure you’re only printing the right page size based on your location and page size available to you.
Understanding PDF Sewing Patterns
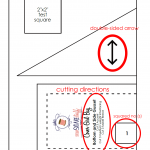
As you can see below, Sew Some Stuff PDF bag sewing patterns come with several marks and details.
Test square: The first thing you can see is the test square that you must ALWAYS check right after printing to make sure that you printed the pattern right. If the pattern is printed correctly, the test square would measure the exact size that’s denoted on it. For example, for this pattern below, the square would measure 2″x2″ if printed correctly.
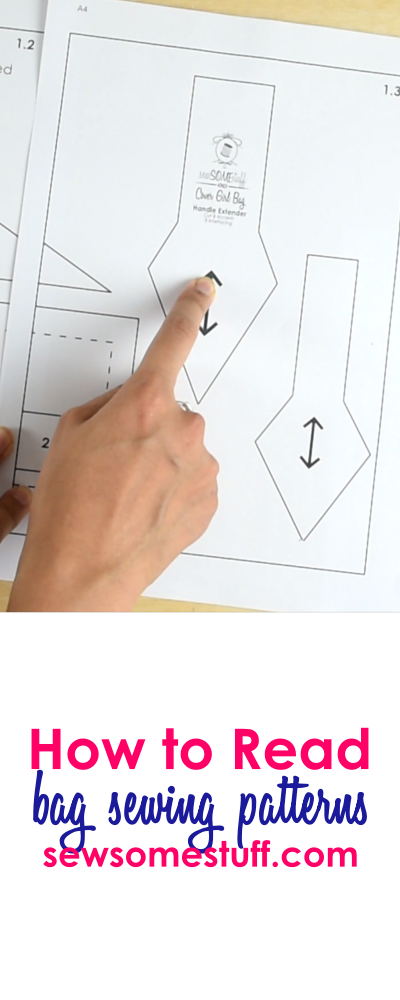
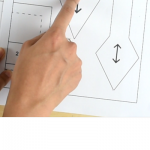
Double-sided arrow: The double-sided arrow denotes the direction of the piece. It signifies which direction is vertical for that particular piece.
Squared Numbers: You will find this on ALL Sew Some Stuff patterns. These numbers help in piecing the patterns together. You see, PDF digital patterns are printed individually on one page and then they need to be pinned together to make a life-size template, these squared numbers help in putting the different pieces together. After printing, you should match the same numbers together and paste the pages to make the life-size template.
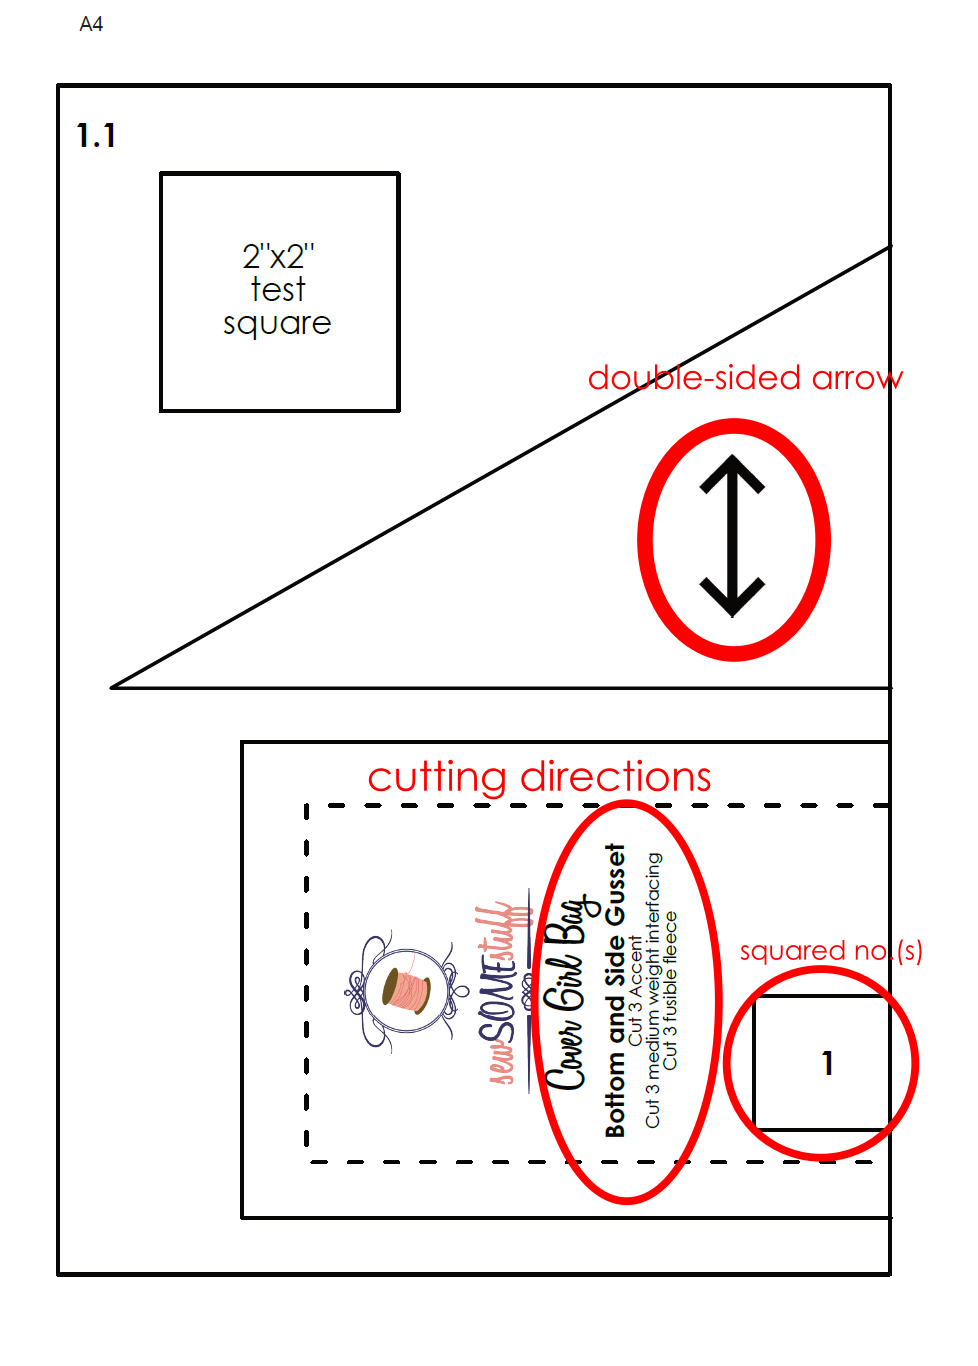
Cutting directions: The cutting directions denote what all fabric pieces need to be cut for that particular pattern.
How to Assemble PDF Bag Sewing Patterns
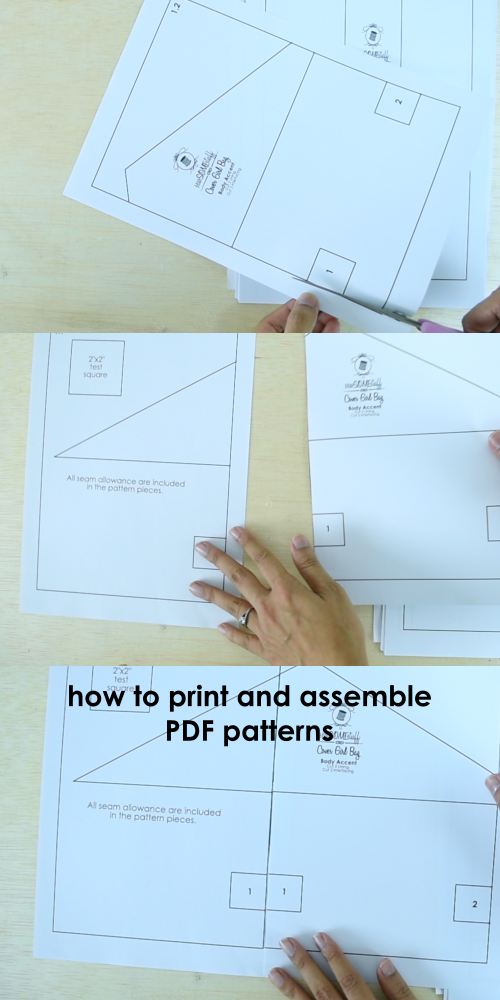
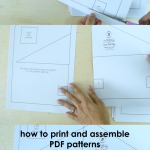
To assemble the patterns, I like to first cut out one of the edges of one page and overlap it onto the other page as you can see below. Then I tape the two together on the edge to make the complete template.
How to Store PDF Sewing Patterns
I store all my patterns in a file like this (Amazon affiliate link) alloting one pocket for one pattern, however, I have seen other bag makers storing 1 page per pocket making each page plastic coated.
I also label the front of each pocket with the name of the pattern for easy identification.
The End
With that, we have reached the end of this post where I shared with you how to print, assemble, read and store bag sewing patterns.
FREE BAG MAKING COURSE
If you’re new to bag making, come join me in the Beginner Bag Making Course where I talk ALL about sewing bags from scratch. Just enter your name and address below to join.
By signing up you also agree on receiving weekly newsletters. Unsubscribe anytime.
Get more bag sewing tips here.


Please send me my free pdf bag pattern. I have signed up several times and have yet to receive any patterns for free
Once again … please send me my pattern to : [email protected]