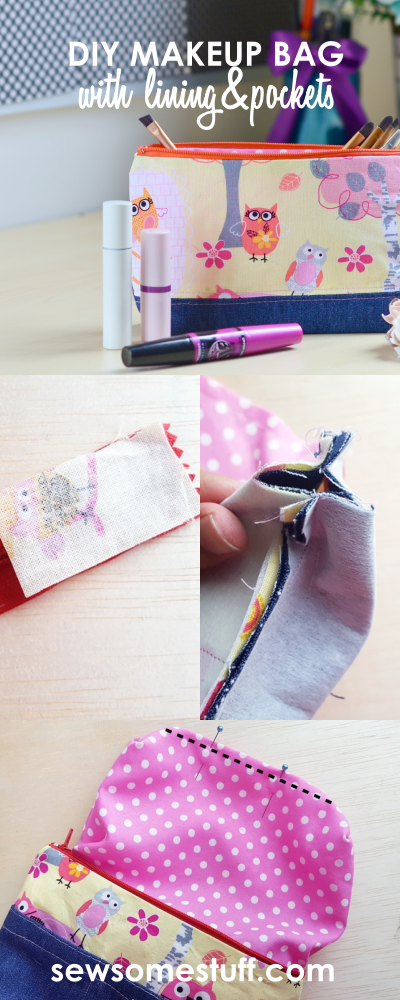
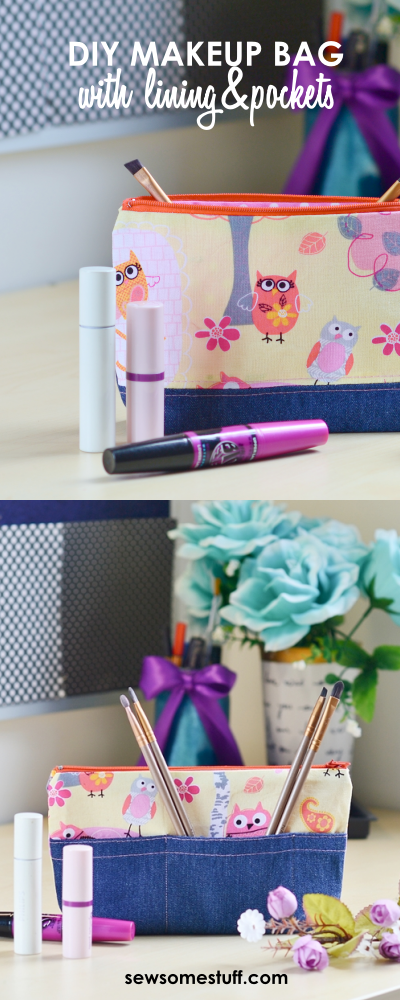
In this post, I’m sharing how to make a makeup bag with pockets.
I have a confession to make.
Makeup bags and cosmetic pouches are my WEAKNESS.
There, I said it.
Feels like I can never have enough of those no matter how many I sew because the sky is limit when it comes to being creative with them.
You can sew makeup bags in such a short time in so many varieties and unique designs just feel like having them all.
But then I also don’t like hoarding so I wait patiently for the one in use to expire so that I can whip up a new one.
However, this one’s an exception. I did not make this makeup bag for myself but instead as a gift for a friend. It’s a simple and easy sew makeup bag with lining and pockets on the outside to keep the brushes while getting all dolled up.
Read on to learn how to make a makeup bag.
How to Make a Makeup Bag with Lining
Supplies needed for DIY makeup bag
- Less than a quarter yard of Fabric A for exterior top and exterior back
- Less than a quarter yard of Fabric B for exterior bottom and pocket
- Less than a quarter yard of Lining fabric
- 10″ zipper
- Medium weight fusible interfacing
- Free pattern (Get the pattern by signing up for the email list below)
By signing up you also agree on receiving weekly newsletters. Unsubscribe anytime.
Helpful Tools for Sewing Makeup Bag
Cutting Instructions for DIY Makeup Bag with Zipper
- Back Exterior: 9.5″ x 7″- Cut 1 from Fabric A
- Back Exterior Pocket: 9.5″x4.5″ – Cut 1 Fabric B
- Front Exterior Bottom: 9.5″ x 2.5″ – Cut 1 from Fabric B
- Front Exterior Top: 9.5″ x 5″ – Cut 1 from Fabric A
- Lining: 9.5″ x 7″ – Cut 2 from Lining Fabric
Directions to sew makeup bag with lining and zipper
To learn how to make a makeup bag read the instructions below.
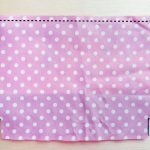
Step 1: place “exterior top” right side up, place “exterior bottom” on top of “exterior top”, right side facing down. Align the top raw edges of both the fabrics. Sew as shown by the black dotted lines, using a seam allowance of 3/8”.
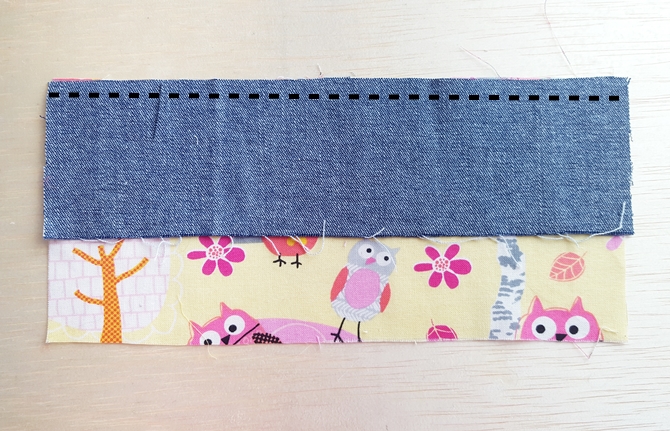
Step 2: press open the seams. This piece will now be referred to as the front exterior panel.
Step 3: fuse interfacing to the front exterior panel.
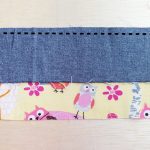
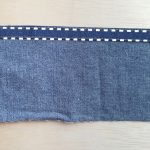
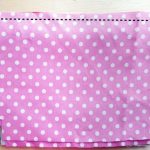
Step 4: top-stitch as shown in the image by the dotted lines. Use a seam allowance of ¼”.
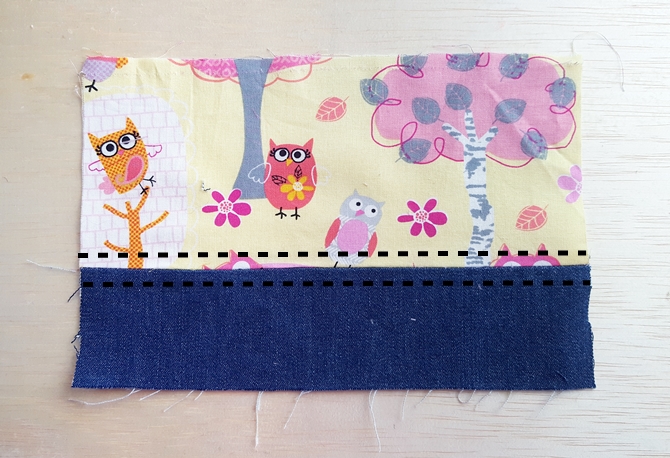
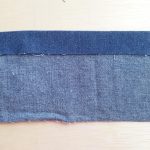
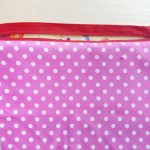
Step 5: fold the raw edge of the pocket panel by 1” to the wrong side and press.
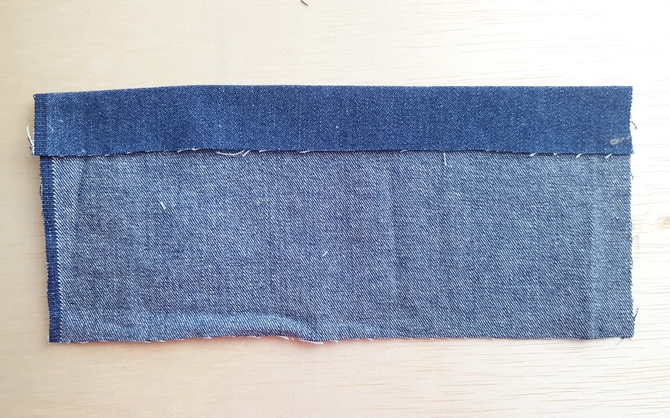
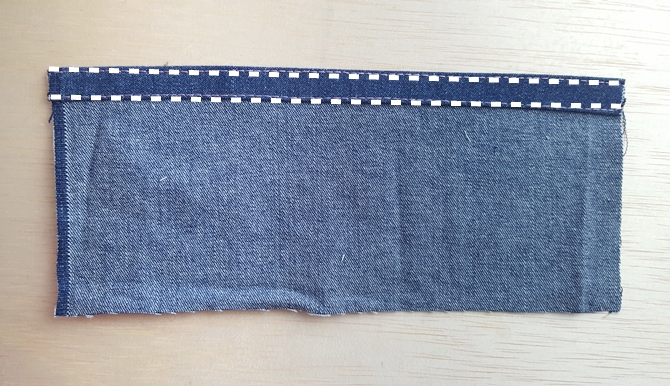
Step 6: tuck the raw edge inside by ½”.
Step 7: Top-stitch as shown by white dotted lines. Use a seam allowance of 1/8”.
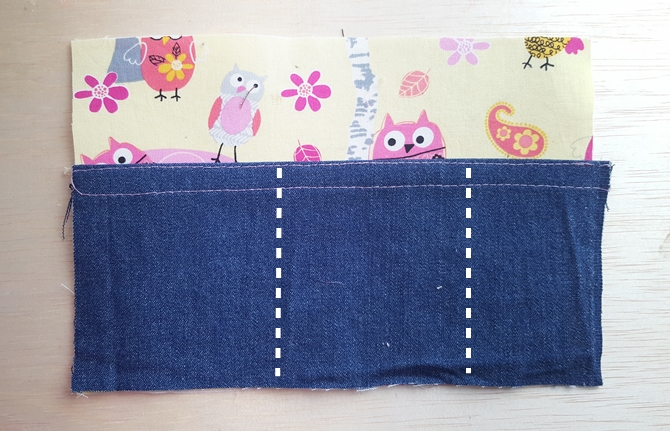
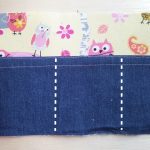
Step 8: place pocket panel wrong side down on right side of the back exterior panel. To make the pockets, use a fabric chalk to draw a line 3½” away from the side edge. Draw a second line 3 ½” away from the previous line. Sew pocket and back exterior panels together on the lines as shown in the image.
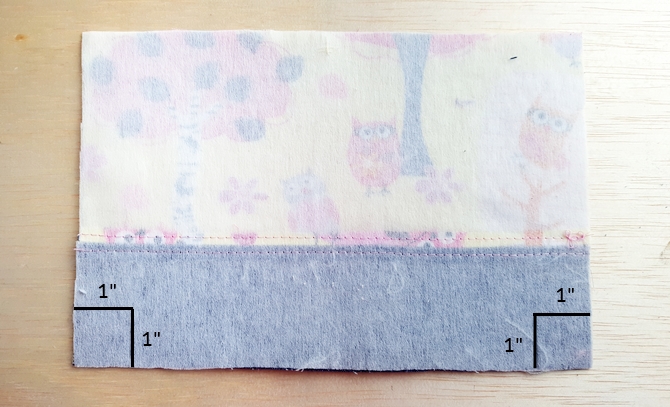
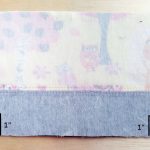
Step 9: Draw a 1”x1” square on the wrong side of front exterior panel bottom edge as shown in the image. Cut the square out. Repeat for the exterior back panel and the lining panels. In the end, you should have 4 panels with their bottoms cut out.
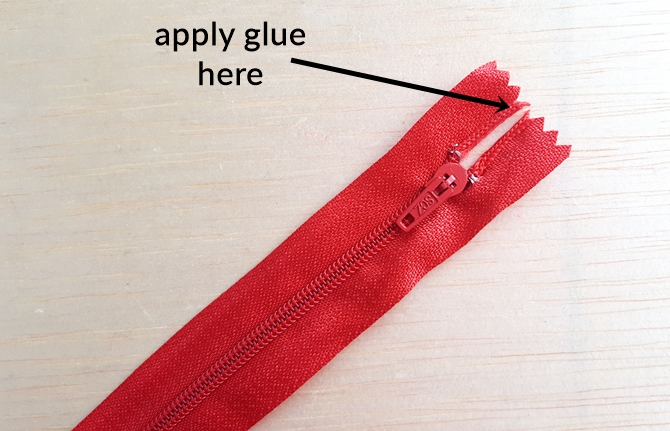
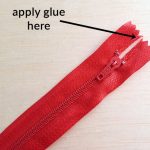
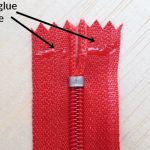
Step 10: prepare you zipper by first applying a dab of glue on the inner edge of the zipper as shown in the image. Let the glue dry for 2 minutes.
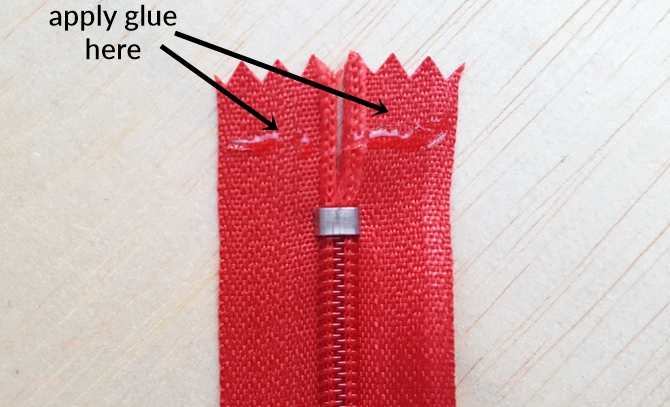
Step 11: apply glue on the right side of the zipper just 3/8” away, parallel to the edge of the zipper.
Step 12: place one of the zipper covers right side down, aligning the short edge of zipper cover with the short edge of the zipper.
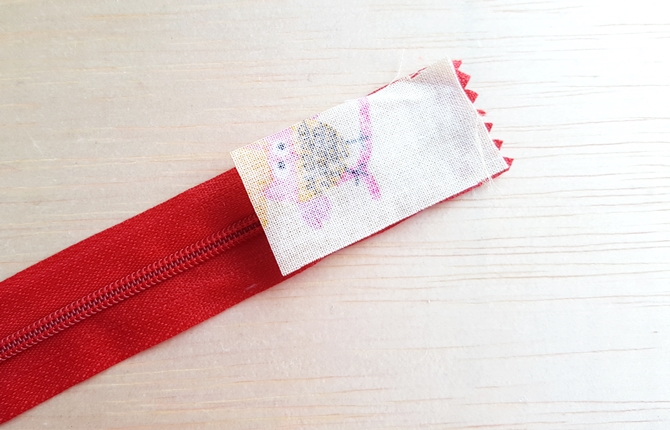
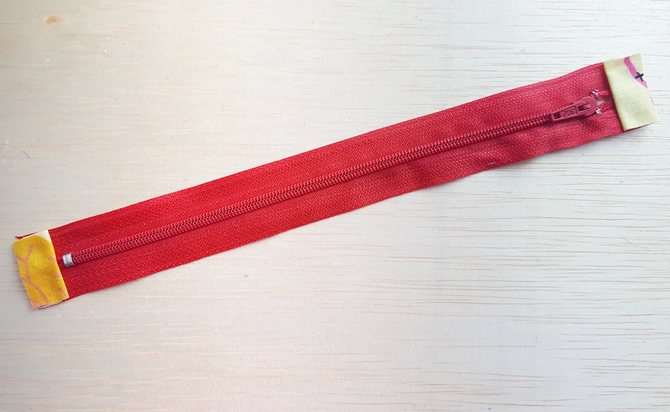
Quickly fold it over, making a crease 3/8” away from the short edge of the zipper. Repeat for the other side of the zipper. Cut the excess piece out. In the end, your zipper should look like this.
By signing up you also agree on receiving weekly newsletters. Unsubscribe anytime.
Step 13: place zipper right side down (the side with zipper pull is the right side of the zipper) on the right side of the front exterior panel, aligning the raw edge of the zipper with the raw edge of front panel. Place the lining on top, right side down, aligning the top raw edge. Pin and sew the three layers together, using a seam allowance of 1/4”. Use a zipper foot for this step.
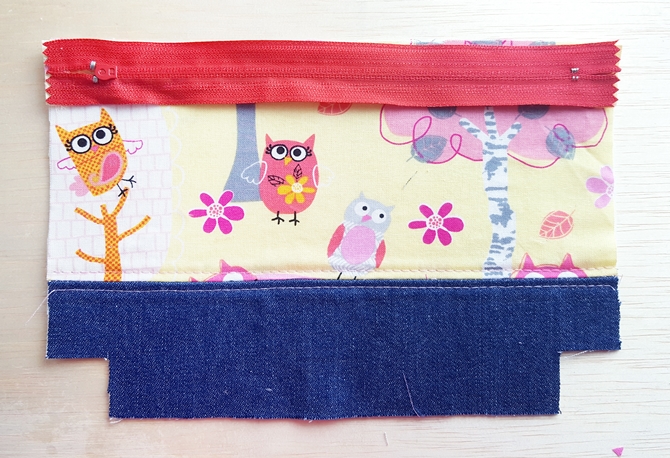
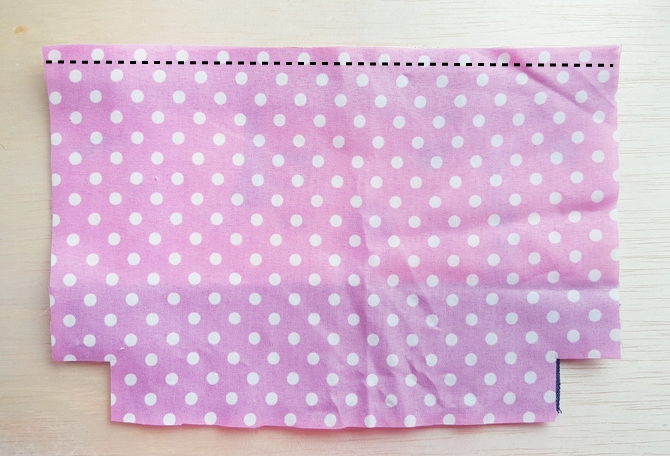
Step 14: place the zipper right side down on the right side of the back exterior panel, aligning the other raw edge with the top edge of the back panel. Place the lining on top. Pin and sew the three layers together, using a seam allowance of 1/4”. Use a zipper foot for this step.
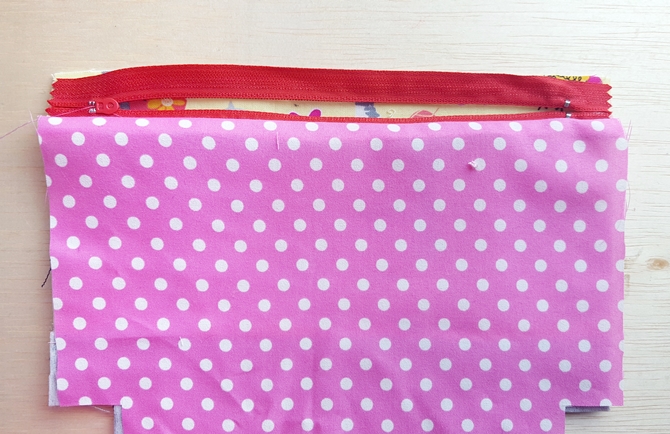
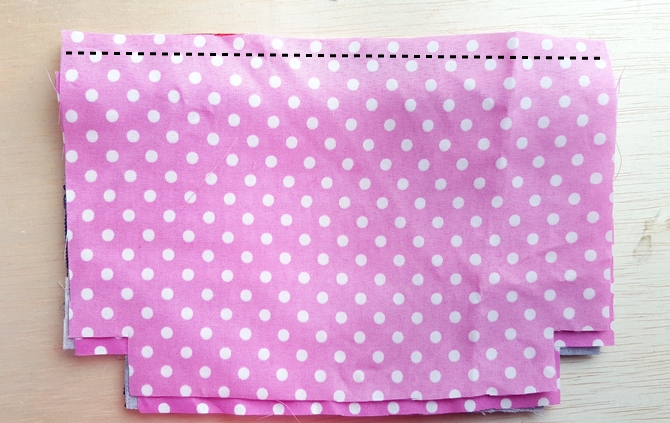
Step 15: arrange the panels so that the two exteriors are together, right sides facing each other, and the linings are together, right sides facing each other. Make sure you open the zip now.
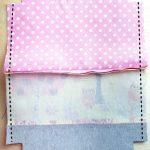
Step 16: Sew along the side and bottom edges ONLY as shown in the image. Leave a gap of 3” at the bottom edge of the lining as shown. Use a seam allowance of 3/8”.
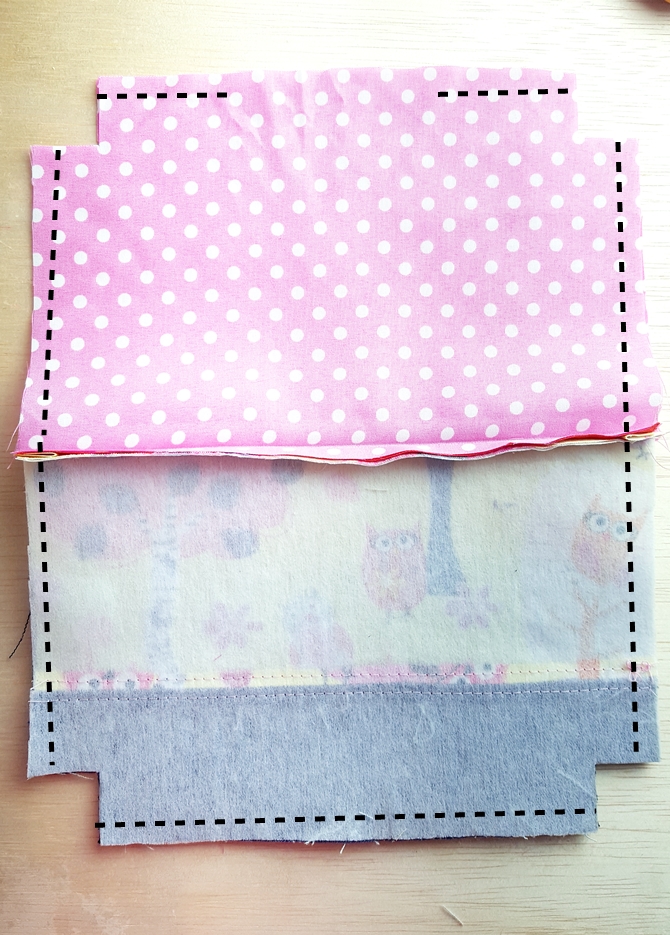
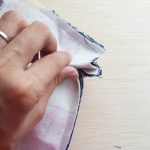
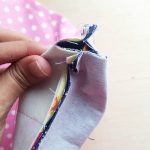
Step 17: bring the side and bottom seams together, sew using a seam allowance of 3/8”. Repeat for the rest 3 corners.
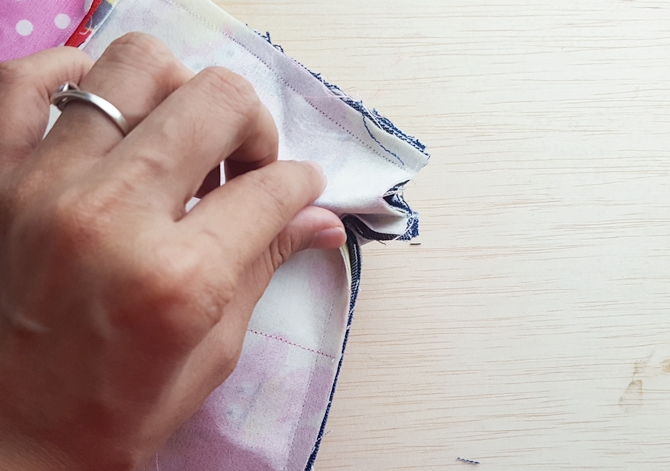
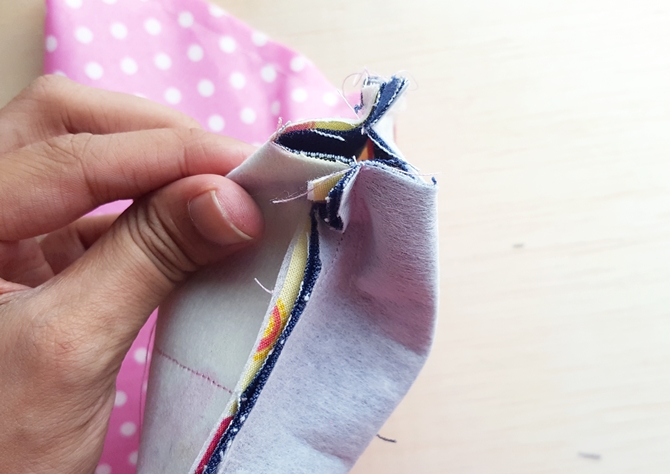
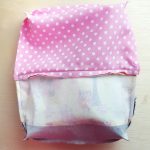
This is how it should look like in the end.
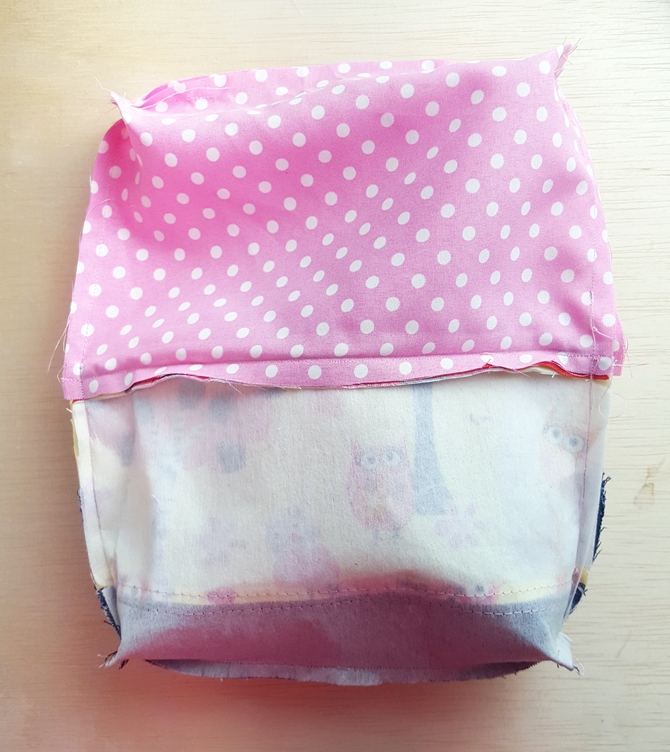
Step 18: turn right side out from the gap.
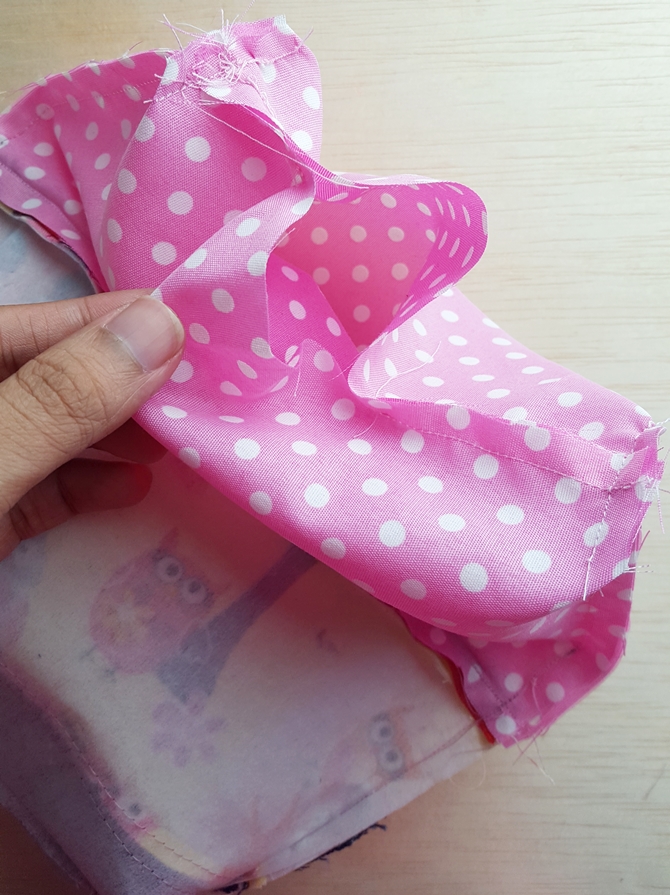
Step 19: pull the lining out, fold and tuck raw edges inside. Pin and sew as shown by black dotted lines.
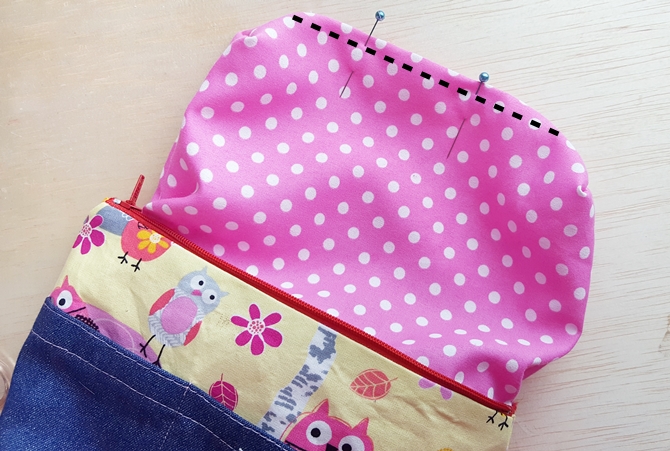
Push the lining inside. Give a final press to the pouch. Use a press cloth for safety and your cosmetic pouch with pockets is ready!
By signing up you also agree on receiving weekly newsletters. Unsubscribe anytime.
The End of DIY Makeup Bag with Lining Tutorial
With that, we have reached the end of the post where I shared with you how to make a makeup bag.
If you have a weakness for makeup bags and cute pouches like me, I’m sure you will LOVE DIY Vinyl Glitter Pouch tutorial.






Leave a Reply