Welcome back to hand embroidery stitch part 2.
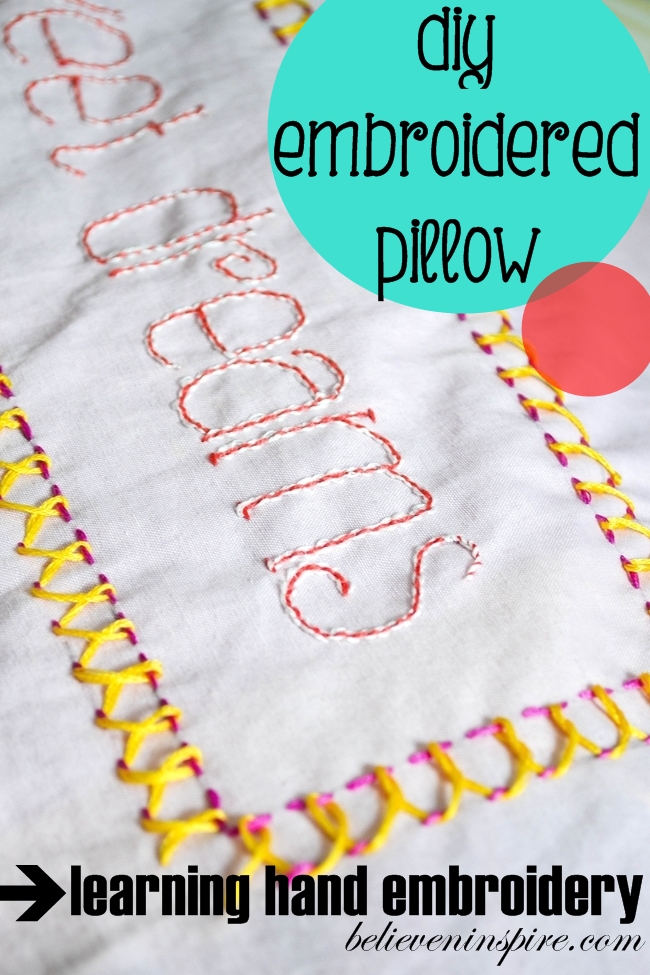
Today I am sharing my experience on working with the back-stitch family.
But before we begin let me show you how horribly I started off with this simple running stitch as seen on Sara’s blog.
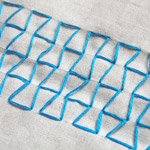
This is the main stitch:
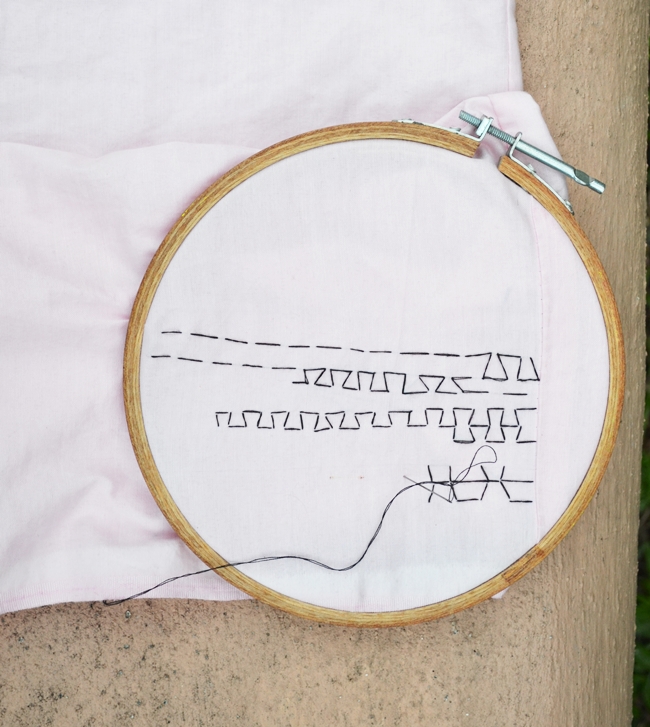
And below you can see my work and how horrible it turned out.
Hand Embroidery Stitch 2 – The Back-stitch
Well, that was it for the running stitch, I gave up perfecting it and moved on to the next in the line and that is the back-stitch. Below is the simple tutorial that I watched for knowing how it is actually done.
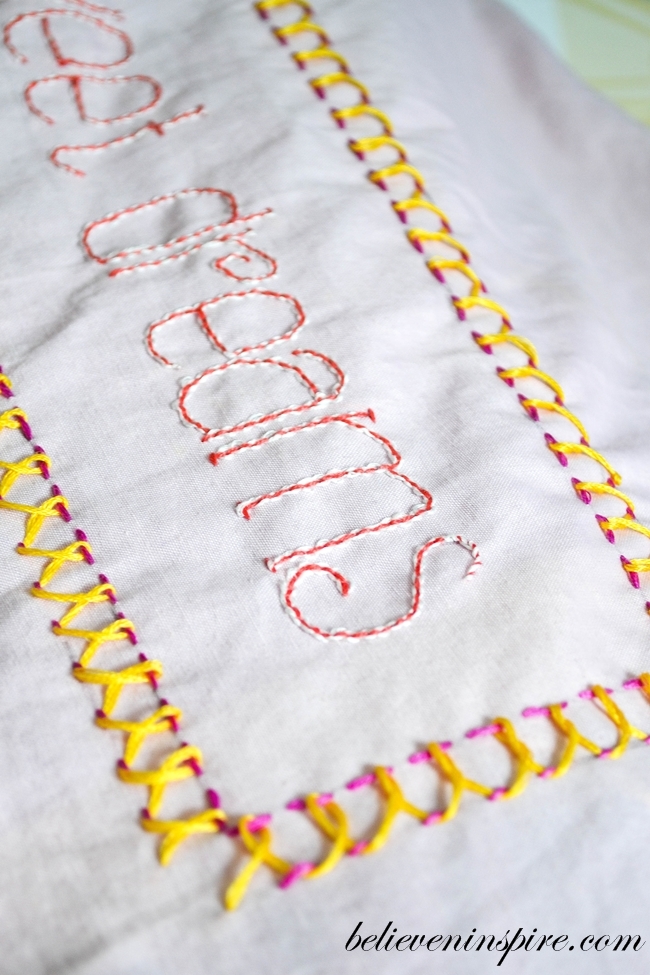
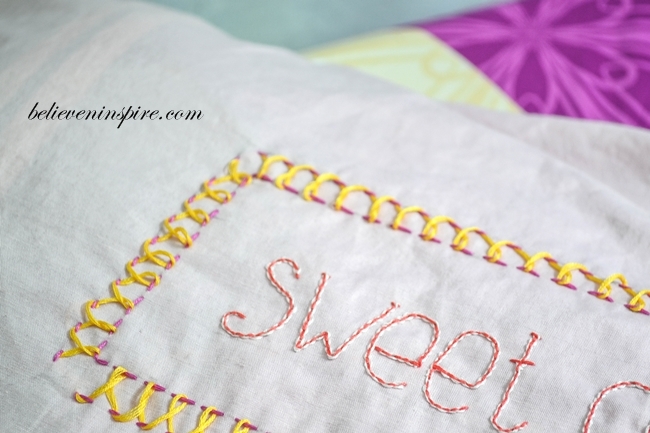
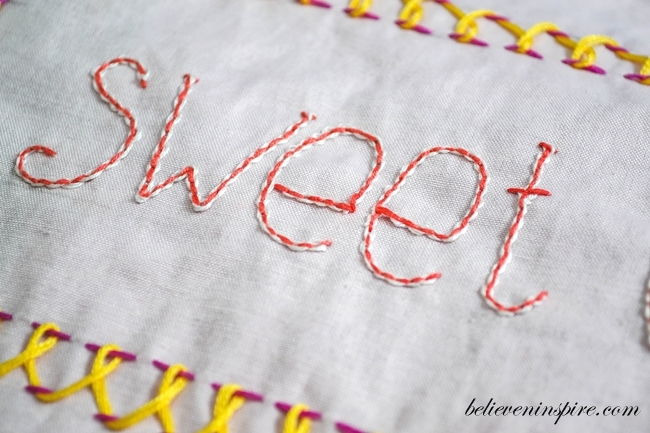
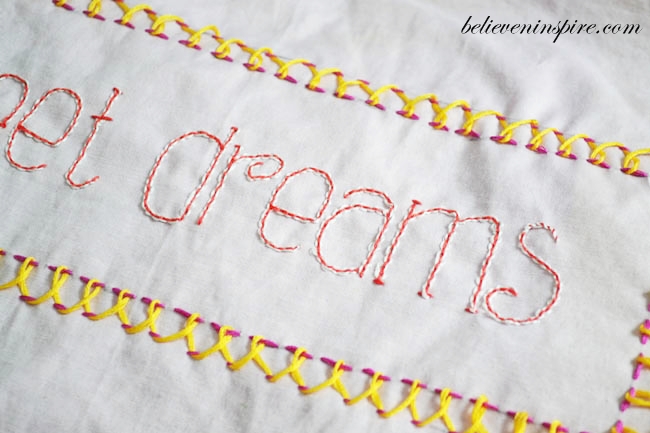
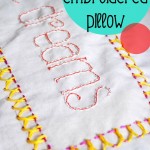
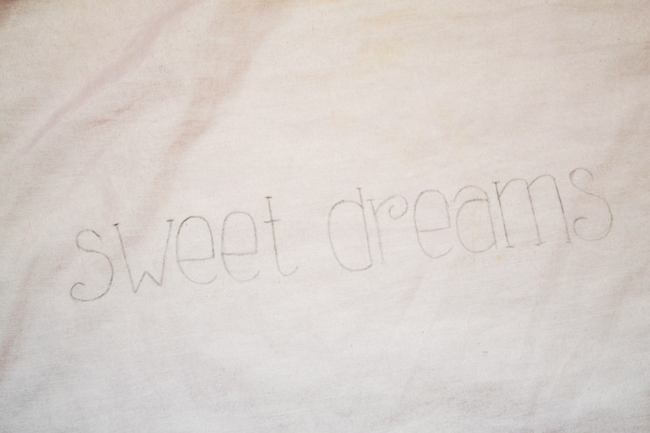
I started off by getting these words onto the pillow cover. This time I worked on a plain cotton fabric. After tracing the letters, I started embroidering them with simple back-stitch. I used 3 strands from the DMC which is usually 6 strands. Just separated them out into 3 strands each.
When I looked back at my work after just completing the letters, I was pretty dissatisfied. I think it was something in the size or something, I don’t know, but it looked really minuscule and boring to me. So, I used 3 strands of white thread and this method to add a new touch, and again the boring look didn’t change.
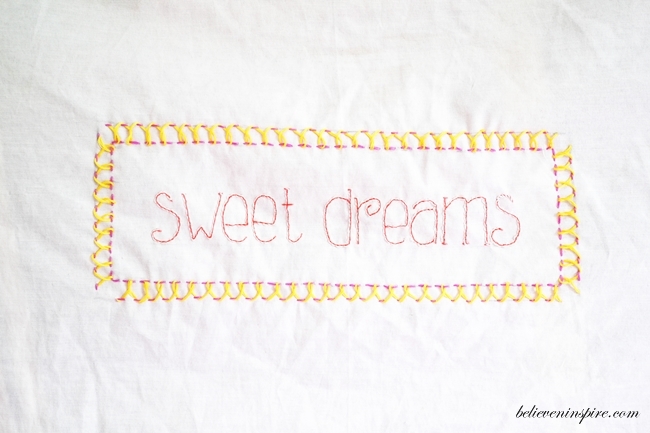
Then, I added a rectangular border using the simple running stitch. Was pretty much stuck after that and I was so frustrated with my work, I texted my friend the picture of the project saying look what colorless piece of lame work I made! Yea, I actually said that.
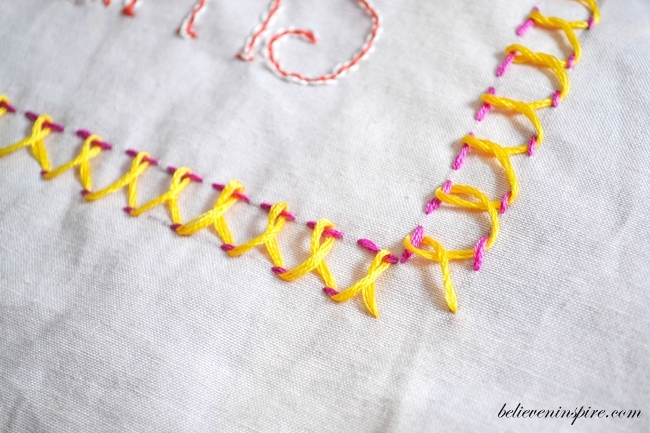
Anyway, then I went back to Sara’s amazing picture dictionary and this idea of using the stepped running stitch with yellow thread popped in mind. And, I guess that’s exactly what I needed. I kinda like how it slightly changed the boring look, I am still not a huge fan of the result, but I’ll let this project end here because I am so fed up.
Want more inspiration for Back-stitch embroidery? Check out these projects on a tee and a card.
Want to know how I started off with the basic running stitch? Check out this project.
Are you looking for a complete embroidery resource guide? Go here.
Don’t forget (AD) Craftsy offers many different classes on machine embroidery too and they are on upto 75% discount. Sale ends on 22nd September. So, hurry up and sign up for yours!
Have you ever had an embroidery fail experience? Share in the comments below!
Linking up to these blogs:
Linking up to these blogs:
Not just a housewife, Savvy Southern Style, Funky Junk Interiors, French Country Cottage, Six Sister’s Stuff, Sew Much Ado, DIY Show Off, I heart Naptime, Craft berry Bush, Coastal Charm, Handy DIY by Design, Too Much Time , The Charm of Home, Flamingo toes, Flour Me With Love, Someday Crafts, Alder-berry Hill. Seven Alive, What’s Cooking Love, The Crafty Blog Stalker,Southern Lovely , Craft Junkie Too, Raising Reagen, Create Craft Love, Mom On Timeout, Fireflies and Jellybeans, My Romantic Home, The Scoop @ Crafty Texas Girl, Sugar Bee Crafts, Time to Sparkle @ The Gunny Sack, Home Stories A to Z, By Stephanie Lyn, The Girl Creative, Kathe With an E, The 36th Avenue, It’s Overflowing, Lil’ Luna, Love Bakes Good Cakes.
This post first appeared on Believe&Inspire.
Don’t forget to sign up for our twice a month newsletter for FREE printable!


Leave a Reply