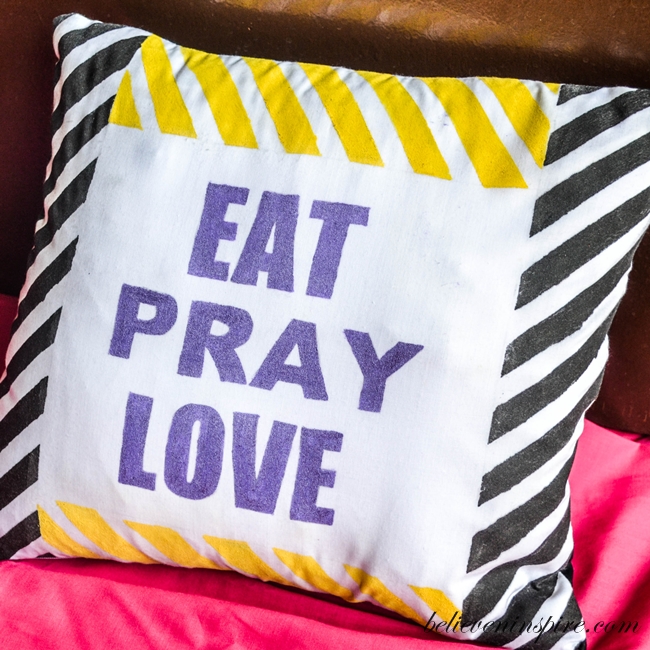
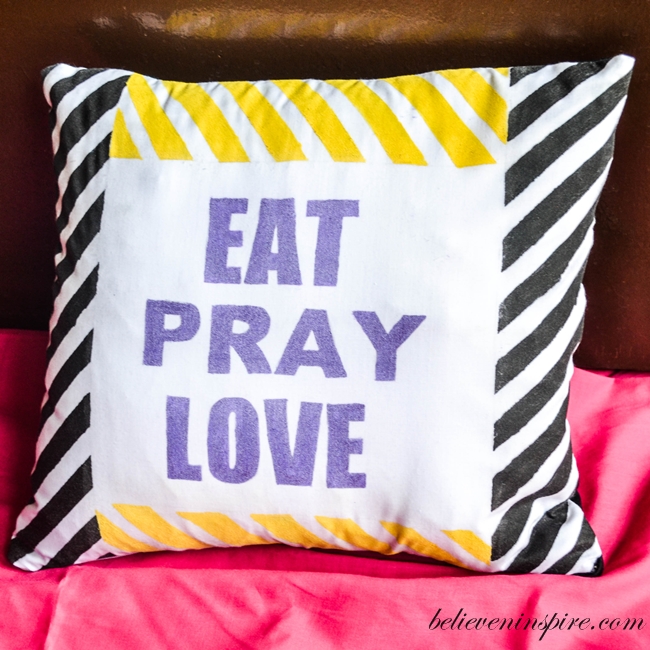
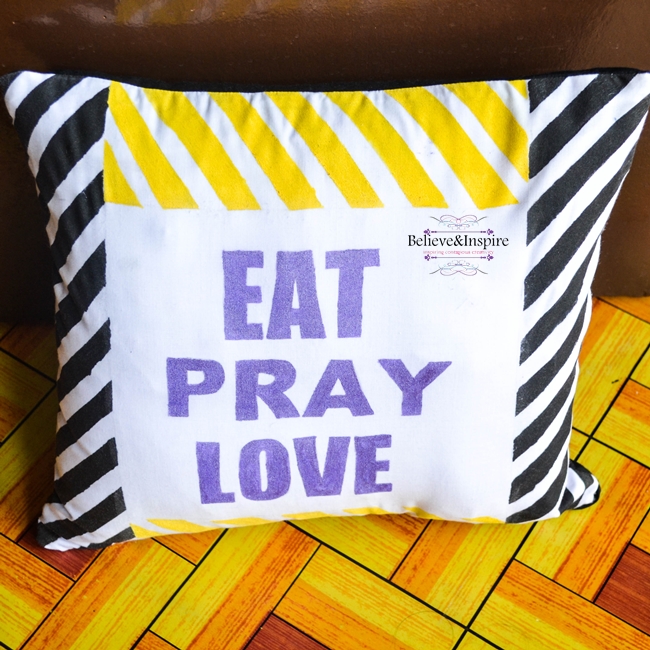
Eat, pray, love. This quote never gets old. Doesn’t it? Today I’m sharing a new throw pillow cover tutorial with the old eat, pray, love quote with a totally fresh design.

The tutorial is based on fabric painting technique. I created the pattern using tape, and for the letters, I just painted them freely without the stencils. But, you can always use the famous freezer paper technique for it, for a quicker approach. You can add this to your collection of throw pillows for couch inspiration.

I think this pillow cover would make a great piece of decor in a teen bedroom or maybe the living room too. The colors used are totally bold and bright, keeping the young adult in mind.
Okay, now let’s get started with the tutorial.
How to Make Eat, Pray, Love Striped Pillow Cover
Supplies:
- 1 yard cotton fabric in black and white (black for the back)
- Fabric paints (Yellow, purple and black, I used folkart by plaid)
- Masking tape (1 cm in width)
- Paint brush
- Pattern
- Scissors, measurement tape
- Zipper


Method:
- Cut 15″ squares from both the fabrics.
- Make a square by marking 3″ away from each sides. This way it will be easier to place the fonts in the center. Use fabric chalk and not pencil to make the square as chalks are easy to remove.

3. Next, place your pattern under the fabric, making sure that it is placed centrally, equidistant from all sides.
4. Now lightly trace the whole thing with the pencil.

5. Next, tape down the fabric onto your table. If you want you can place a rough sheet or an old news paper under the fabric to prevent the mess.

6. Now is the time to make the patterns. Use the masking tape and stick it onto the fabric in slanted position. Repeat until you reach the other side, making sure the distance between the two consecutive tapes is equal.
This is how it should look like after all the taping. Sort of like bandaged all over. 😛

7. Using your sponge brushes, start painting. Repeat the same procedure with the top and bottom, use yellow instead of black this time.

8. Finally, paint in the letters. Normally, when I am doing free hand painting, I use a thick brush to fill in the middle of the letters and then a very thin brush to do the edges.
9. Let, the paint dry completely for two to three hours. What you need here is patience or else the project can turn into a huge mess with just tiny dots of paint here and there.
10. After the paint has dried, iron on the fabric by placing another piece of cloth on it. Follow the instructions on your bottle.
11. Finally sew in the pillow pieces together for a complete look.

A final NOTE: Dear lovely readers, please do not replicate the design for commercial buying and selling. The tutorial and the design is for personal use only. It’s okay to use a picture of finished project BUT with a link back. We love you for co-operating with us. XOXO.

Linking up to these blogs:
Not just a housewife, Savvy Southern Style, Funky Junk Interiors, French Country Cottage, Six Sister’s Stuff, Sew Much Ado, DIY Show Off, I heart Naptime, Craft berry Bush, Coastal Charm, DIY by Design, Too Much Time , The Charm of Home, Flamingo toes, Flour Me With Love, Someday Crafts, Alder-berry Hill. What’s Cooking Love, The Crafty Blog Stalker, Raising Reagen, Create Craft Love, Mom On Timeout, My Romantic Home, Sugar Bee Crafts, Time to Sparkle @ The Gunny Sack, Home Stories A to Z, By Stephanie Lyn, The Girl Creative, Kathe With an E, The 36th Avenue, It’s Overflowing, Lil’ Luna, Love Bakes Good Cakes, http://freshideastudio.com, DIY Home Sweet Home, Ginger Snap Crafts, Oombawka Design, Titi Crafty by Camila, Livin Better Together, Common Ground-Do.com, My Re-purposed Life
This post first appeared on Believe&Inspire.
Don’t forget to sign up for our twice a month newsletter for FREE printable!


[…] Source […]