Hello believeninspire readers! After a long tutorial break I’m back with a brand new tutorial on how to make Sequined Silky Heart Pillow Tutorial (Decorative Pillows). Oh my! I just realise it has been almost a month since I last posted a tutorial. Although, my exams ended on 6th January I couldn’t get down with blogging because I got caught up moving from one city to another and then searching for the perfect laptop, purchasing craft supplies and a brand new sewing machine.

Oh yes! I got a new sewing machine!! 😀 Okay, it’s the one people are buying for their little grand-daughters that means not the pro one. The reason I got is that it’s super cheap and handy. I can easily tuck it away in my mini dorm room closet and can travel with it from one place to another. Plus, I won’t be sewing all the time. I needed something I wouldn’t mind throwing away after 3 and half years when I’m done with my degree, as I won’t be able to carry it with me at any cost.
Okay, enough with the stories. Let’s get to our tutorial now.
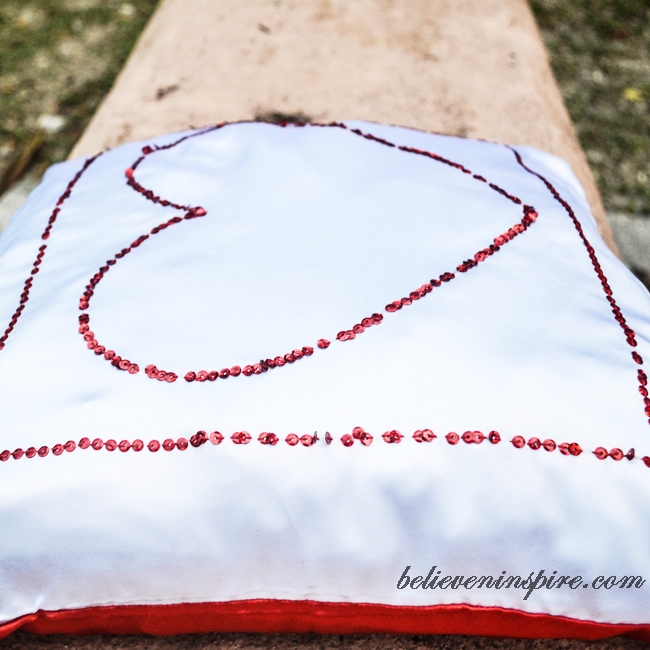
I made this glam sequined pillow with red and white combo first. I’m currently making anther one which is silver and black. Which one would you go for?
These would not only make great gifts for your dear hubby but would also be lovely decor items. Take a look and decide for yourself.
Red and white always make a lovely combination, don’t you think? And, especially if they are silky and soft, adds such a glamorous look.
Things you need:
- 1 yard of red and white fabric
- a 14″ zipper
- red sequins
- pins, scissors, measurement tape
- sewing machine
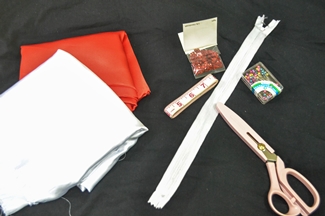
How to Make Sequined Silky Heart Pillow Tutorial (Decorative Pillows)
- Start off by cutting out 15″ square from both fabrics. For the front of the pillow we will use white and for the back we will use red.
- Cut out the heart shape using the pattern and place it carefully on the center of the square and tape it off.
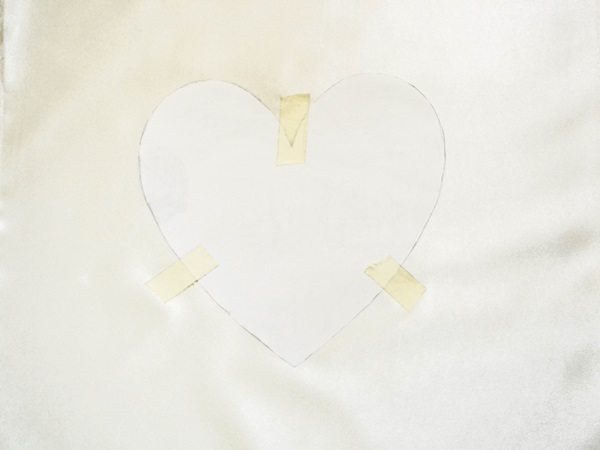
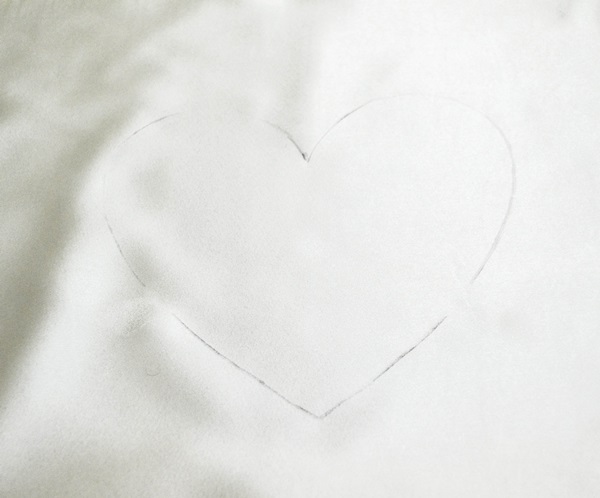
3. lightly trace the outline of the heart onto the pillow.
4. Place the fabric in the embroidery hoop and hand stitch the sequins one by one making sure to keep the result is neat. I used double threads to ensure that the sequins are attached strongly. It took me around 4 hours to get done with the heart. And I was watching stuff to keep the boredom away. 😉
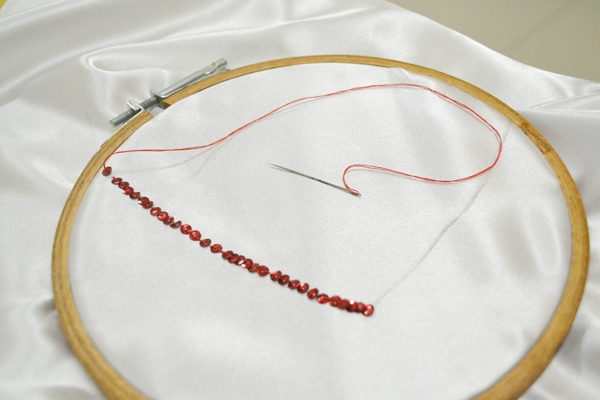
5. Since it was looking quite empty I drew a square around the heart and hand stitched it too.
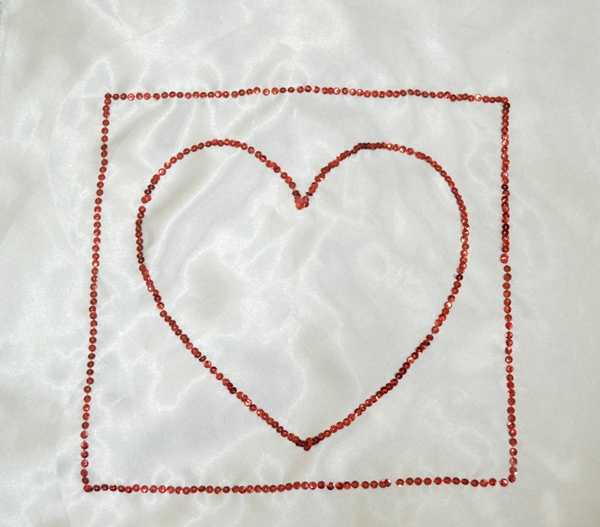
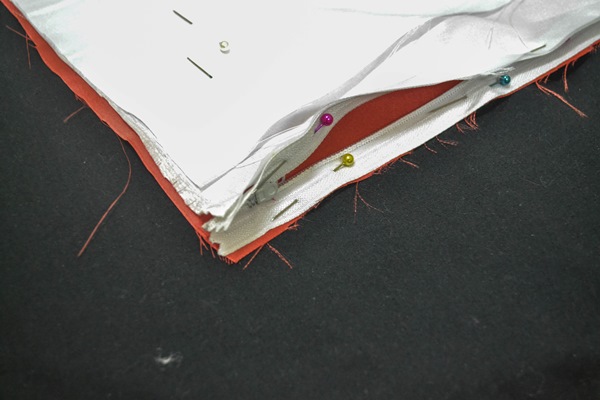
6. After stitching I moved onto the final part of sewing everything. I would like to confess something here. You could say, starting off from this project I promised myself to be really neat with my sewing. Up-till now whatever project I made I didn’t have neatness in them beacuse of lack of paitence. I found it really annoying to take every single measurement and then to use pins to ensure the fabrics are in place and all that. But, from now I have promised to NOT be lazy and work really slowly and neatly on every project and that explains the delay in post too.
After pinning everything, sewing turned out to be really easy. I finished off with an over-lock from all sides.
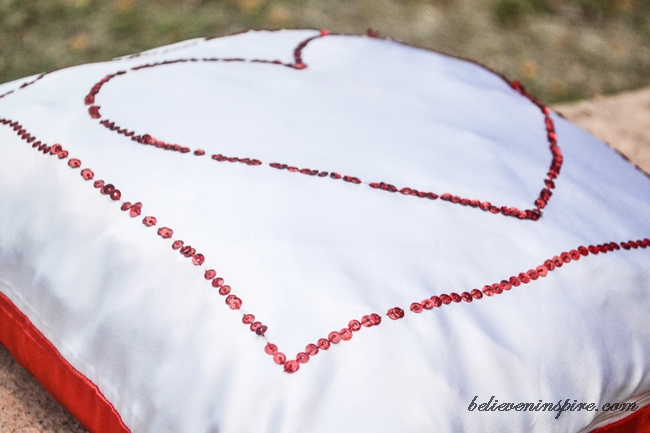
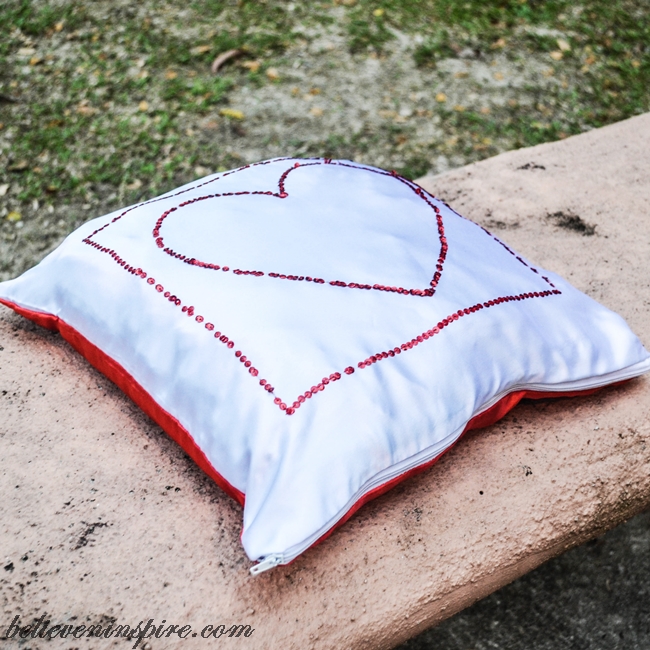
And here’s the final look!
So what do you think?
NOTE:
Dear lovely readers, please do not replicate the design for commercial buying and selling. The tutorial and the design is for personal use only. We love you for co-operating with us. XOXO
Linking up to these blogs:
Not just a housewife, Savvy Southern Style, Funky Junk Interiors, French Country Cottage, Six Sister’s Stuff, Sew Much Ado, DIY Show Off, I heart Naptime, Craft berry Bush, Coastal Charm, DIY by Design, Too Much Time , The Charm of Home, Flamingo toes, Flour Me With Love, Someday Crafts, Alder-berry Hill. What’s Cooking Love, The Crafty Blog Stalker, Raising Reagen, Create Craft Love, Mom On Timeout, My Romantic Home, Sugar Bee Crafts, Time to Sparkle @ The Gunny Sack, Home Stories A to Z, By Stephanie Lyn, The Girl Creative, Kathe With an E, The 36th Avenue, It’s Overflowing, Lil’ Luna, Love Bakes Good Cakes, http://freshideastudio.com, DIY Home Sweet Home, Ginger Snap Crafts, Oombawka Design, Titi Crafty by Camila, Livin Better Together, Life After Laundry, Common Ground-Do.com
This post first appeared on Believe&Inspire.
Don’t forget to sign up for our twice a month newsletter.


Leave a Reply