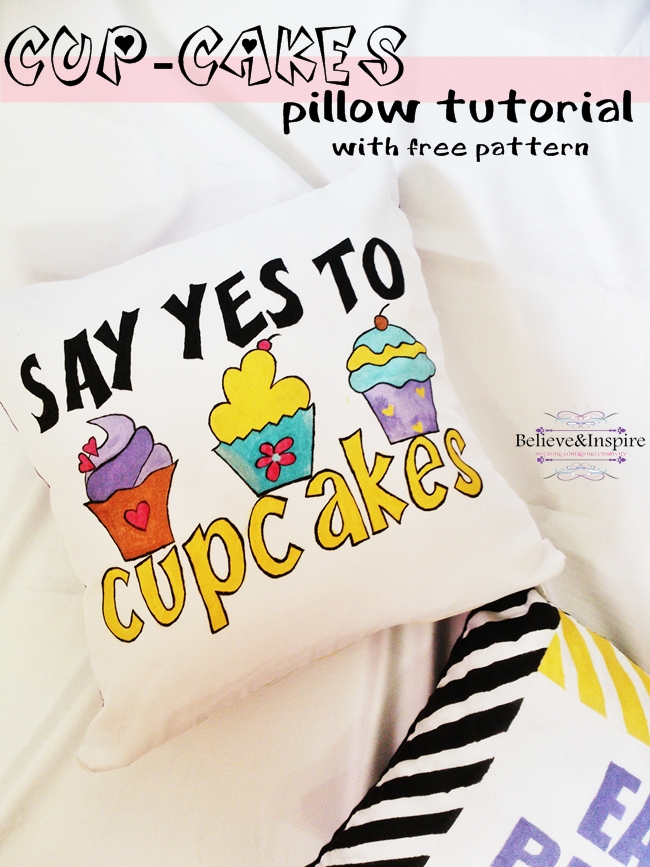
Hello readers! Today’s pillow tutorial is for all the cup-cakes fanatics out there or you can put this in the “things to sew for kids”! Cup-cakes are one of the loveliest things on earth. It’s upto us how cute we can turn them into and incorporate them in our decor. I’m sure there are many many people out there who enjoy living with cup-cakes and all such cute things as much as I do. So my dear girls, lo and behold! Here’s a cup-cake pillow tutorial JUST for you with free pattern TOO!
PS If besides cup-cakes you love candies too, I have a pillow tutorial for that too. 😉 Just visit Candy Days Pillow (How to sew decorative pillows).
The story behind designing this pillow is simple… cup-cakes! I just love the look of them. And to have a pillow with cup-cakes on them is just so awesome. Like a happy moment. And, I’m sure you girls love them too so why not make a tutorial?
By the way, do you remember my post on instagram from the previous to previous week?
Did you guess what I was working on?
Well, here’s your answer! XD
Cup-cake Pillow DIY (Things to sew for kids)
Supplies:
- 1 yard cotton fabric (white and purple)
- Fabric paints (black, pink, turquoise, yellow, purple, bronze) I used plaidcrafts and dylon.
- Paint brush
- (ad) Free Pattern (this is an affiliate link to craftsy from where you can download the pattern for free after signing up on their website which is also free ;))
- Scissors, sewing machine, 14″ zipper


Instructions
1) Cut out a 15’x15′ square from the white and purple fabric respectively.
2) Since my white fabric was quite transparent I just placed the pattern under it and traced everything.
3) For ease I cut the words into half, places the “say yes to” phrase a bit above and the “cupcakes” a bit low, leaving enough space to draw in the cup-cakes.
You can also use the freezer paper stenciling technique here, by printing the phrase onto freezer paper and then cutting out the letters using the xacto knife. If you like you can embroider the whole thing too.

4) Paint the letters.
5) Then paint the cup-cakes.
6) Outline the cup-cakes with your black paint.


7) After everything has dried, flip the fabric and press it to fix the paint. If your fabric is light make sure you use low heat. I have ruined two covers because of that mistake :P.
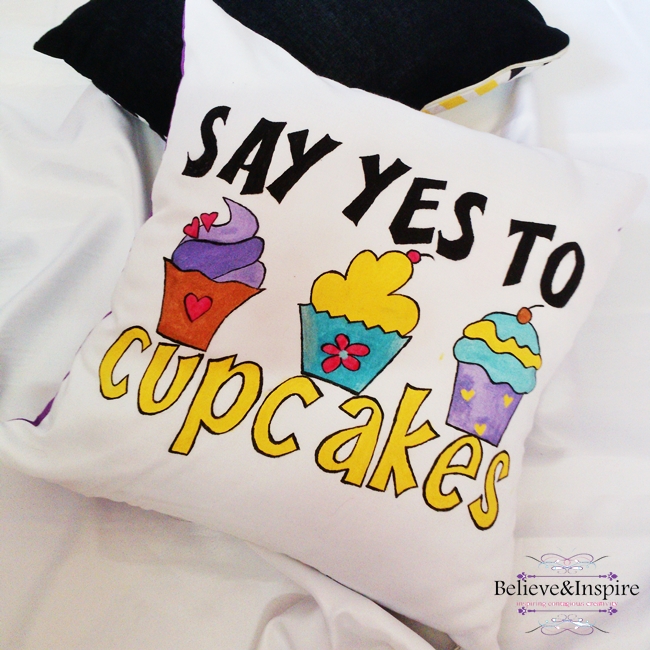
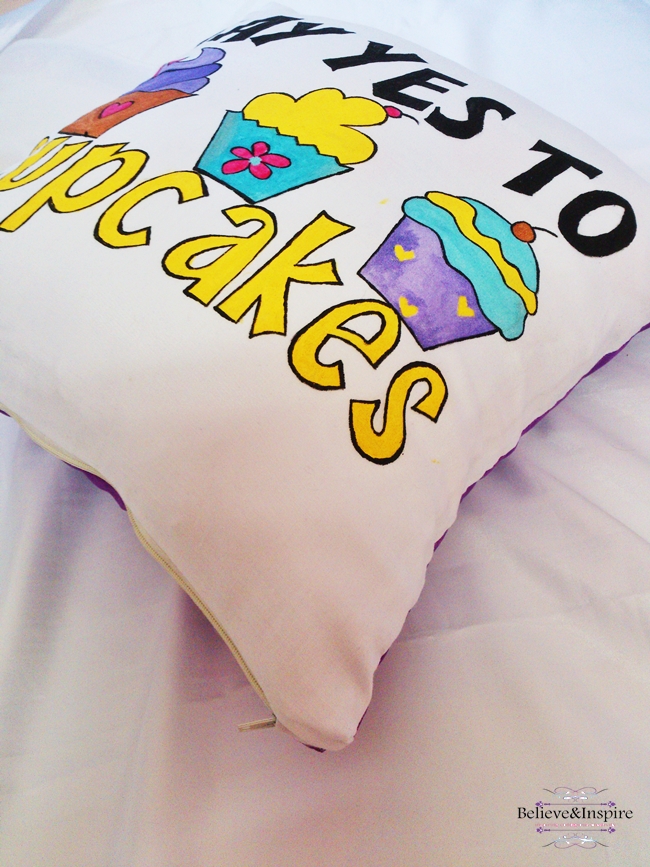
8) Lastly, put the front and back pieces together with the zipper and sew it in place. And ta-da! You have a funky cup-cake pillow to adorn your bed or your couch.
Linking up to these blogs:
Not just a housewife, Savvy Southern Style, Funky Junk Interiors, French Country Cottage, Six Sister’s Stuff, Sew Much Ado, DIY Show Off, I heart Naptime, Craft berry Bush, Coastal Charm, DIY by Design, Too Much Time , The Charm of Home, Flamingo toes, Flour Me With Love, Someday Crafts, Alder-berry Hill. What’s Cooking Love, The Crafty Blog Stalker, Raising Reagen, Create Craft Love, Mom On Timeout, My Romantic Home, Sugar Bee Crafts, Time to Sparkle @ The Gunny Sack, Home Stories A to Z, By Stephanie Lyn, The Girl Creative, Kathe With an E, The 36th Avenue, It’s Overflowing, Lil’ Luna, Love Bakes Good Cakes, http://freshideastudio.com, DIY Home Sweet Home, Ginger Snap Crafts, Oombawka Design, Titi Crafty by Camila, Livin Better Together, Common Ground-Do.com, My Re-purposed Life
This post first appeared on Believe&Inspire.
Don’t forget to sign up for our twice a month newsletter for FREE printable!


Leave a Reply