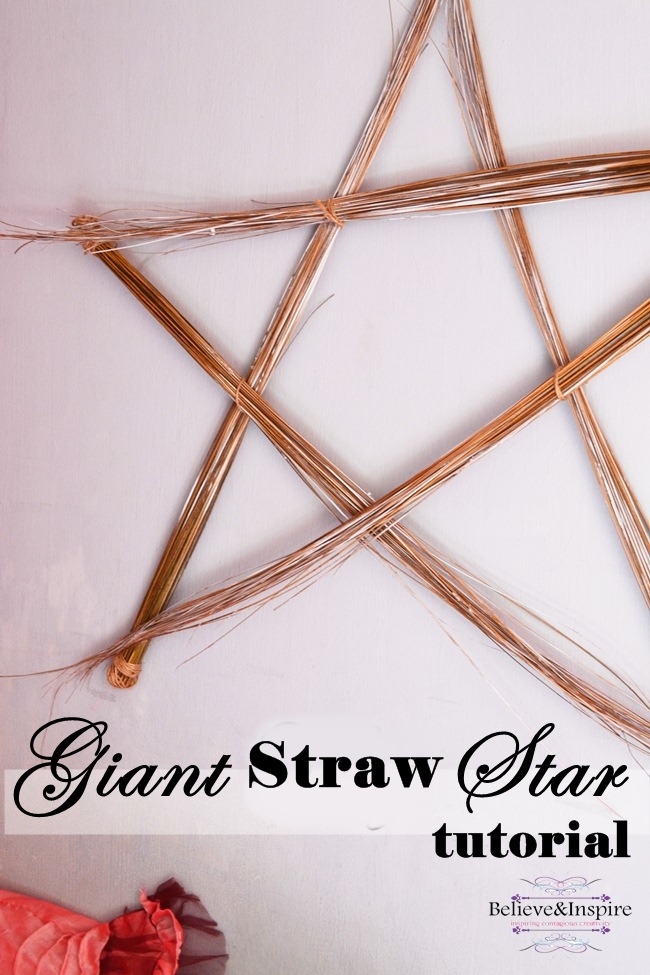
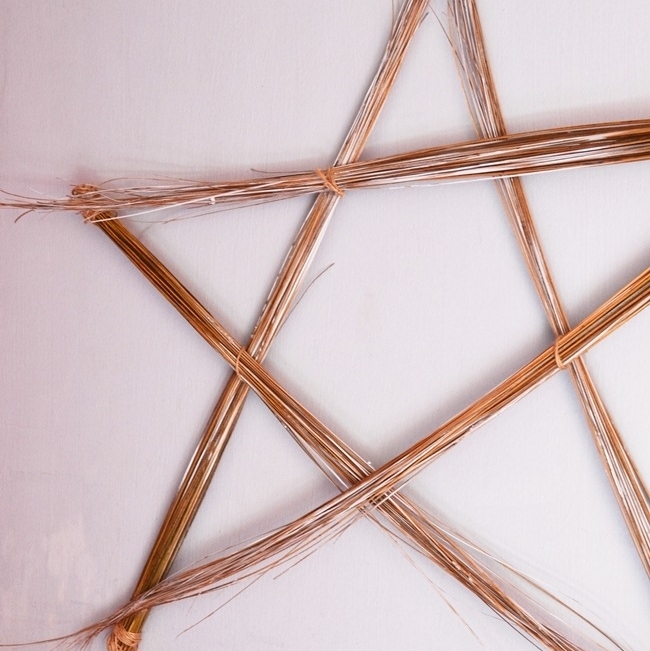
Hello friends! I’m another project close to finishing up my dorm room decor. And, today’s project is an up-cycled giant straw star (a fairly cheap wall art) for the big bare empty side of the room.
I had to go through a number of brain storming sessions to FINALLY come up with this cheap wall art idea.
You know when you are living in a dorm, you have very limited choices. Rules like no holes in the wall and bla bla make you pull your hair because then you can’t hang giant wall arts and stuff as they are pretty heavy, plus I didn’t want to spend much either. So initially I wanted to make a burlap banner, but then, due to lack of availability I switched to making a banner out of silk. I had plans on embroidering the whole thing but DAYYUM it required a heck loads of patience and time of which I had none. I started the project but never completed. 😛 Here’s the proof of my impatience in the What’s Going On post. If you scroll down you would be able to see the banner in progress.

After failing to embroider the banner I though of going for fabric painting it. But, then again I fell lazy. In the meantime I found some burlap sacks so in the semester break I finally completely surely decided to turn the sacks into banners somehow.
But then, just two days back when I was sorting things in my head and was trying to come up ways to use the twigs from the winter decor project, the idea of giant star came to my head and it seemed pretty darn EASY! Yeah, easy is what I’m always up for considering how time is always short.

So I got down and made this giant star which probably cost me less than $5. Sometimes, I like it a lot, but at other times it just looks normal to me. Come Spring, I’m gonna add some flowers to it, then perhaps it’ll look pretty.
Anyway, onto the tutorial:
How to make Giant Straw Star – Cheap Wall Art
Supplies:
- Twigs from broom (This is the one I used)

- Twine
- Glue gun with glue

Directions:
1. Separate out the straws in 5 groups. I’m recycling the ones I used for my winter decor project and you can see my attempt on creating a snowy look using foam balls, so I had to get rid of them first.


2. Next, tie the individual sets together with the twine.


4. Arrange the star in place on the floor. Tie and glue the corners together. Make sure to hold the part for few minutes to allow the glue to set and dry.


5. Where the straws intersect, add another knot.

6. Tie another twine at one end in order to hang the star onto the wall. And you are all done!


Some of my friends think it has a satanic look, but naa I still love my rustic star. What do you guys think, doesn’t it make a fairly cheap wall art? Would you add this to your space? Let me know in the comments below.

Linking up to these blogs:
Not just a housewife, Savvy Southern Style, Funky Junk Interiors, French Country Cottage, Six Sister’s Stuff, Sew Much Ado, DIY Show Off, I heart Naptime, Craft berry Bush, Coastal Charm, DIY by Design, Too Much Time , The Charm of Home, Flamingo toes, Flour Me With Love, Someday Crafts, Alder-berry Hill. What’s Cooking Love, The Crafty Blog Stalker, Raising Reagen, Create Craft Love, Mom On Timeout, My Romantic Home, Sugar Bee Crafts, Time to Sparkle @ The Gunny Sack, Home Stories A to Z, By Stephanie Lyn, The Girl Creative, Kathe With an E, The 36th Avenue, It’s Overflowing, Lil’ Luna, Love Bakes Good Cakes, http://freshideastudio.com, DIY Home Sweet Home, Ginger Snap Crafts, Oombawka Design, Titi Crafty by Camila, Livin Better Together, Common Ground-Do.com, My Re-purposed Life
This post first appeared on Believe&Inspire.
Don’t forget to sign up for our twice a month newsletter for FREE printable!


Leave a Reply