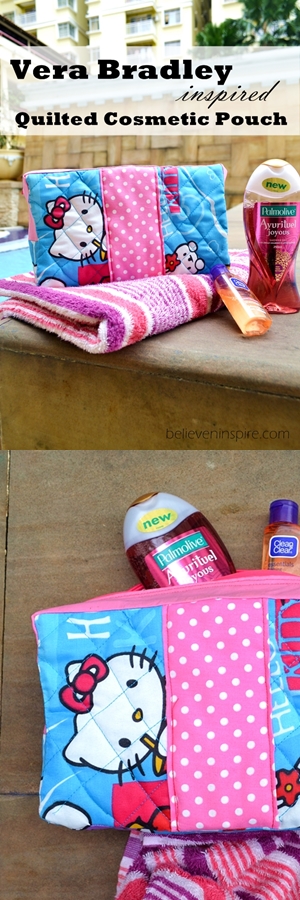
Girls, do you remember the pillow cases I shared with you last time? Today, I’m gonna show you how to make toiletries/ cosmetic bags from the pillow cover.
Pin this image on your Pinterest board for later.
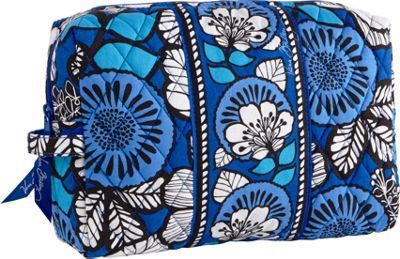
While I was browsing through sites I found this really pretty Vera Bradley pouch and it seemed quite do-able.
Difficulty: Intermediate
Cost: Less than $5, if you use fabrics scraps that you already have. I purchased the pillow cover for $2. I already had rest of the supplies.
Vera Bradley Inspired Quilted Toiletries/ Cosmetic Bags Tutorial
Supplies:
- 1/2 yard exterior fabric
- 1/2 yard lining fabric
- 1/4 yard accent fabric
- 1/2 yard of batting
- 11″ Zipper
Cut out the following pieces of fabrics.
From the exterior:
A : 11″x7″ (Cut two) (Cut two from the lining fabric) B: 18″x4″ (Cut one from exterior fabric)
From the accent:
C : 18″x2.5″ (Cut two) (Cut two from the lining fabric) D : 6″x7″
From the batting:
10″x6″ and 17″x3″
From the interface:
Cut a piece for each of the lining. And one for each of the C pieces. Fuse all the interface with the respective pieces. If you have fusible batting, you can fuse it on the fabric. Or else pin your batting to your fabric. With a help of a ruler, draw diagonal lines on the fleece using your fabric pen in the way shown. Make sure you don’t do this on the exterior side of the fabric, as it might leave some residues. I had that problem and the fabric got totally ruined and gross.
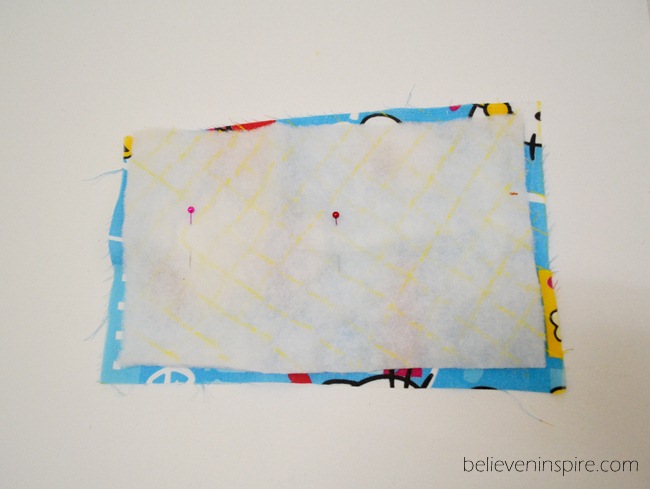
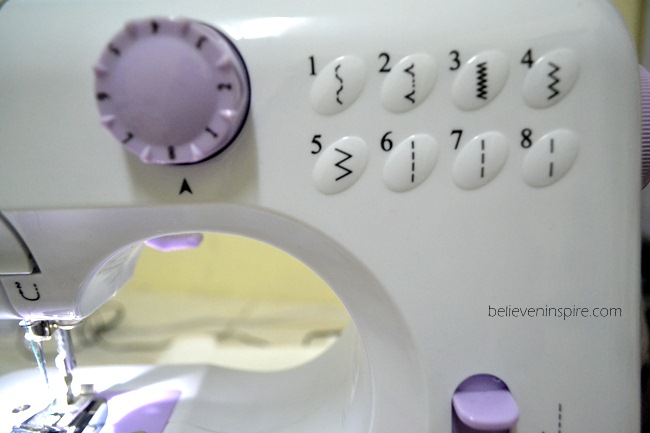
I used no. 8 stitch length to sew the batting on the fabric.
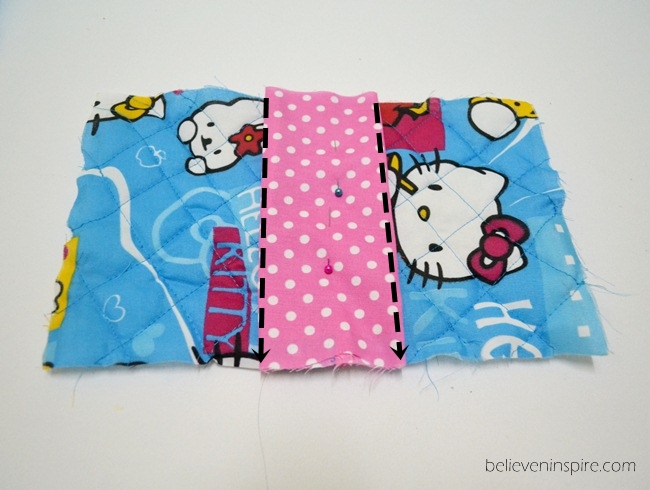
Repeat the same thing with your other A piece and your B piece. Next, take your D piece, sew it along the edge. Press from sides keeping the sewn side in the center.
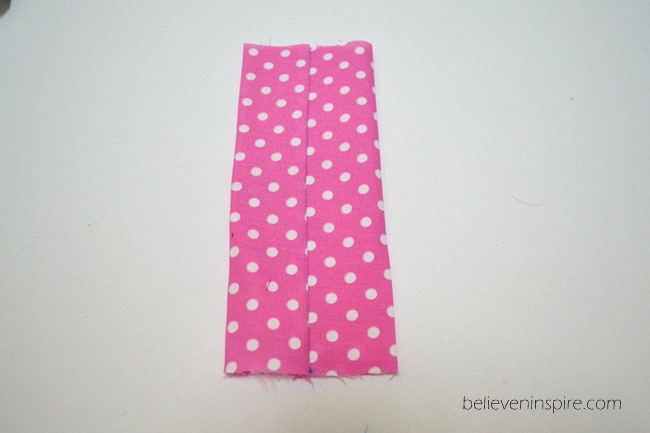
Pin your D piece in the center and sew along the sides as represented by the dashed lines below.
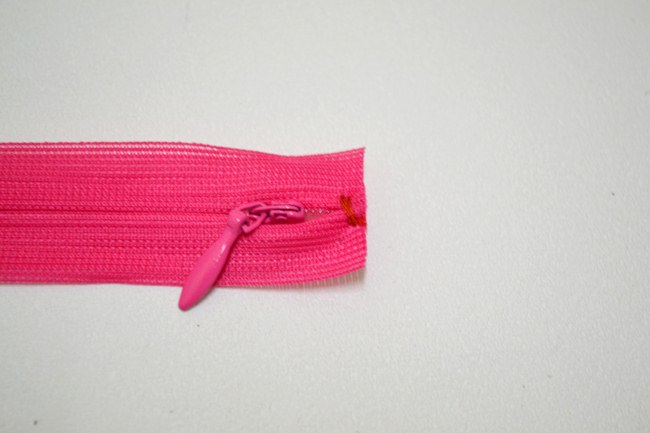
Prepare your zipper:
Snip off the extra part, and using hand stitch make a zip stopper.
Take one of your C piece. Place the zipper onto it, centered. Using a fabric pen place two marks one on each side of the zip. If you look closely they are the yellow marks here.
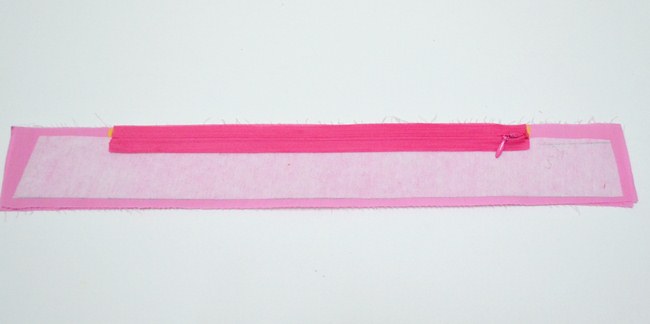
Take both of your C pieces, right sides facing each other and sew a straight line on both sides till you reach the marks.
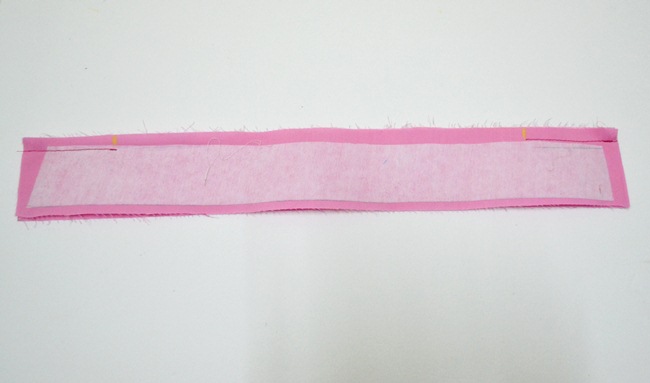
Open and press your seams as shown. This is how it should look like. Now it will be easier to sew in the zipper.
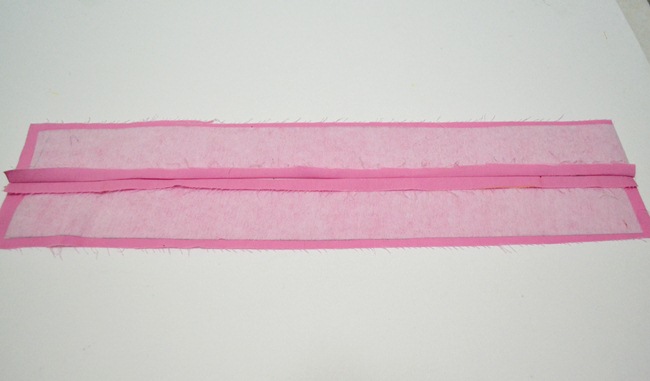

Pin your zipper in place and sew using your zipper foot. Learn more zipper techniques for free at (affiliate link) craftsy.
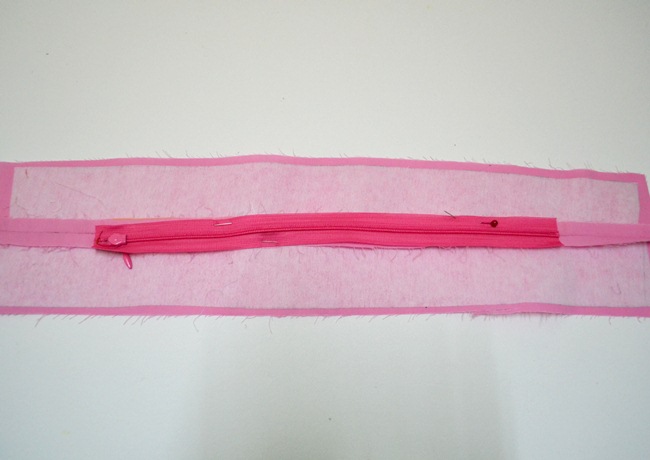
Attach the bottom to make the gusset.
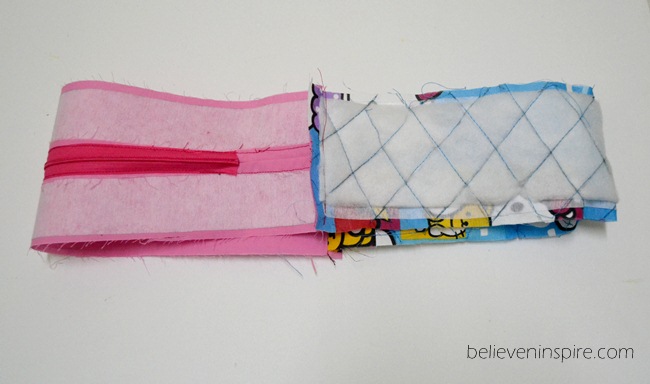
Assemble the exterior:
Mark the center on the wrong sides of both the bottom and zipper gusset. Take your exterior pieces and mark their centers too on the top and bottom part on the wrong sides. Match the center of the gusset with the center of the exteriors, keeping right sides together, pin and sew all around. Repeat the same thing for the lining. 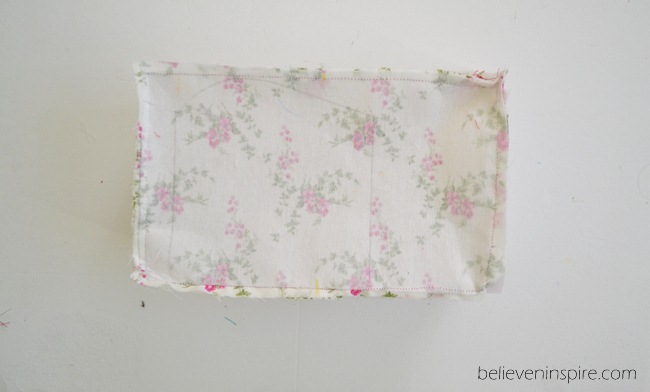

Take your lining piece, place it inside the exterior. Arrange, pin and sew a top stitch attaching the lining to the exterior at the zipper. And you’re done! 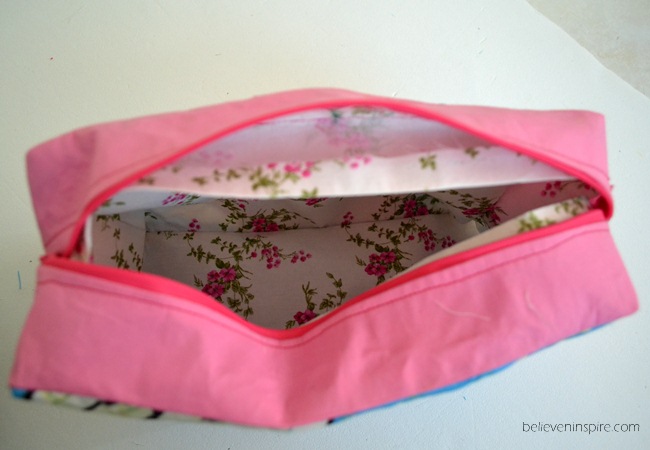
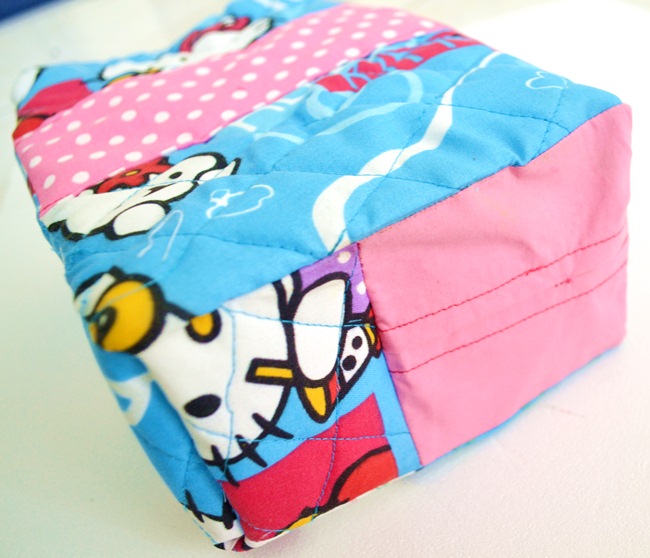
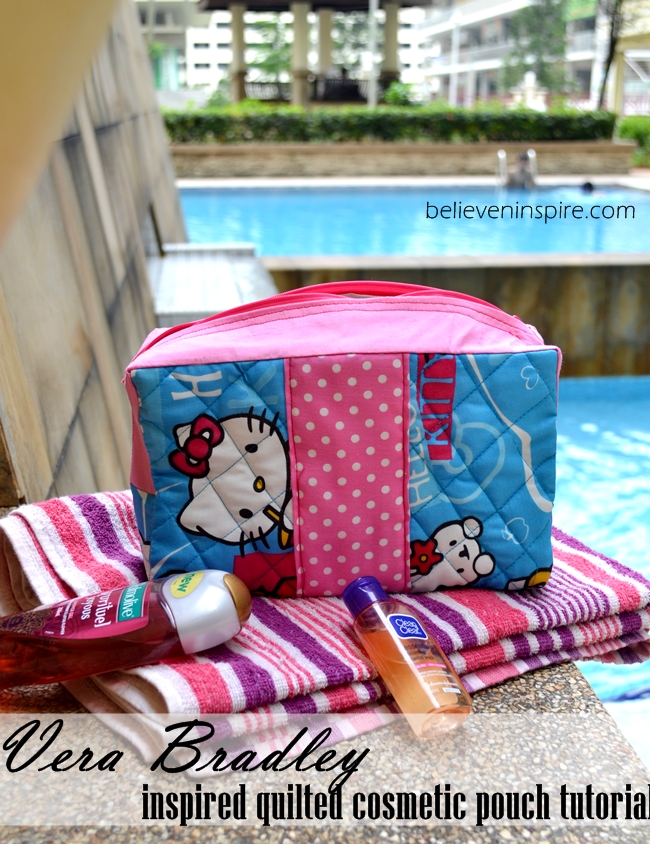
I hope you enjoyed making this bag. I sure did. If you have any confusion you can shoot me an e-mail and I would reply to you asap. 😀 Happy sewing! You might also like this Duffle Bag that I made from pillow cover.
Don’t forget to sign up for our twice a month newsletter for FREE printable!


Hi,
I’m very new at this. Is there interfacing and batting on all the pieces. Lining and the outside bag fabrics?
Thank you ,
Shirley
Interfacing is for ALL the lining pieces and the accent piece of the outside fabric, the one attached to the zipper.
Batting is only for the bottom and the sides of the outside fabric. We don’t use interfacing when we use batting when quilting because the final piece then looks too stiff and the beauty brought about by quilting gets diminished. I hope that was helpful. 🙂
This is awesome!
Thanks
G’day! Thanks for sharing via our #SayGdayParty!
Please make sure to come back, leaving comments on some people who also attended the party and of course we hope you are following us on Pinterest!
Cheers! Joanne @ What’s On The List
I love this sewing project! I sew as well and its a very nice project for me!
Thanks for this
MAria
Thanks so much! I hope you enjoy making this bag. 🙂
Great tutorial! I haven’t tried a purse with the zipper in a gusset like this yet, but you make it look easy… will have to add it to my (very long!) to do list.
Wow! Thanks so much, that’s a great compliment for me, as I’m always worried that the readers would find the tutorial hard to understand. Hope you enjoy making the bag, whenever you get the chance to make it. 🙂
Cute! I really like that Hello Kitty fabric!
Navy Wifey Peters @ The Submarine Sunday Link Party!
Thanks so much T’onna! 😀
That looks really good. Great project.
Thanks for sharing at Home Sweet Home.
Sherry
Thanks so much Sherry!
Love this. My daughter is a Hello Kitty fan, I have to find the time to sew something like this for her.
Cool! I hope she loves it. 🙂
hello!! Im very inspired by your creativity! I had an issue finding the rest of the pattern directions for the vera bradley bag. If possible, would you mind emailing the pattern to me? Thanks for your time, have a great day!!