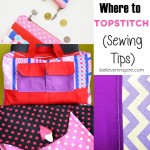
So while sewing my duffle bag I learnt this new technique, which makes any sewing project look more professional. And that technique is called “top stitch”, of-course as the title says.
So what on earth is this awesome technique and why is it so important?
I had the same questions.
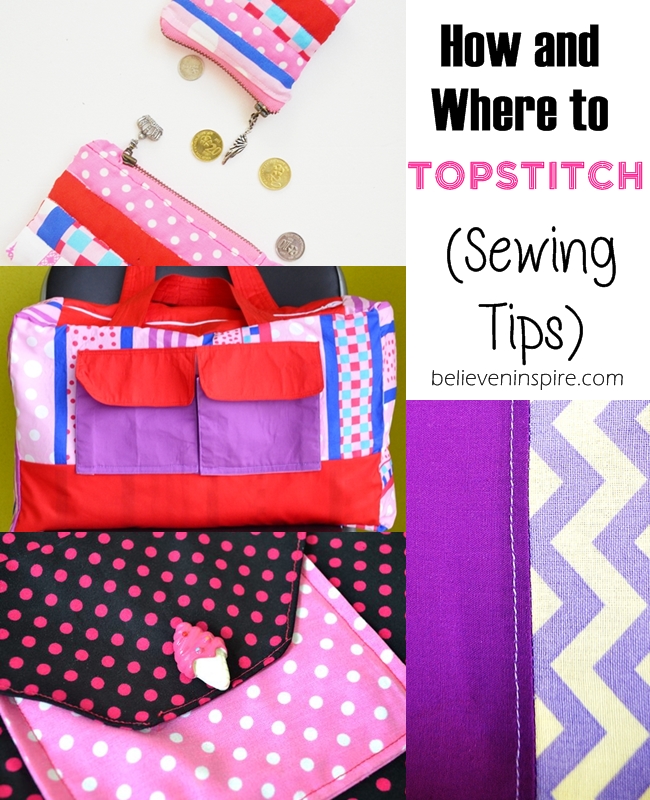
How to Top stitch (Sewing Tips for Beginners)
Here’s an awesome YouTube video explaining how exactly to do a top-stitch.
Places where you can use top-stitch:
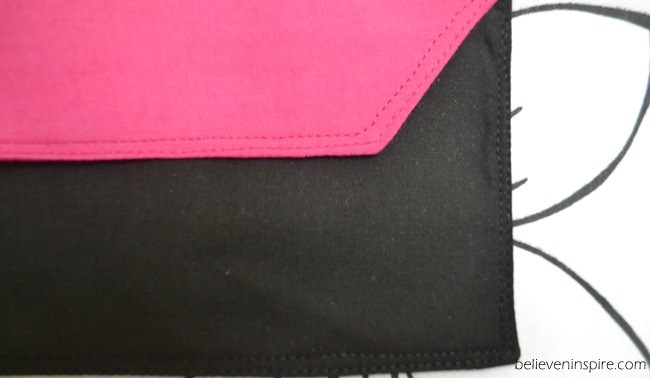
On bag pockets: Here I did both of the top-stitch and edge stitch for a professional look.
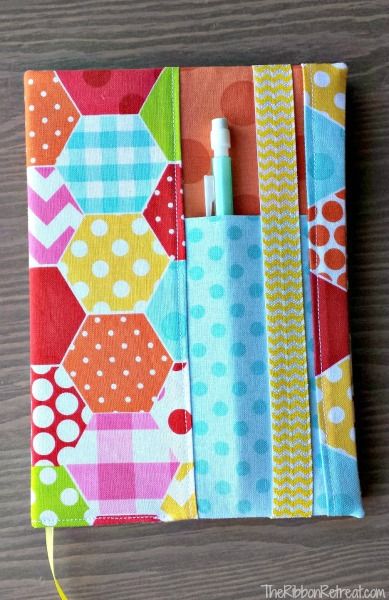
When sewing two fabrics together: Image thanks to The Robin Retreat – Fabric Covered Notebook
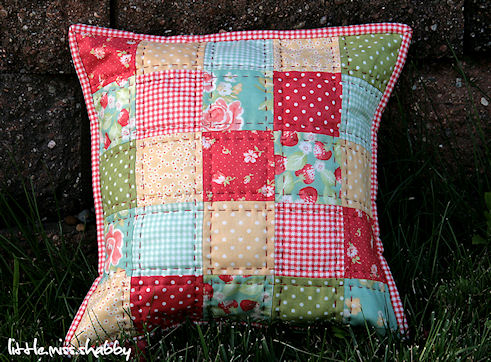
On quilts: Image thanks to The red quilted pillow – a free tutorial
The possibilities are literally ENDLESS. So, if you want to make any of your projects look handmade with a pro touch, you must use this awesome technique.
Okay, so now you know what is top-stitch, the next thing to consider would be, how to make it look neat and tidy since it’s on the outside and in everyone’s view. It MUST be done perfectly! And perfection comes with practice.
How to improve your top stitch?
You can improve your top-stitch by simply practicing to sew in a perfectly straight line. For that you can use a striped fabric with dark and light contrast. Using a thread color that can be easily distinguished, sew straight lines along the stripes. Practice as much as you can till you are comfortable.
Here are some great tips on improving your top-stitch.
Linking up to these blogs:
Not just a housewife, Savvy Southern Style, Funky Junk Interiors, French Country Cottage, Six Sister’s Stuff, Sew Much Ado, DIY Show Off, I heart Naptime, Craft berry Bush, Coastal Charm, DIY by Design, Too Much Time , The Charm of Home, Flamingo toes, Flour Me With Love, Someday Crafts, What’s Cooking Love, The Crafty Blog Stalker, Create Craft Love, My Romantic Home, Sugar Bee Crafts, Time to Sparkle @ The Gunny Sack, Home Stories A to Z, The Girl Creative, Kathe With an E, The 36th Avenue, Lil’ Luna, http://freshideastudio.com, My Re-purposed Life, 2 Crochet Hooks, It’s Overflowing, Live Laugh Rowe, One Dog Woof, One Project Closer, Glitter Glue and Paint, Natasha in Oz, Lolly Jane, The Pin Junkie, Gina’s Craft Corner
This post first appeared on Believe&Inspire.
Don’t forget to sign up for our twice a month newsletter for FREE printable!


[…] Take the two C pieces, with right sides facing each other sew all around, leaving a gap to turn the right side out. Clip the corners and turn the right side out, press and edge stitch. (Read more about edge stitch here.) […]