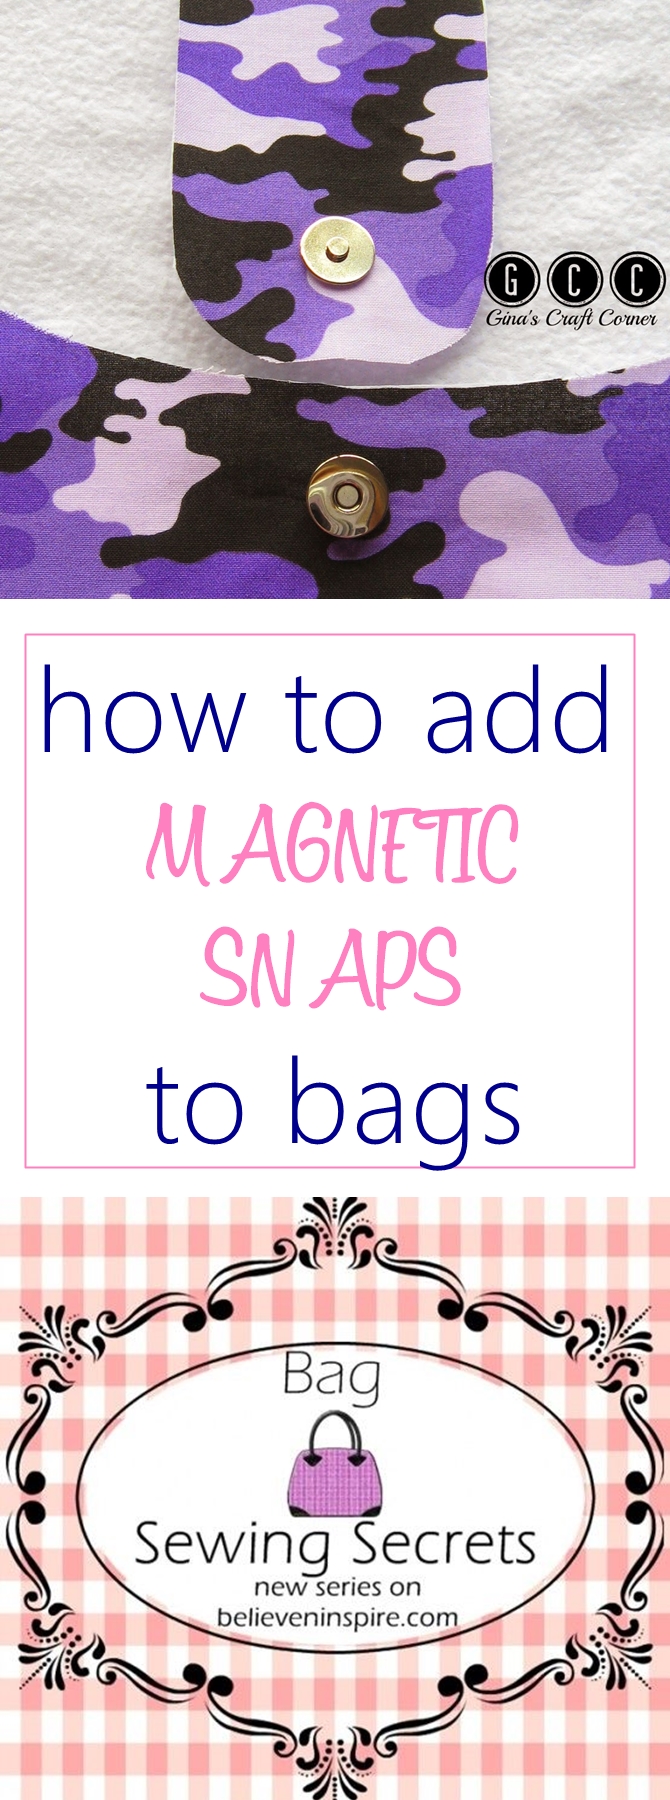
How to Add Magnetic Snaps To Bags/Totes #bagsewingsecrets
Thank you, Javeriya, for asking me to participate in your series, BAG SEWING SECRETS. I think we both have a sick addiction to bag making! Like Javeria, I spend almost every waking hour daydreaming about designing the perfect bag. If you would like to jump on the crazy bag wagon with us, knowing how to install easy magnetic snaps is a must!
The first thing you need to do is to find a project that requires a snap. Below, I am adding a tab to one of my latest handbags (The Bella Bag by ChrisW Designs) in which a magnetic snap is required.
 |
|
| Top: male piece w/ back; Bottom: female w/ back |
 |
| Materials for adding a magnetic snap |
Supplies:
You will also need (some links are affiliate links):
- one magnetic snap,
- seam ripper,
- fabric pen and
- small scrap pieces of fusible interfacing and
- fabric scraps.

A magnetic snap usually gets used a lot, so it is important to reinforce the area with some extra interfacing or fabric. In this project, I fused some mid-weight fusible interfacing over the area where the snap will be inserted.
Then, I took my fabric pen and marked the area where the prongs of the magnet would be pushed through my fabric pieces.

Now, use your seam ripper to very carefully create little slits in the fabric on your markings.

If you are making a tab closure for your bag, the male snap (thinner piece) typically goes on the tab, and the female snap (thicker piece) goes on the base of the bag. Gently push the prongs through the holes to the other side. Do this for both pieces of fabric.


This is what your snaps should now look like from the back.

This is what your snaps should like from the front.

At this point, for added security, you should also cut a small fabric square, make slits and place it on top of the prongs before adding the washers. I usually do this, but I must have forgotten!
(Another alternative is to use two pieces of fusible interfacing instead of one.)

With the washers on, it is time to fold the prongs down. Oh! I forgot to mention that you will need a hammer! Gently press each prong down and then give it a few gentle taps to secure.

One final step, that I like to do, is to take a large square of fusible fleece to cover up the entire back of the snap.


Now, that was pretty easy, right?! I blog over at Gina’s Craft Corner, and I would LOVE for you to come and visit me and check out some of my other sewing and DIY tutorials. Best of luck on your sewing adventures!
Gina
Thanks so much once again Gina! This is a wonderful tutorial which would ALWAYS be useful. So, did you girls enjoy today’s Bag Sewing Secrets episode? Pretty helpful right?
If you missed last week’s episode, you can grab it here How to Sew Box Corners in 4 Easy Steps.
This post first appeared on Believe&Inspire.
Don’t forget to sign up for our weekly summary of blog posts. Psst. there are FREE printables hidden inside! XD


Such a great tutorial, the pictures are great for visual people like me to really grasp exactly what to do.
Thanks for the tips. I never thought about adding that extra piece of fusible behind the snap.
great tutorial! I haven’t felt comfortable using those magnetic snaps yet but you make it sound and look pretty easy! Thanks for sharing your step by step on how to add magnetic straps to bags or totes with us @ Snickerdoodle Sunday. I will be pinning and using this tute! Thanks too for the links to the free patterns! Both bags are awesome!
I’m glad you found it helpful. It’s all thanks to Gina! 😀
Instead of using interfacing, I use some ingredients even stronger, plastic canvas. You only need one layer and it works like a charm!