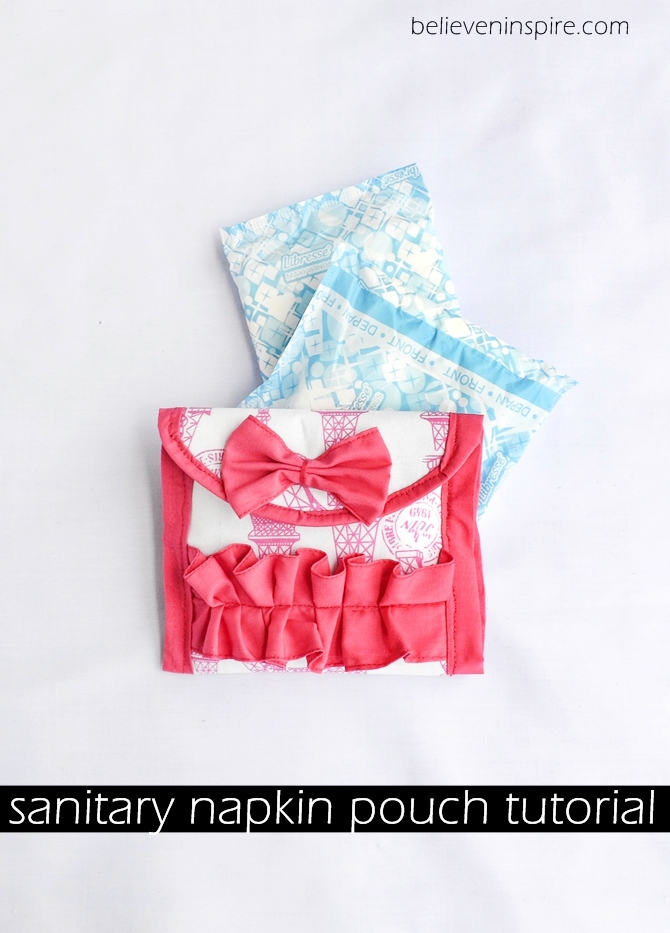
Today I have another mini pouch tutorial for you as I’m gonna show you How to Make a Sanitary Napkin Pouch and this one comes with a free sewing pattern. If you skip the bias tape and other details I’m sure you would be able to sew it within 20 minutes. Cool right?
Pin this on your sewing board to sew later.
This pouch is designed especially for a sanitary napkin, but of course you can use it as a mini wallet or something too. And it would make a great gift with a monogram or something. I’m thinking of making one for my two nieces, which reminds me, have you checked out “how to sew a file pouch“, I made these for my nieces a few days back. Will be giving it to them during the summer break when I go back. Till then it’s so difficult to keep it hidden.
Alright, onto the tutorial for sanitary napkin pouch.
How to Make a Sanitary Napkin Pouch
Supplies:
To make sanitary napkin /pad holder pouch you will need:
- 1/2 yard main fabric
- 1/2 yard lining fabric
- 1/2 yard contrasting fabric
- 1/2 yard soft fusible interfacing
- buttons
- Glue gun
- Free sewing pattern (can be grabbed by signing up for the VIP list using the form below)
Cutting:
Cut out the following pieces of fabric.
- Use the free sewing pattern to cut out the body; one from main fabric and one from the lining fabric.
- 6″x 2.5″ B= for the bow
- 2.5″ x 12″ C= for the ruffle
- 2″x 33″ D= for the bias tape
Cut out fusible interfacing for you A pieces.
Instructions:
Fuse the main pieces to interfacing.
Fold the edges of the B and C pieces using hem stitch foot on your sewing machine.
If you don’t have the hem foot you can just fold the edges and sew.
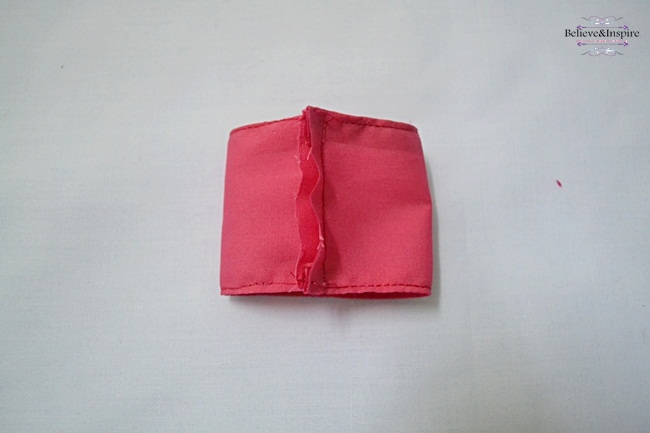
Take your B piece, fold into half and sew as shown.
Then using your thread, hand sew the ruffles in the middle to make a bow. Tie the excess thread around the middle to hold it in place. Keep for later.
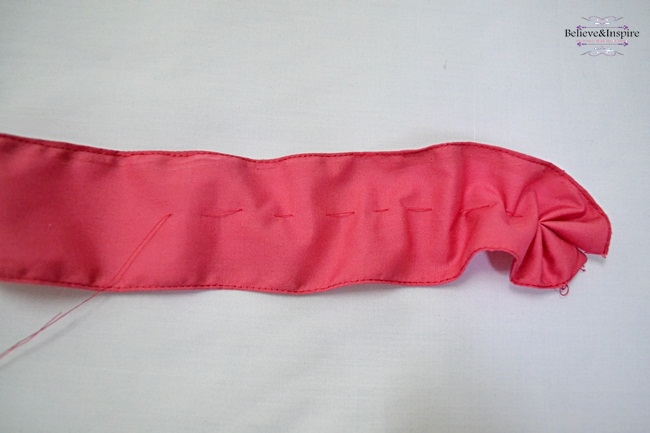
Take your C piece and add ruffles by hand. You just have to take some thread, tie a knot at the end, then sew along the middle as shown, then pull the fabric together, which will eventually add ruffles.
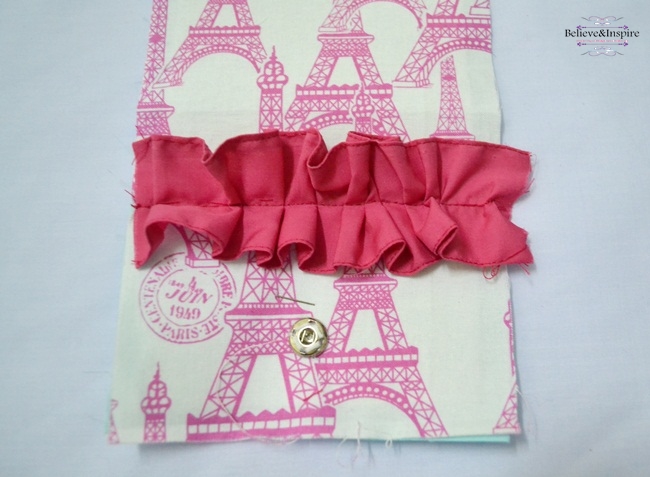
Pin your ruffle at the place you want it to be (i.e. a little below the top; as seen in the next picture), then sew along the dotted lines.
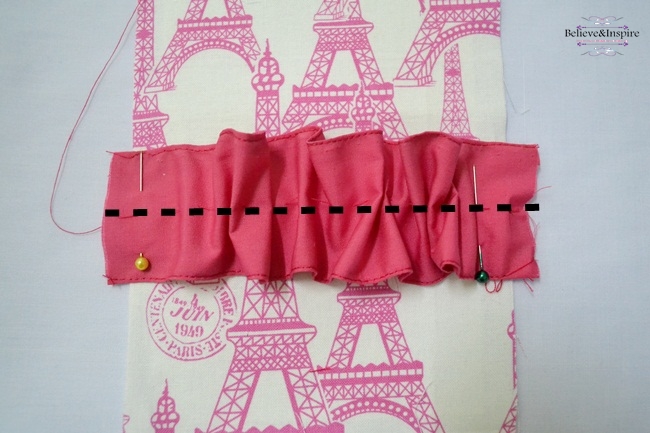
This is how it should look. Sew in the buttons now.
Sew the body:
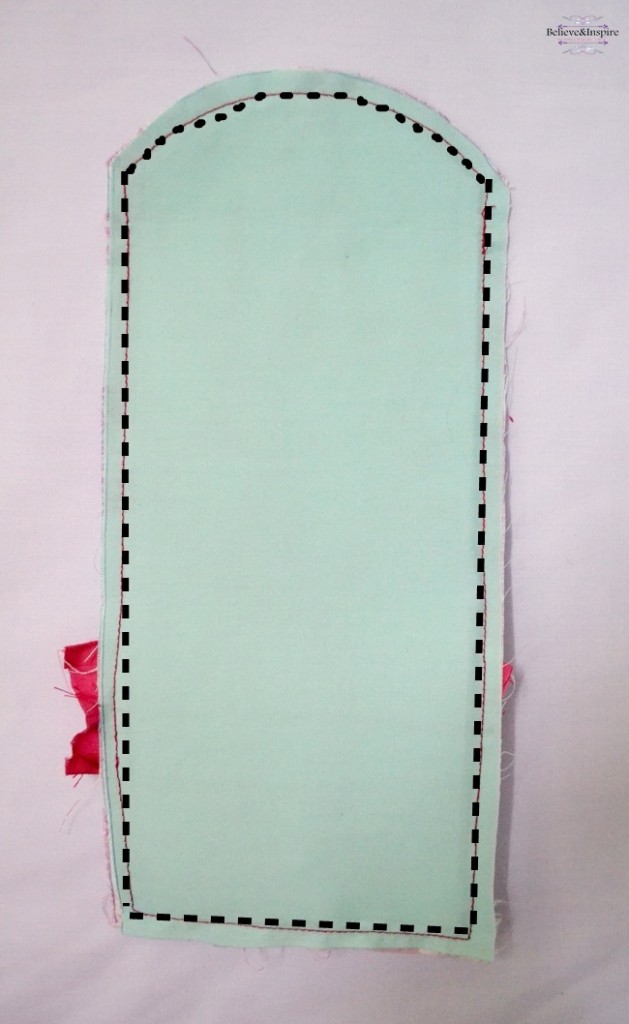
Place the main fabric and the lining so that the wrong sides are facing each other and sew along the dotted lines. I did this because I used bias tape on the sides, if you’re not gonna use bias tape then you can just sew the right sides together and then turn it out.
Add the bias tape:
Fold the D piece into half length wise and press as shown.
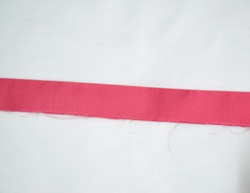
Next, open, turn the outer sides towards the center and press again.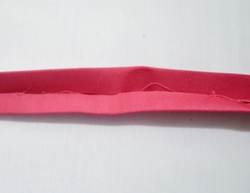 Like this.
Sew along the pressed edge as marked by the dotted lines. 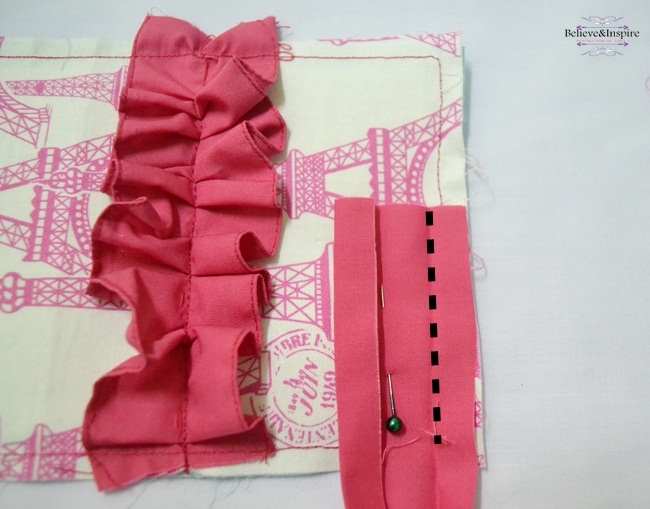
When you come across the corner, pinch the fabric as shown, turn and continue. 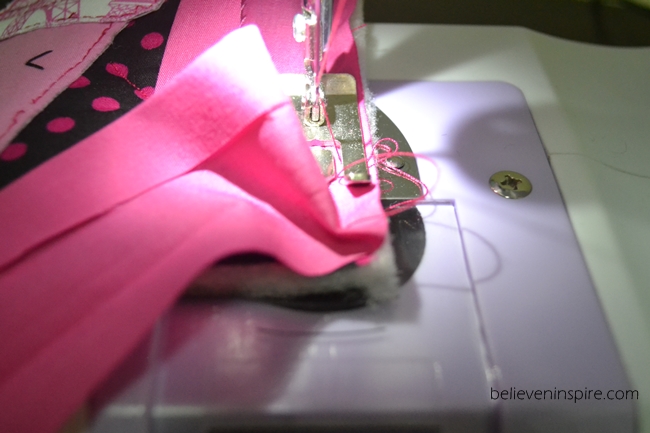
Next, turn the tape fold the exposed end diagonally inside.
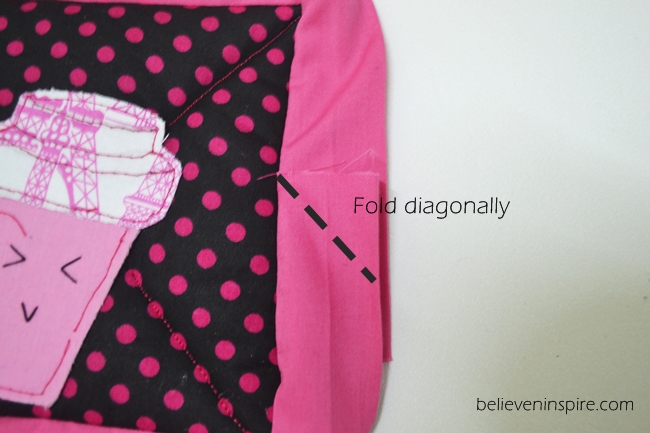
Like this, turn and sew till the end.
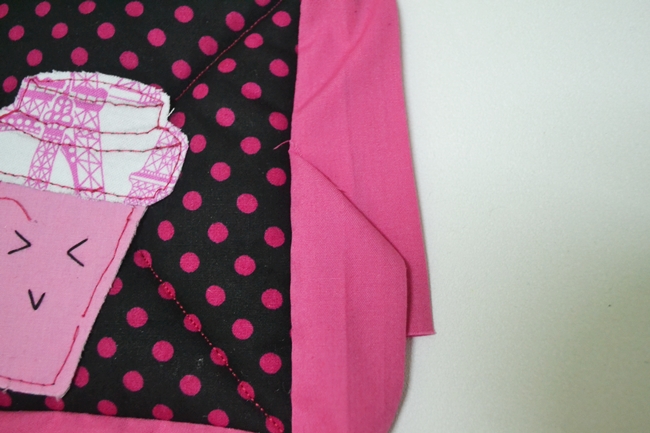
And you’re done!
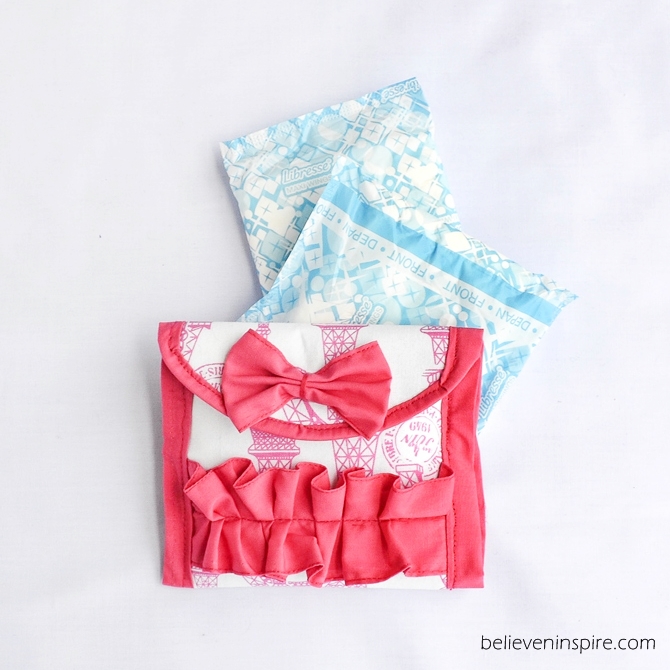
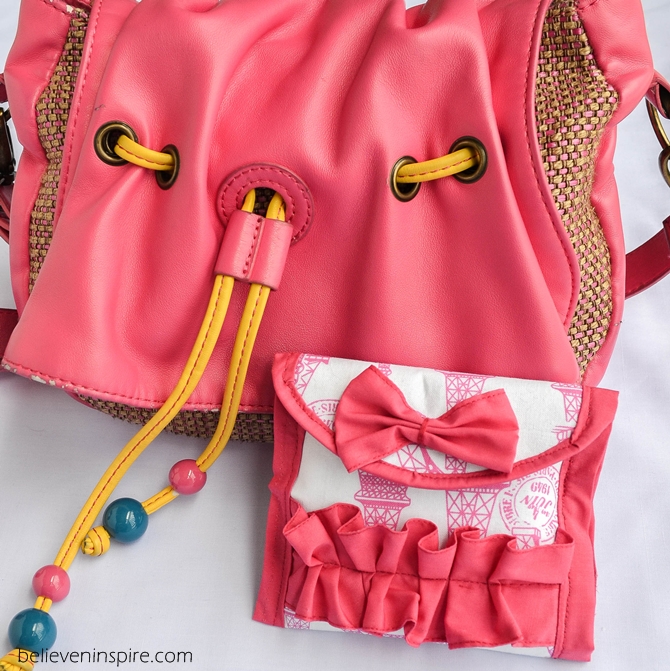
This sanitary napkin holder will make a great mini gift. To check out more gift ideas visit 101 gifts to sew. Pin this sanitary napkin holder tutorial on your sewing board to refer to it later. Don’t forget to share it with your sewing circle. 🙂
This post first appeared on Believe&Inspire.
Don’t forget to sign up for our weekly summary of blog posts. Psst. there are FREE printables hidden inside! XD


[…] Sanitary Napkin Pouch: Don’t let your sanitary pads linger here and there in the bag. Give them a secure place with […]