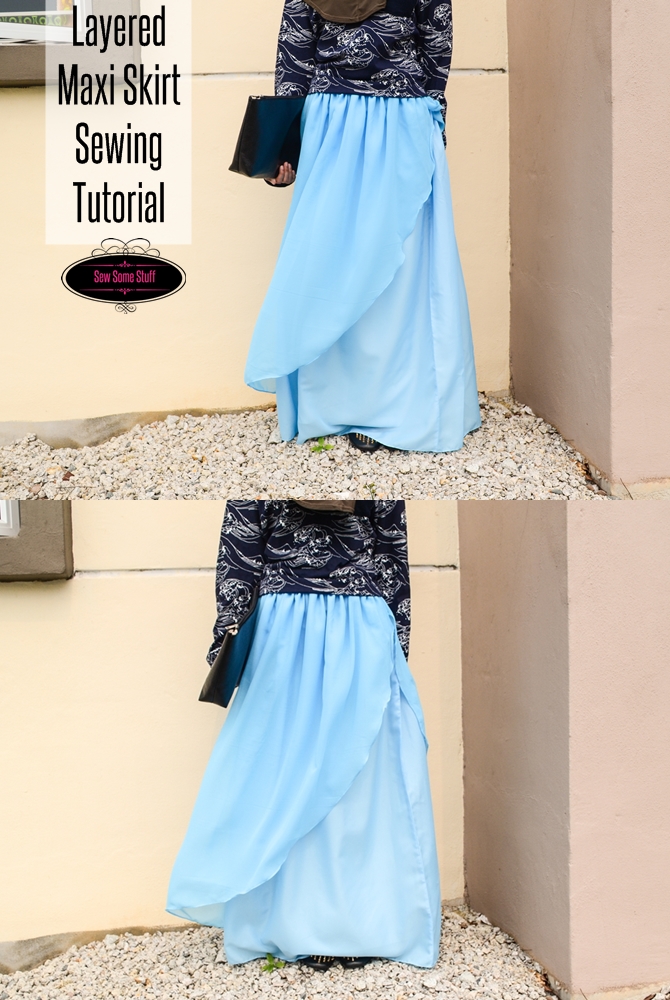
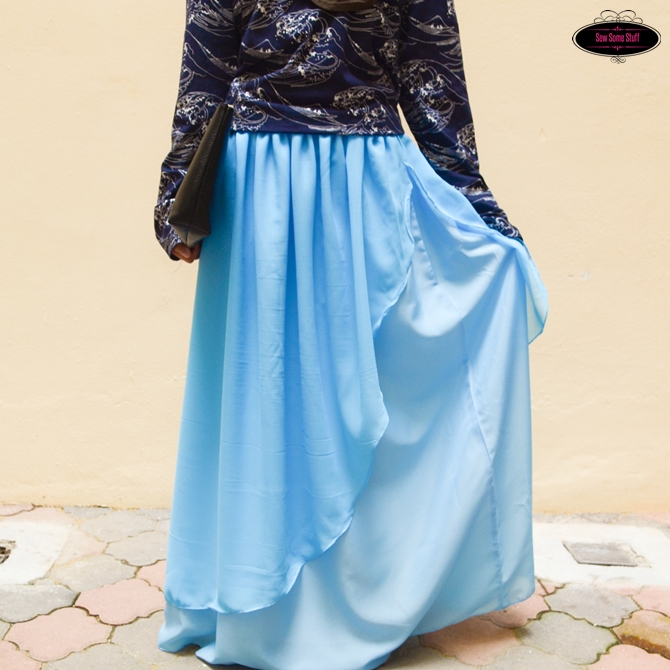
Assalamalikum girls, Javeriya here and today I’ll be showing you how to sew this enchanted layered chiffon maxi skirt. I actually came up with the name after I tried on the skirt just because it made me feel so magical like Disney princesses. Doesn’t it remind you of Elsa? 😀

Pin this image to your sewing board now.
Enchanted Layered Chiffon Maxi Skirt Tutorial
This layered chiffon maxi skirt is a great spin to the usual maxi skirts and is perfect for any occasion.
For this Enchanted Layered Chiffon Maxi Skirt Tutorial you’ll need the following supplies:
- 2 m light weight chiffon fabric
- 2m georgette fabric (the size of the fabrics will determine how gathers you’d get. So if you want lots of gathers you can increase the size of your fabric to 3 or 4 m)
- elastic the size of your waist
- hemming foot
- sewing supplies
So let’s get started:
First of all I laid down the chiffon fabric onto the floor folded into half. This can be a very tricky task so you might wanna place a large newspaper or tissue paper under the fabric first to avoid all the slipping and stuff.
Next, using my measurement tape, starting from the folded corner, I measured 38” and marked it. I went all around from the folded edge till the top so that I had a quarter circle like a pie. Next I connected all the marks together and I cut it using my sharp shears so in the end I had something like this. I’ve labeled everything in this shot. You can see that’s the circular edge folded edge and the straight edge. You might wanna refer to this shot again if you get stuck.
Next, I folded the circular edge using my hem foot. Using this foot can be a little tricky at first especially if you’re using a slippery fabric so you might wanna practice it first using a scrap.
So before I start sewing I just wanna fold the edge using my thread and needle. I haven’t tied any knots.
And then I just inserted the edge into the hole. Now you need to go really slow, make sure you stop every once in a while to make sure things are going fine and remember you can always use your seam ripper if you make any mistakes.
The next task is to sew the georgette piece to the chiffon. So I placed the top piece onto the bottom so that the wrong side of the top piece is facing the right side of the bottom. I’m gonna pin them together first, and this is how it should look after pinning. So you have to sew all along the direction shown by the arrow in this shot.
I used the standard 5/8th inch seam allowance. I added this tape where the scale says 5/8th inch to help me as a guide so I don’t make any mistakes. Next, I’m gonna trim the seam allowance into half to avoid the bulk.
Then I finished off the seam using the zig zag stitch on my machine.
One thing I wanted to say here if you really like these videos please do share them with your friends and families and interact because that’s how I’d know I’m doing something worthwhile here.
Okay enough of boring talk, here’s what I did next.
I took the two edges of my straight piece and folded them into half and sewed them from the side to make square kind of thing, or a skirt without elastic.
Next, I trimmed the seam allowance and finished off the seam just like I did earlier.
And finally I pressed the seam backwards before moving to the next task of making the elastic casing.
Before folding the casing I did a basting stitch to attach the side seam to the fabric so that it doesn’t interfere while I’m inserting the elastic.
There we go and then I measured the amount I needed to fold to make the waist band using my elastic as a reference. So my elastic is around point 5 inch so I folded the edge by 5/8th inch. It pressed it first and used my measurement tape to make sure I folded exactly 5/8th inch all around. Next I sewed it in place using the lower edge as my seam guide. Now when you’re sewing yours make sure that your fabrics are folded together properly cuz there are two fabric here, one might just slip over and come under the stitch.
Okay that’s all done. After that I measured the elastic I needed by measuring around my waist.
Next, I inserted the elastic into the casing using the pen cap. I just inserted the cap inside then gathered some fabric on it and pulled from the other side. You can also use a large safety pin for this.
In this last step I just sewed the elastic ends together using zig zag stitch from top and bottom because it’s stronger.
And then I closed off the hole using the normal stitch. And that marks the end of our tutorial. Do let me know if you loved the chiffon maxi skirt in the comments below. Do share if you enjoyed this video and for more free sewing patterns check out this page.
You can also find more maxi skirt tutorials here.Thanks so much for watching. Hope you enjoyed the chiffon maxi skirt tutorial.
This post first appeared on Sew Some Stuff.
Don’t forget to sign up for our weekly summary of blog posts. Psst. there are FREE printables hidden inside! XD


Beautiful MashaAllah 🙂
JazakAllah khair! Thanks so much for visiting 😀
so pretty! I can’t wait to try and make my own 🙂 well, for Kristina but still! Thanks for the tute!