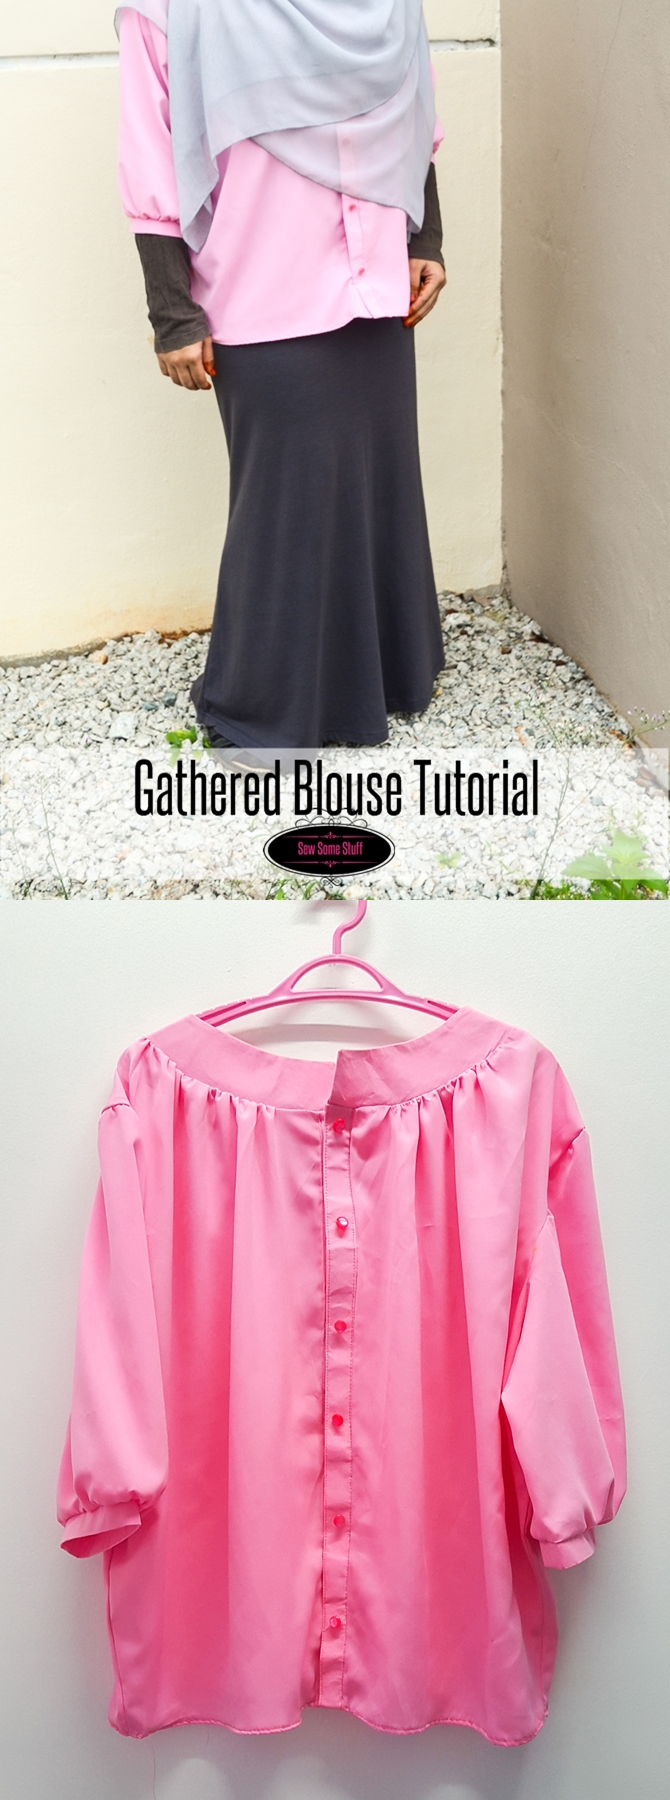
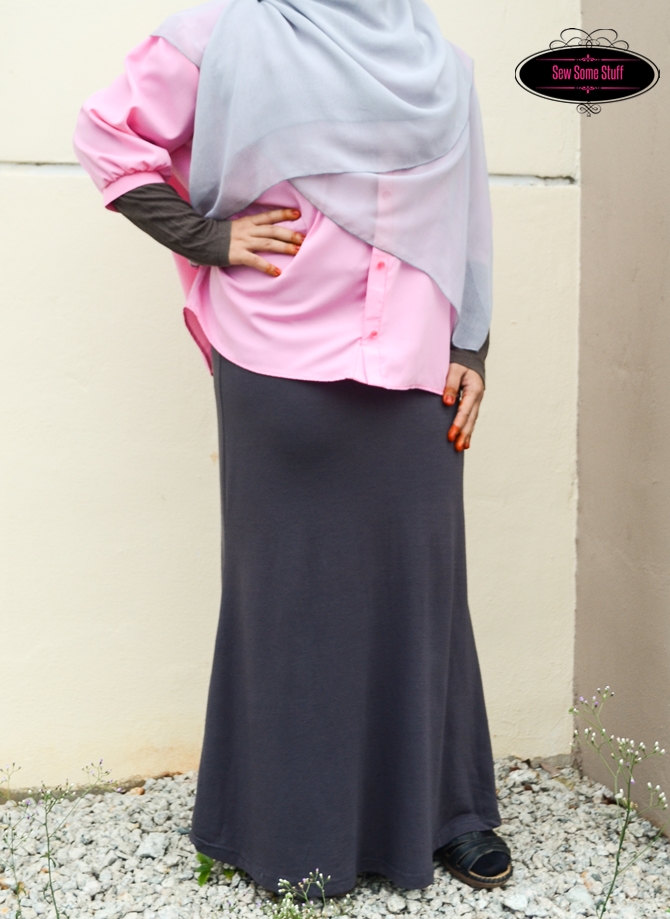
Assalam alikum girls! Javeriya here and today I’ll be showing you how to sew this plus size blouse as requested by all of you. So who’s excited?
The pattern for this blouse can be purchased from the gathered blouse sewing pattern link on Lekala sewing patterns website. Before you buy the pattern let me share some money savings tips with you.

The website offers tonnes of patterns that you can download based on your size. I loved their library so much and was sure that I would be buying more patterns from them so I purchased a bundle of 5 patterns at once from this link. Now I can buy 5 patterns at discounted price WITH seam allowance for which they charge $0.50 extra. So if you’re sure you would be purchasing more patterns from them go ahead and use this great offer. 😀
Gathered Blouse Sewing Tutorial
Okay let’s look at the supplies as listed in the sewing pattern:
They recommended silk fabric but I opted for chiffon because I didn’t really want it to be shiny and stuff.
Supplies:
So I bought
- 2 m chiffon
- ½ yard of soft fusible interfacing
- 6 snaps
- And 6 buttons
- And ofcource the pattern
Okay, first off lay down the pattern on the floor and tape them together. Then cut each piece out. I’m ready with all my pieces and I just wanna show you one thing here. You might have noticed some of the marks on your sleeves pattern like these. These are called notches. I’ll just clip them through now and when I’m tracing my sleeves I would put a mark here with the chalk on the fabric.
Since this is a sheer fabric, I would like to share this cutting tip which will help you in cutting the perfect pieces. So first off, tape a newspaper onto the surface then place your fabric on top and tape it too. Paper provides a friction and the fabric doesn’t move much. Now it’s time to trace. One thing to take in account is this thing on the pattern which says straight of the grain. This line should be parallel to the salvage and this end of the fabric here is our salvage. So place your pattern piece on top of the fabric so that both these lines are parallel. Now I’ll go ahead and trace out all the patterns this way. Just follow the list of pieces to cut from the pattern file.
Just wanna tell one thing, this pattern piece here is the front facing, it’s not written clearly in the pattern so I thought I’d just let you know.
Okay, all my pieces are ready I have also fused all the interfacings.
Since the pattern wants us to sew with ½ inch seam allowance, I’ll go ahead and mark it with a tape.
Okay so the first step is to sew the placket. So I’ll go ahead and pin it in place, right sides facing each other. And then I’ll sew the sides with ½ inch seam allowance.
Now I’m gonna press the seam to the side and fold over the placket. In the pattern it says to neaten the edge of placket. I didn’t really understand what they meant by neaten until I was done with the whole blouse. They actually mean to finish the seams. So do a zig zag stitch on the edge of the placket and then fold it towards the wrong side into a half and then do a top stitch.
So this is what it should look like after top stitching.
Now take your back pieces and sew them together. And then don’t forget to press and finish the seam.
Now it’s time to sew the front and back pieces together from the shoulders and sides.
Press the seams towards the back and then finish the seam.
Next, the pattern says to sew the facings together. There are two sets of facings one back and one front. Pin each set together, sew and press open the seam as I’ve done here.
Keep them aside. Now do a basting stitch 0.5 inch seam allowance along the neckline. Pull the bobbin threads from under and gather the neckline so that the size is the same as the facing.
Now take the back facing and finish off the edge using a serger or zig zag stitch and then sew both the front and back facings together on the inner edge. Clip off the circular edges and then turn the right side out.
Now pin the lower edge of front facing to the neckline and sew and then turn the facing right side out and sew the inner facing to the neckline seam.
Now it’s time to sew the cuffs.
First off, fold your cuffs into half and press. Next, bring the right sides together and sew and press open the seam.
Now take your sleeves and do a basting stitch along the edge and gather it so that it fits the cuff.
Now sew the side of the sleeve and finish the seam.
Now sew the cuffs to the sleeve right sides together. Don’t forget to finish off the seam. And then turn the right side out.
Next, do another basting stitch from one notch to another and gather.
Don’t gather a lot because we don’t want any big puckers in the sleeves.
Next pin the sleeves right sides together to the blouse.
Match the seams at first and then pin the straight sides first and then sew with 0.5” seam allowance.
Press the seam and finish it off.
Everything’s done, now it’s time to fold the hem. fold once then fold over again so it’s a double fold.
Okay here’s my blouse, I’ve added the buttons and snaps and we’re ready to roll.
Thanks so much for watching, subscribe, comment and share to stay tuned with new videos.
Linking up to these blogs:
Savvy Southern Style, Funky Junk Interiors, French Country Cottage, diy show Off, I heart Naptime, Craft berry Bush, Coastal Charm, The Charm of Home, Flamingo toes, Flour Me With Love, Someday Crafts, The Crafty Blog Stalker, My Romantic Home, Sugar Bee Crafts, Home Stories A to Z, The Girl Creative, Kathe With an E, The 36th Avenue, Lil’ Luna, http://freshideastudio.com, My Re-purposed Life, 2 Crochet Hooks, It’s Overflowing, Live Laugh Rowe, Glitter Glue and Paint, Lolly Jane, Gina’s Craft Corner, Mila’s Little Things
This post first appeared on Sew Some Stuff.


Nice tutorial! LOVE the blouse! Thanks for sharing. I am going to look at those patterns right away!!!
JazakAllah khair Heather! So glad you liked it 😀