Wow! It’s back to school season again, which brings us to the main reason behind this post. Last week I shared how to make angry birds bag to help you make a one of a kind bag for your toddlers. This week I’m sharing Ombre Ruffled Zipper Pouch Tutorial. These pouches would be perfect for any age group. I made one for my make-up storage and the other as a gift for a friend. The uses of these pouches are just countless, so it’s a must make.
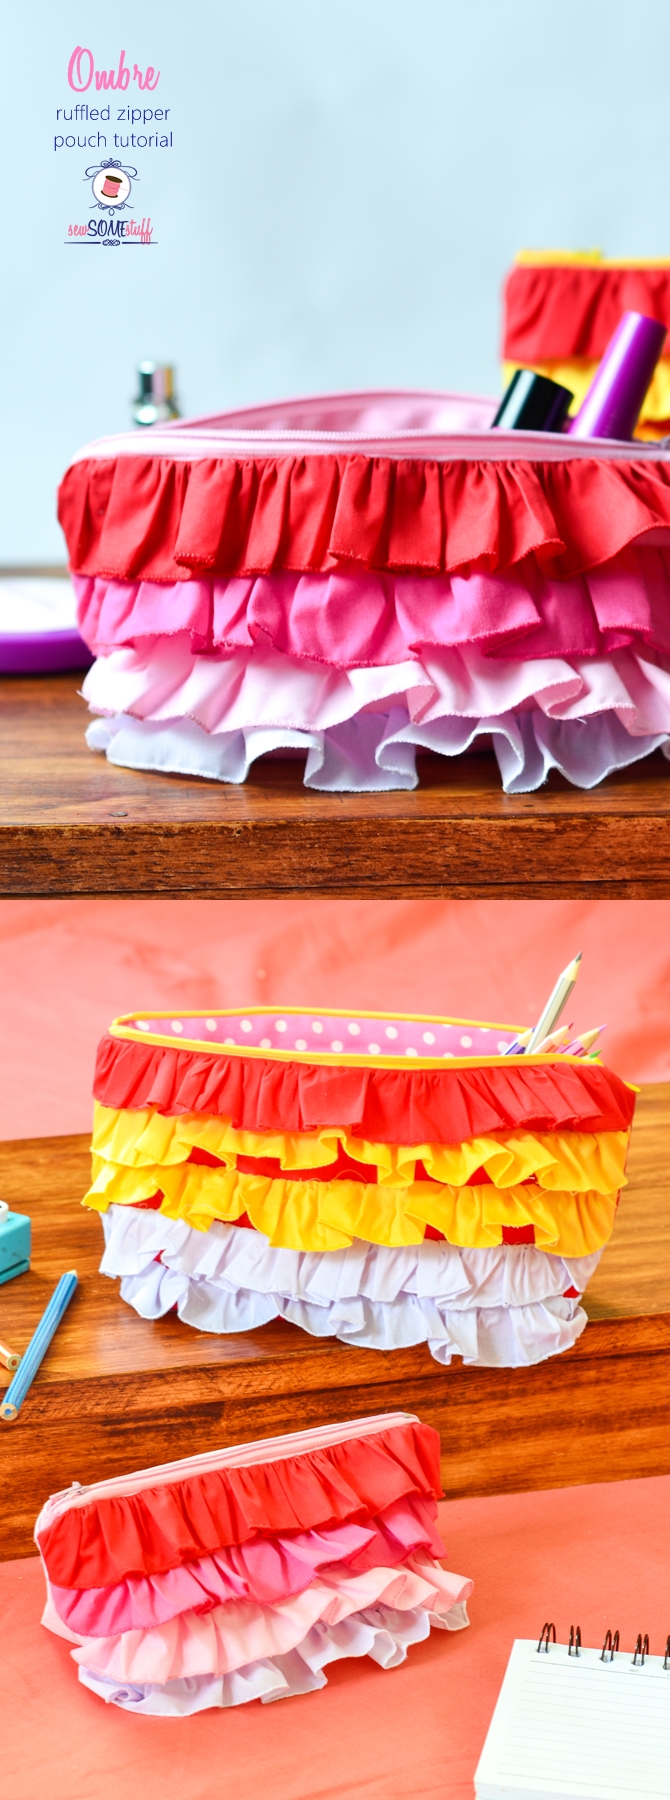
Pin this zipper pouch tutorial image on your sewing board!
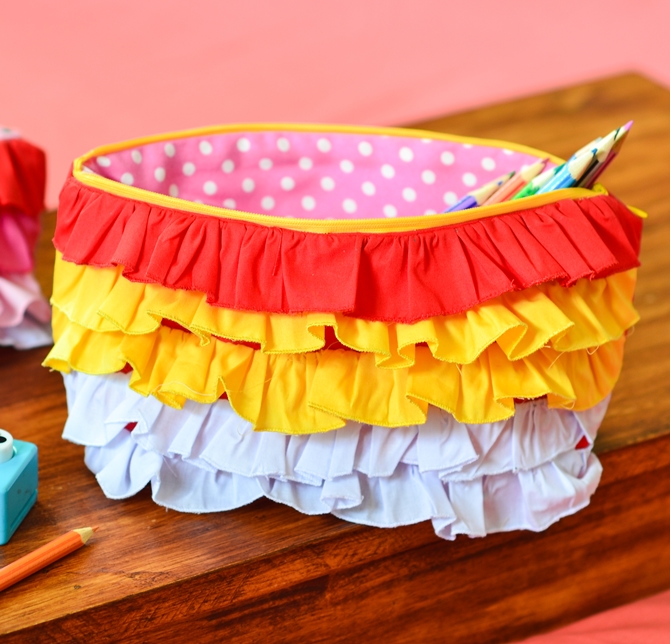
Let’s get started with the Ombre Ruffled Zipper Pouch Tutorial by checking out the supplies.
Disclaimer: Some of the links in this post are affiliate links and I will receive a small compensation for any purchase made through these links.
Ombre Ruffled Zipper Pouch Tutorial
Supplies:
For large pouch:
- Fat quarter of red cotton fabric
- Scrap of red and yellow cotton fabric
- 10″ yellow zipper
- fat quarter of lining fabric
- fat quarter of medium weight interfacing
- fabric chalk/marker
- Free pattern for the pouch (Sign up below to get the FREE pattern)
For small pouch:
- Fat quarter of baby pink cotton fabric
- scrap of white, red, hot pink, baby pink cotton fabric
- 8″ zipper
- fat quarter of lining fabric
- fat quarter of medium weight interfacing
- fabric chalk/marker
- Free pattern for the pouch (Sign up below to get the FREE pattern)
By signing up you also agree on receiving weekly newsletters. Unsubscribe anytime.
Cutting Instructions:
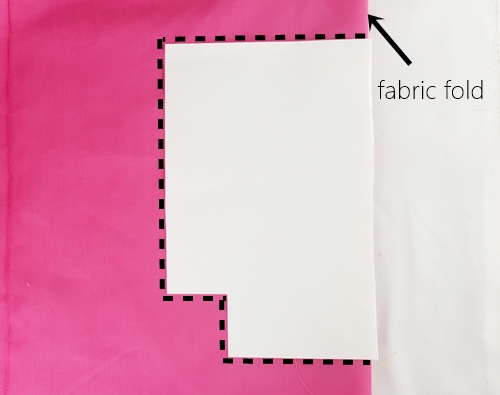
To cut the main body, place the template at the edge of a folded fabric piece as shown below. Then, trace along the edges of the paper as represented by the dotted black lines below. Now cut along the lines that you just drew.
For large pouch:
- Cut out 2 pieces of main body from the red cotton fabric using the template
- Cut out 2 pieces of main body from lining fabric using the template
- Cut out 1 ruffle from red cotton, 2 from white cotton and 2 from yellow cotton. Each ruffle piece should be 22″x 1.5″ inch in length.
- Cut out two zipper tabs measuring 3″x 2″
For small pouch:
- Cut out 2 pieces of main body from the baby pink cotton fabric using the template
- Cut out 2 pieces of main body from lining fabric using the template
- Cut out 1 ruffle from red cotton, 1 from white cotton and 1 from hot pink cotton and 1 from baby pink cotton. Each ruffle piece should be 18″x 1.5″ inch in length.
- Cut out two zipper tabs measuring 3″x 2″
Video Tutorial
Written Tutorial
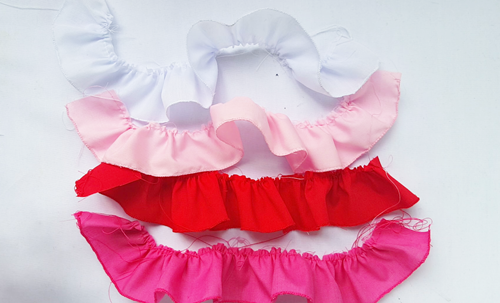
1)Finish off the edges on one side of the ruffle pieces using the matching thread and zig-zag stitch on your machine.
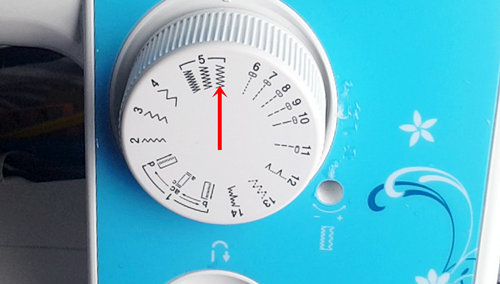
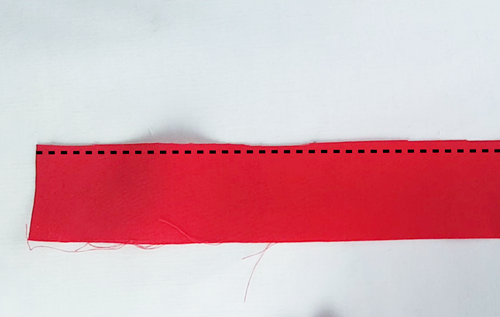
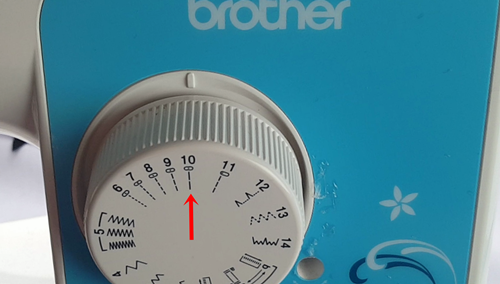
2)On the other side as shown below do a straight stitch using a longest stitch length to create ruffles. Leave behind a large amount of thread at the ends. Use a seam allowance of 1/8 inch.
3) Hold the bobbin thread on one side and start pulling the fabric from the other to create gathers.
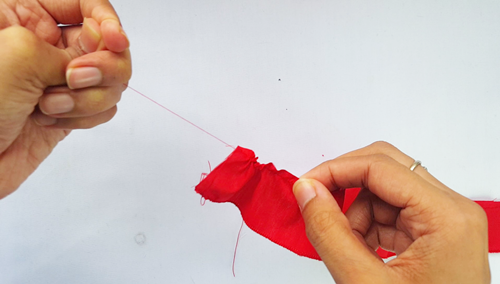
Keep on gathering the fabric till the length becomes 9″ for small pouch and 11″ for larger pouch.
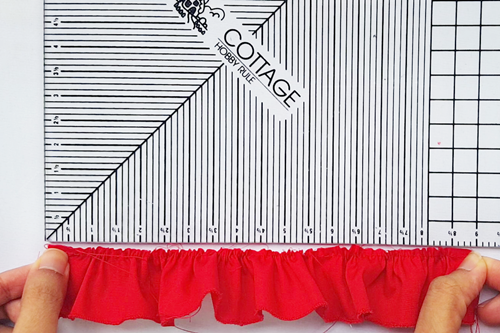
Repeat the step for rest of the ruffle pieces.
4) Draw 4 lines (5 lines for larger pouch) on the right side of the main exterior body piece. The first line should be 1/2 inch from the edge.
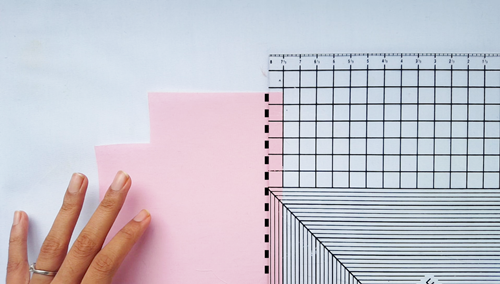
The next line should be 1″ away from the previous line. The same goes for the remaining lines.
5) Next, pin the red ruffle piece on the first line so that the ruffled edge of the piece is on the line you just drew.
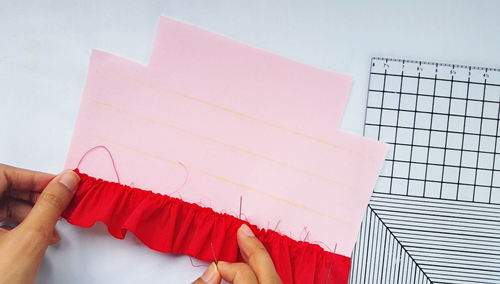
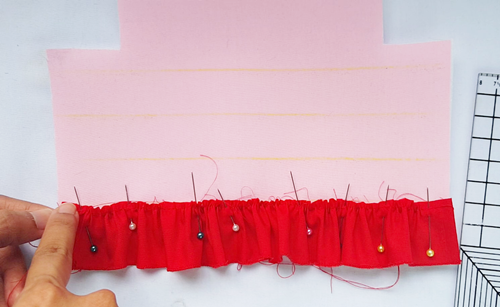
6) Sew the ruffle in place. Use a seam allowance of 3/8 inch.
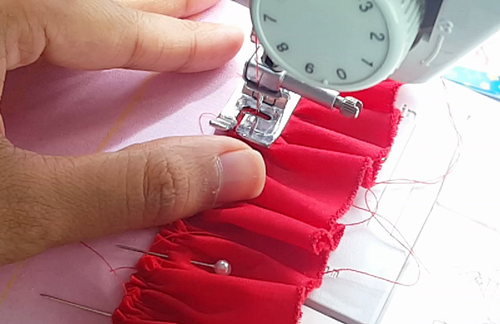
7) Sew the rest of the ruffle pieces just like you did for the red piece.
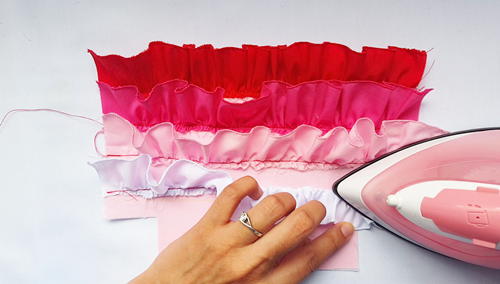
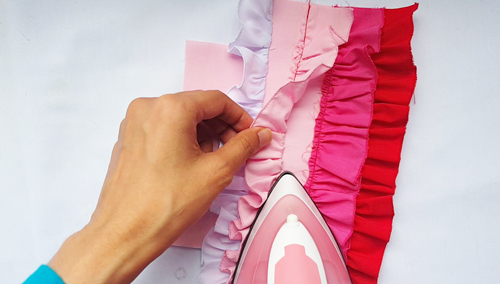
8) Once all the ruffle pieces are sewn on the main piece, press them downwards.
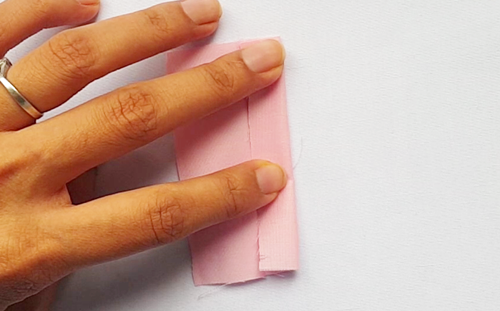
9) Make the zipper tabs by first folding the zipper tab piece into a half along the longer edge followed by pressing to make a crease at the center.
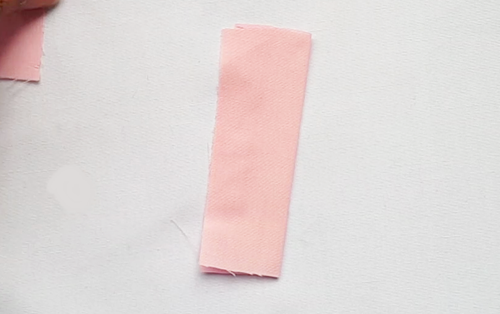
10)Next, open the fold and bring the outer raw edge to the center crease and press again.
Go to the next page for more steps of zipper pouch tutorial.


[…] Ombre Ruffled Zipper Pouch […]