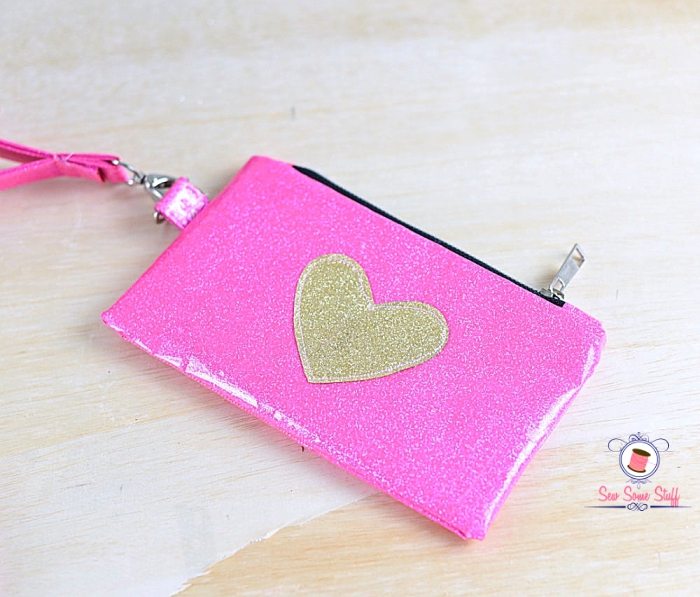
Yesterday I finished filming the ENTIRE Beginner Bag Making Course version 2. And I thought of whipping up this quick and easy tutorial for a glittery vinyl zipper pouch.
But guess how much time it took me to film and process this short video?
More than a day.
Well, that’s still quite less than the amount of time it takes to sew an entire bag.
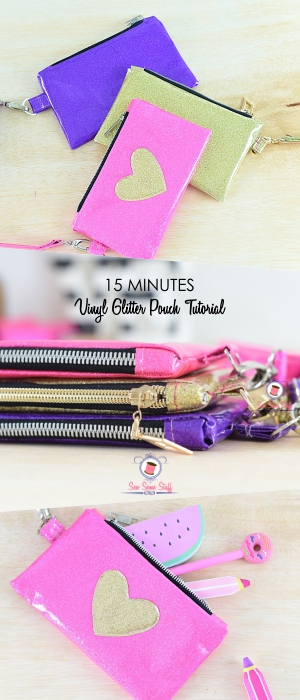
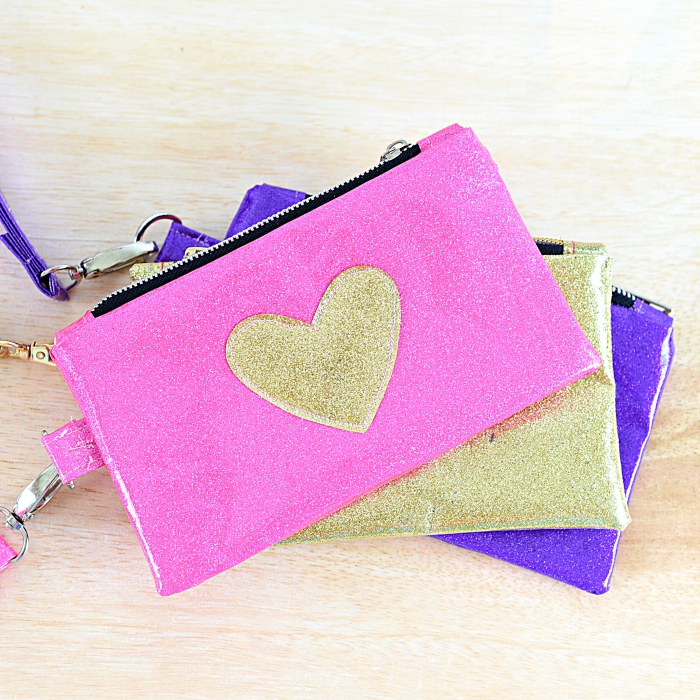
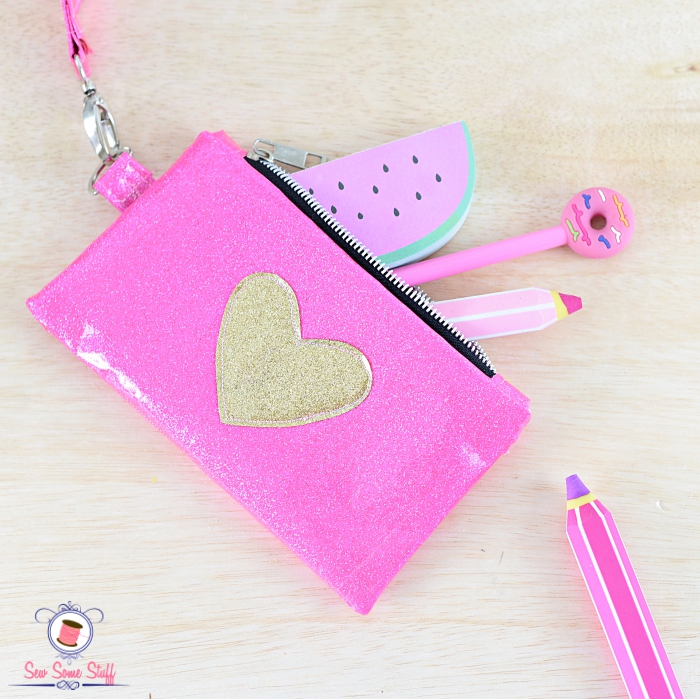
These vinyl zipper pouches are SO FUN. I just LOVE them because they’re so easy to make plus I LOVE everything GLITTERY as you know.
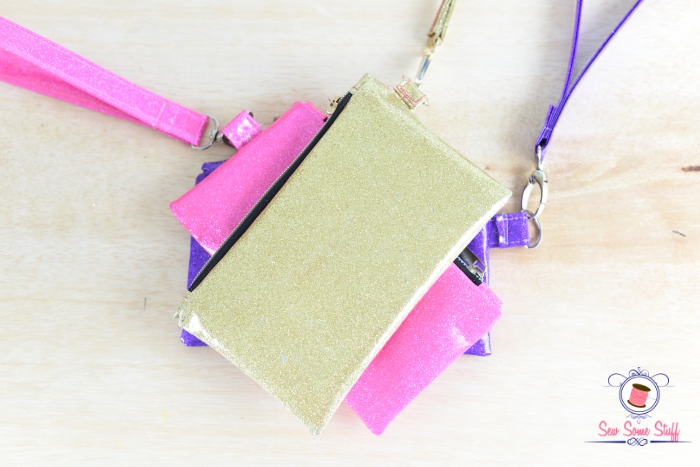
These pouches/wristlets are PERFECT to carry on a cruise or boat trips. They are also a MUST HAVE for rainy seasons to keep the essentials safe and secure.
I don’t know why I never thought of making them for my Thailand and Maldives trip where I badly needed a waterproof pouch/wristlet.
BTW it’s totally upto you if you want to make it into a simple pouch or if you want to use it as a wristlet. If you want to use it as a pouch you can skip the swivel clip and D-ring. This will reduce the no. of steps and the time it takes to sew these vinyl beauties.
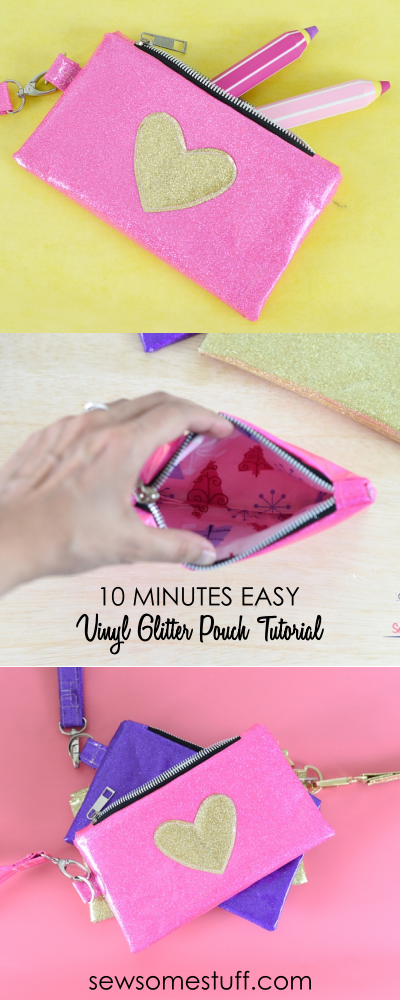
Also, feel free to add a personal touch just like I did with a scrap of heart or stars.
DISCLAIMER: This post contains affiliate links.
AMAZON DISCLAIMER: Sew Some Stuff is a participant in the Amazon Services LLC Associates Program, an affiliate advertising program designed to provide a means for sites to earn advertising fees by advertising and linking to Amazon.com.
Finished size of the pouches: 4″x7″
Supplies Needed For Vinyl Zipper Pouch
- Fat quarter or scraps of glitter vinyl
- 0.75” Swivel clip (1 piece)
- 0.75” D-ring (1 piece)
- 6.5” Zipper (I’m using no.5 bag zipper)
- Teflon foot
- Clover clips
- Fabric glue
- Leather needle
- Other sewing supplies
- Sewing machine
- Lining fabric
Cutting instructions for Vinyl Zipper Pouch Tutorial
Cut out the following pieces.
|
|
|
|
|
|
|
|
|
|
Tips for Sewing Vinyl Zipper Pouch
- Use a Teflon foot.
- Use clover clips instead of pins.
- Do not iron vinyl directly.
For more tips read “How to Sew Vinyl and Pleather“.
10 Minutes Glitter Vinyl Zipper Pouch Tutorial – Step-by-Step Video
Written Instructions for Vinyl Zipper Pouch Tutorial (Video Transcript)
- First, prepare the zipper.
2.Place a dab of glue on either side of the tab and sandwich the zipper end in between the tab. Fold tab in half and hold together using a clover clip.
3. Repeat for the other side.
4. Keep the zipper aside for now.
5. Next, fold the strap tab in half bringing the two shorter ends together. Finger press to make a crease. Open up the fold, bring the other short edge to the center from both sides, fold from center and finger press again.
6. Now sew all around the edges with a seam allowance of 1/8” and wide stitch length.
7. So this is what it should look like once done. now, insert the D-ring in the tab, fold over by ½” and sew two sets of stitches with a seam allowance of 3/8” and ¼” and mid stitch length.
8.Next, place the finished tab with folded side facing down and 3/8” of the remaining tab sticking out like this. Use a clip to hold in place. Sew with a seam allowance of ¼”.
9.Cut off the extra portion of the tab.
10.Now sew along the top edges of the tab with a seam allowance of ¼”. If you’re sewing the lined version forward the video a bit.
11.Next place the zipper RIGHT SIDE DOWN on right side of the body so that it’s centered and pin in place.
12.Switch to a zipper foot and sew the zipper to the vinyl using a seam allowance of ¼”.
13.Next, place the other side of the zipper right side down on right side of the other body piece so that it’s centered. Pin in place and sew along the top edge.
14.A tip to keep in mind here is to move the zipper pull away as you’re sewing so you can have a smooth set of stitches.
15.Once done this is what it should look like.
16.Now bring the two right sides together, match the raw edges, finger press the tab to really squeeze it and make it easy to sew.
17.Hold two sides using clover clips and sew along the three sides. do not sew the zipper side.. And make sure your zipper is open halfway to turn right side out in the end.
18.Once done, this is what it should look like. Now clip the corners at an angle and turn the right side out.
19.It’s gonna be a lot of struggle but be super gentle as there are chances of getting the vinyl damaged if too much force is used.
20.Okay, I have successfully managed to turn the right side out and here’s what my pouch looks like so far.
21.For the lined version, place zipper right side down on RIGHT side of the vinyl body, place lining body on the top right side facing down. Make sure the zipper is centered. Hold the three layers using clips.
22.Next, sew the 3 layers using a zipper foot and seam allowance of ¼”. Make sure to move the zipper pull away from the area you’re sewing for a perfect result. Once done, finger press the edges of vinyl and repeat for the other side.
23.Now bring the two vinyl body right sides together and the two lining sides together. Match the raw edges and pin. Now sew all around starting from the top mid of vinyl body till the mid of the lining. Here’s a detailed shot of how I like to sew. So first I’d start from the mid and sew one side as shown by red arrows. Next, I’d sew the other side as shown by black arrows stopping at a point in the center of the lining so that I leave behind a gap to turn right side out.
24.One more helpful tip is to switch the regular foot to a zipper foot when you reach the area near the zipper to help you sew past the zipper easily.
25.Once done, this is how it should look like. Now snip the corners and turn right side out from the lining gap.
26.Next, pull out the lining and fold the raw edges inside. Sew with a seam allowance of ¼”.
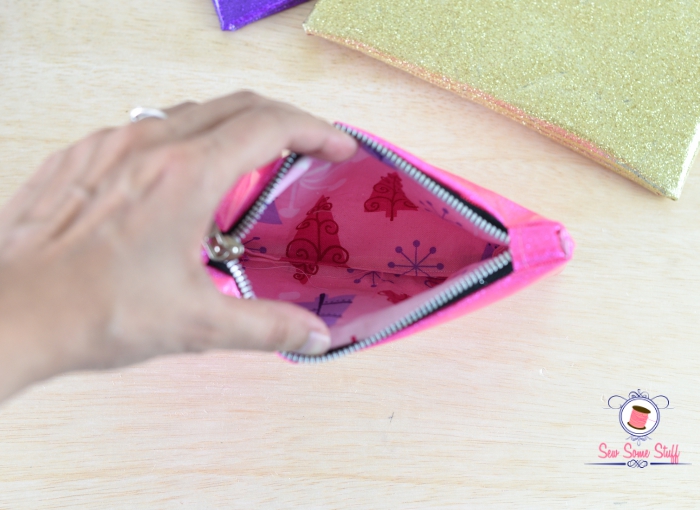
27.Now push the lining inside and there you go, your pouch is ready!
28.Now, let’s make the strap by first folding the strap piece in half, matching the two longer edges and finger pressing. Next, open up the fold and bring the longer edges on either side to the center and press again. Now fold again from the center.
29.Now sew along the edges with a seam allowance of 1/8” and a wide stitch length.
30.NOW Insert the swivel clip bring the other side in so that it touches the clip end and fold the shorter edge over by 1”. Place a clover clip to hold in place. Next, sew a line in the center. Be careful not to get too close to the metal ring or else your needle might snap. Now sew two sets of stitches parallel to the clip ½” and 1” away.
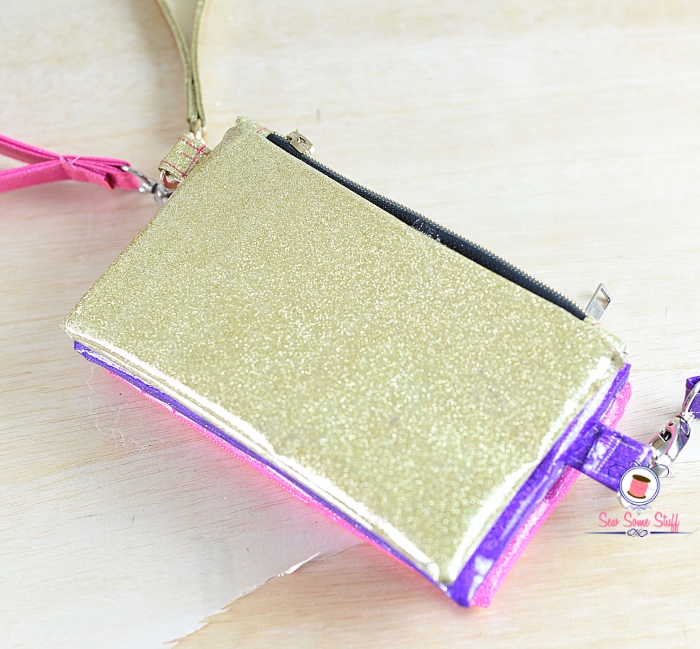
31.And there you go! Your glitter pouch/wristlet is ready! Just snap in your strap and you’re all set however if you’re bothered by all the wrinkles on the bag, you can iron your pouch by sandwiching it in a pillow cover and using very low heat to press it.
32.With that, we have reached the end of the tutorial. If you’d like to learn more about bag making sign up for my beginner bag making course on sewsomestuff.com.


The End of Vinyl Zipper Pouch/Wristlet Tutorial
With that, we’ve reached the end of the vinyl zipper pouch/wristlet tutorial.
LEARN TO SEW BAGS
I’m a crazy bag making addict. Want to learn to sew bags as well?
Sign up for the BEGINNER BAG MAKING COURSE by entering your name and email below!
By signing up you also agree on receiving weekly newsletters. Unsubscribe anytime.





Wow!! Wonderful tutorial. Brilliant work. I like it.