Ramadan – the holy month for the entire Muslims is here which means fasting for 30 days and doing excessive good deeds. Which also means less work on the blog and less sewing. But no worries, I’m working behind the scenes to hire a full-time contributor for the blog to share some awesome sewing patterns and tutorials.
This month I’m also putting most of my focus on creating a brand new course where you can learn how to turn your bag designs into patterns. If you’d like to know more about it, click on the image in the sidebar which says “How to Design and Sell Bag Sewing Patterns”.
Okay, onto today’s post, where I’m sharing a quick and easy watermelon pouch tutorial for beginner sewists as well as kids.
List of Supplies:
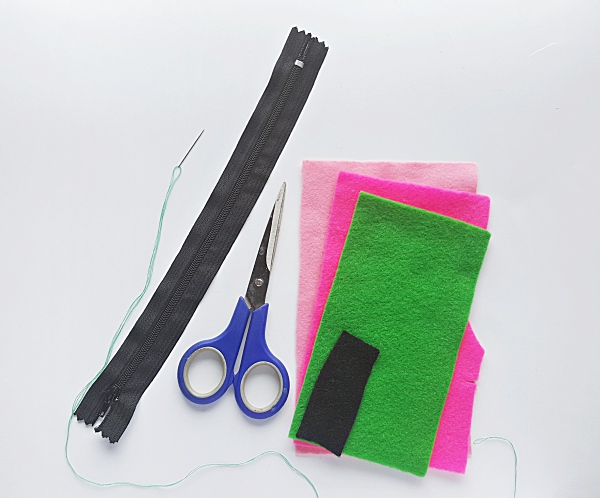
- Felt fabric – green, light pink, hot pink and black
- Needle and thread
- Scissors
- 10” Zipper
- Pencil and template – to prepare the patterns
Instructions for making watermelon pouch:
Step (1)
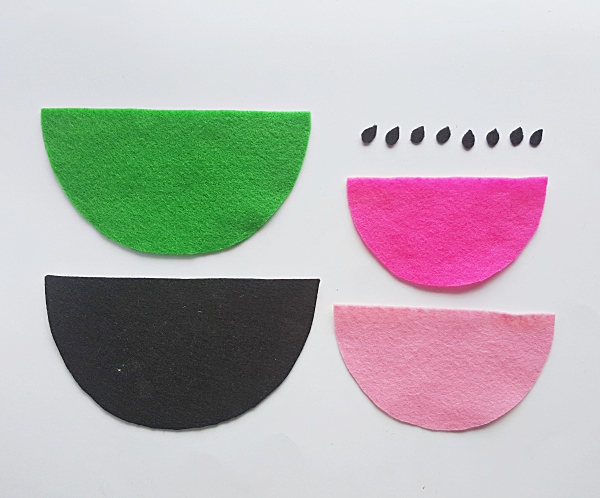
Print and cut out the patterns from the template. Trace the patterns on the selected felt fabric and cut them out nicely.
Step (2)
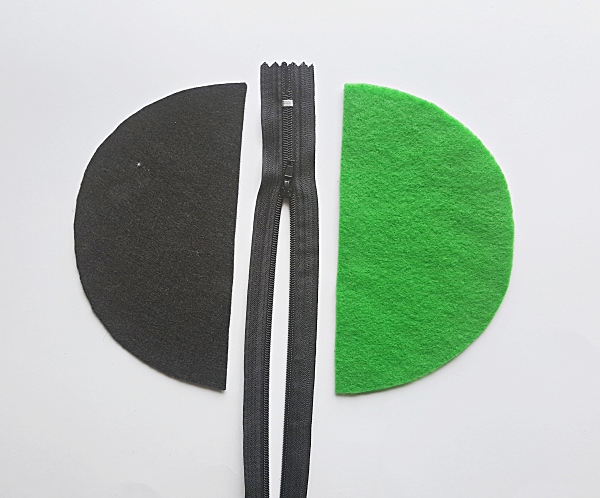
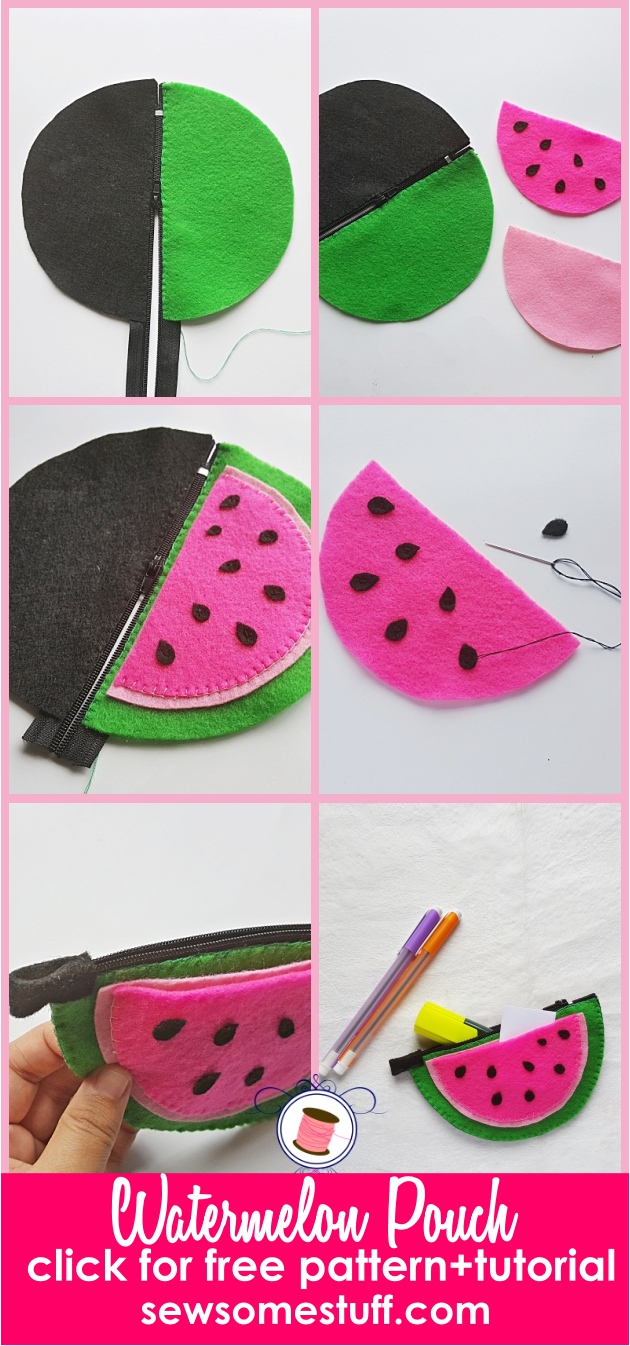
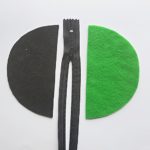
Place the zipper on a flat surface with its right side facing up. Place the 2 large semi-circle pieces on both sides of the zipper; aligning the straight sides of both pieces on both sides of the zipper. Match any one end of the zipper with the semi-circle pieces; we can trim the other end later if necessary.
Step (3)
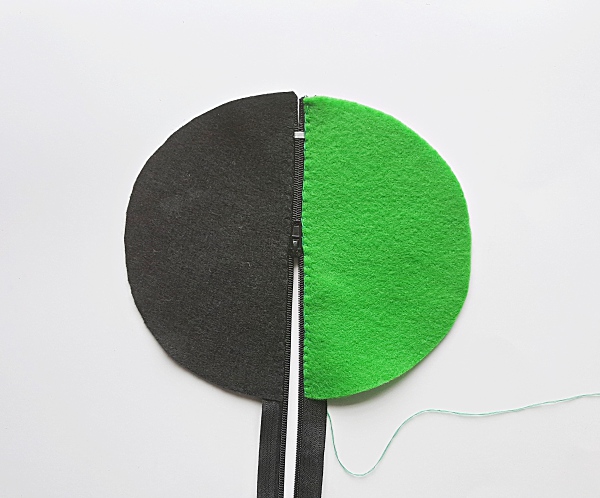
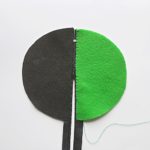
Prepare needle and thread. Overlap about a quarter inch of the straight parts of the semi-circle pieces with the zipper. Stitch the semi-circle pieces and the zipper together by simply using running or flat blanket stitch along the overlapped parts.
Step (4)
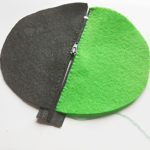
Cut out excess zipper leaving behind ½” length. This is how the main body part of the pouch should look like.
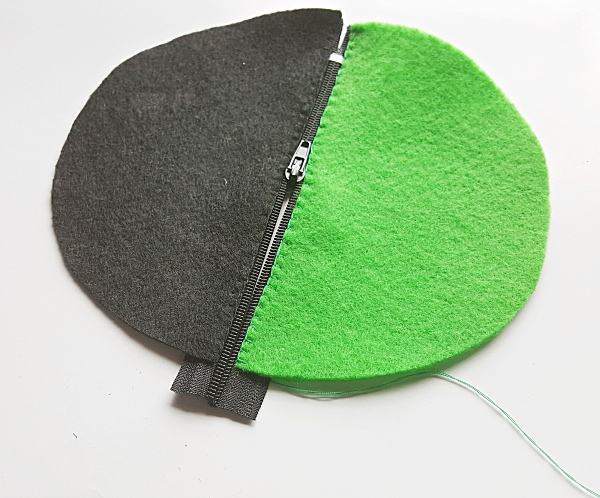
Step (5)
Take the small semi-circle piece and gather the seed patterns. Prepare needle with black thread.
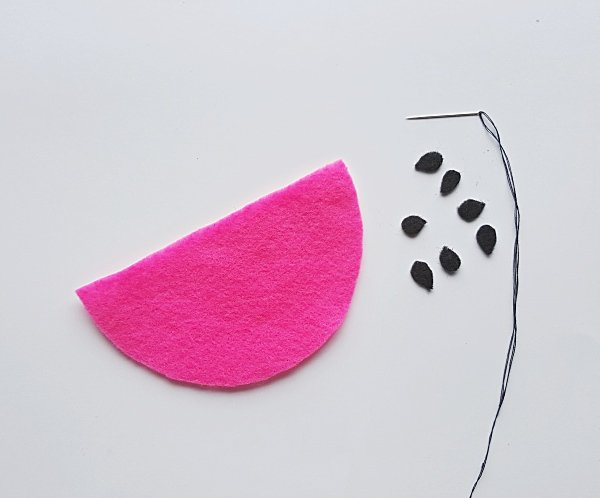
Step (6)
I used cross stitches to attach the seed patterns to the small semi-circle piece. After attaching all the seed patterns on the small semi-circle pieces tie 2 tight knots at the back side of the piece and cut off extra thread.
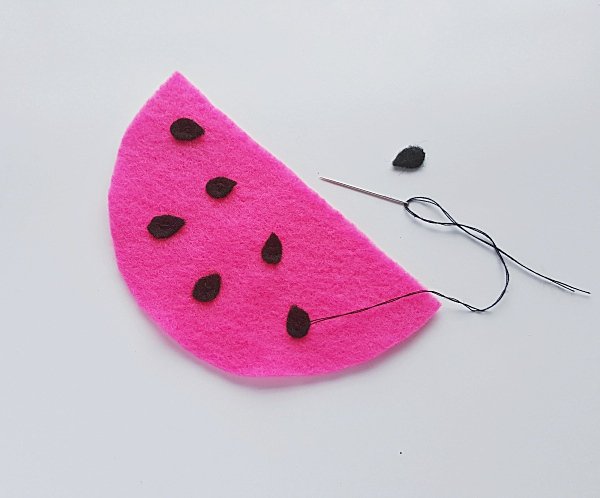
Step (7)
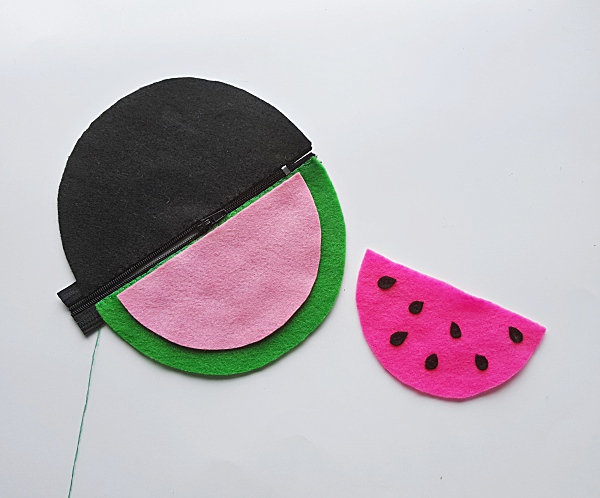
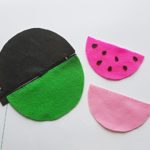
Place the zipper attached piece, seed attached small piece and the medium semi-circle piece on a flat surface.
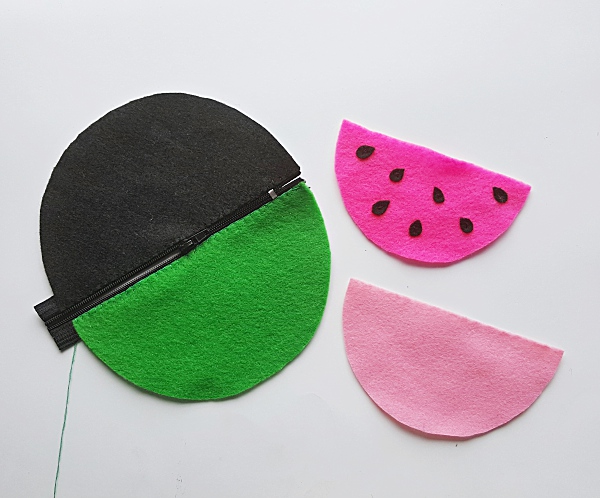
Step (8)
Place the medium semi-circle piece on the front part (green semi-circle piece) of the main body part. Align the straight edges of both pieces (front semi-circle and medium semi-circle).
Step (9)
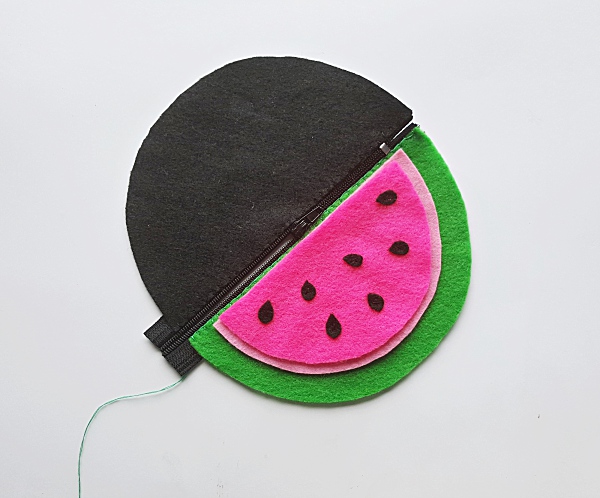
Now place the seed attached semi-circle piece on the medium semi-circle piece; align its straight edge with the previous pieces as well.
Step (10)
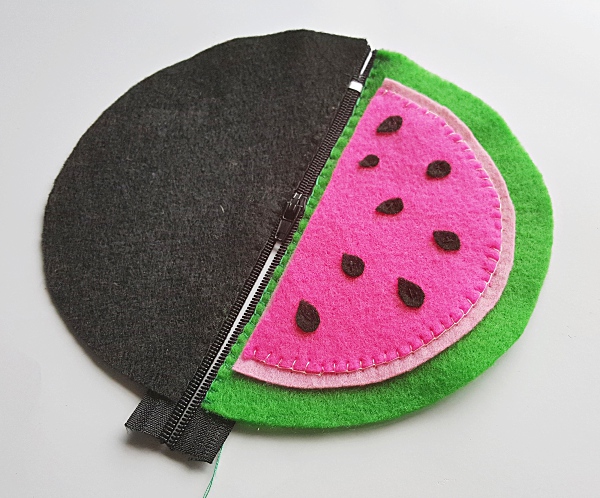
You can stitch the medium and the small (seed attached piece) pieces individually but I worked a single line of flat blanket stitch along the curved side of the small piece hence attaching all 3 pieces (front, medium and small) together. Tie a knot and cut off extra thread after the stitch is complete.
Step (11)
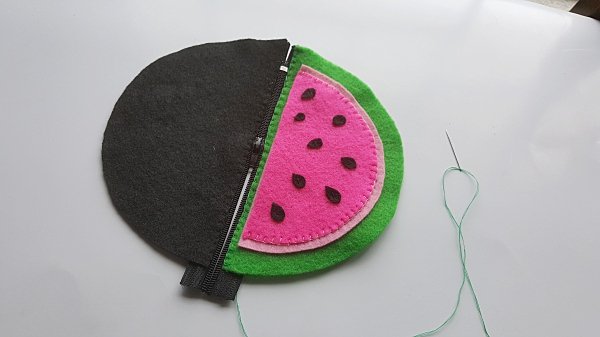
Fold the main body part into half; keeping the zipper on the middle and matching the semi-circles on both sides of it. Prepare needle and thread; start stitching from any one side, adjacent to the zipper.
Step (12)
It is best to work with a flat blanket stitch to close the side of the main body part of the pouch. Simply use flat blanket stitch from one side to the other side.
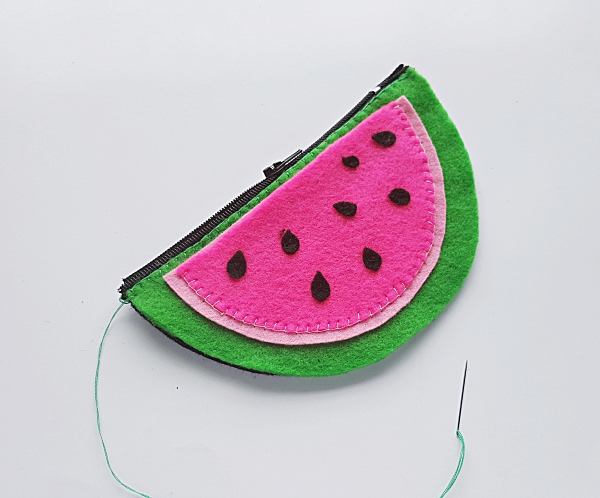
Step (13)
Tie 2 tight knots and cut off extra thread after you’re done.
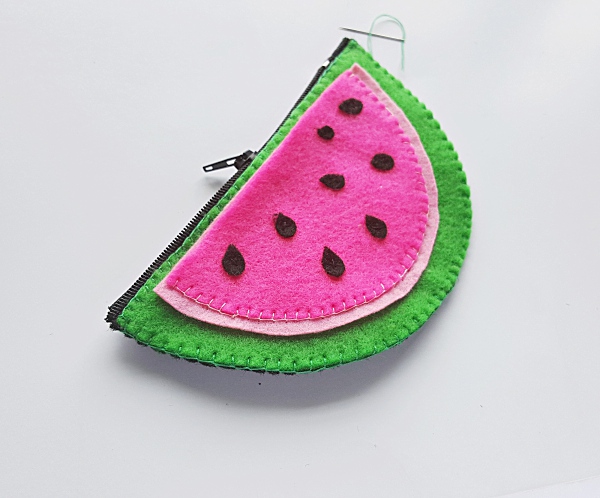
Step (14)
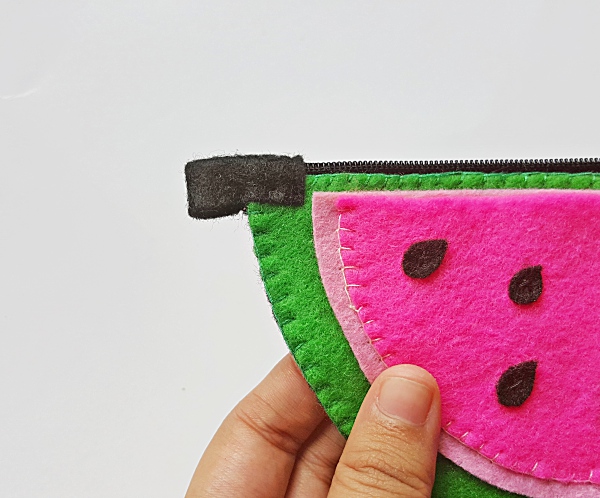
Take a piece (2”) of felt fabric and fold it into half matching the two longer edges. Place ½” of the piece on the zipper edge. Fold the excess of another side in a half so that it makes a loop.
Use needle and matching thread to stitch the felt piece to the pouch. Tie a knot and cut off extra thread after the stitch is complete.
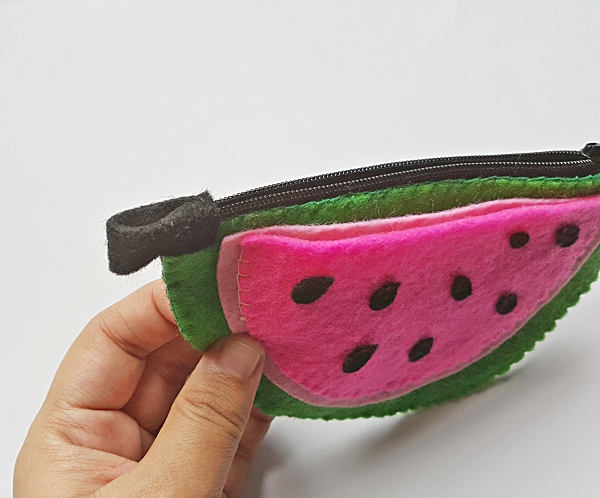
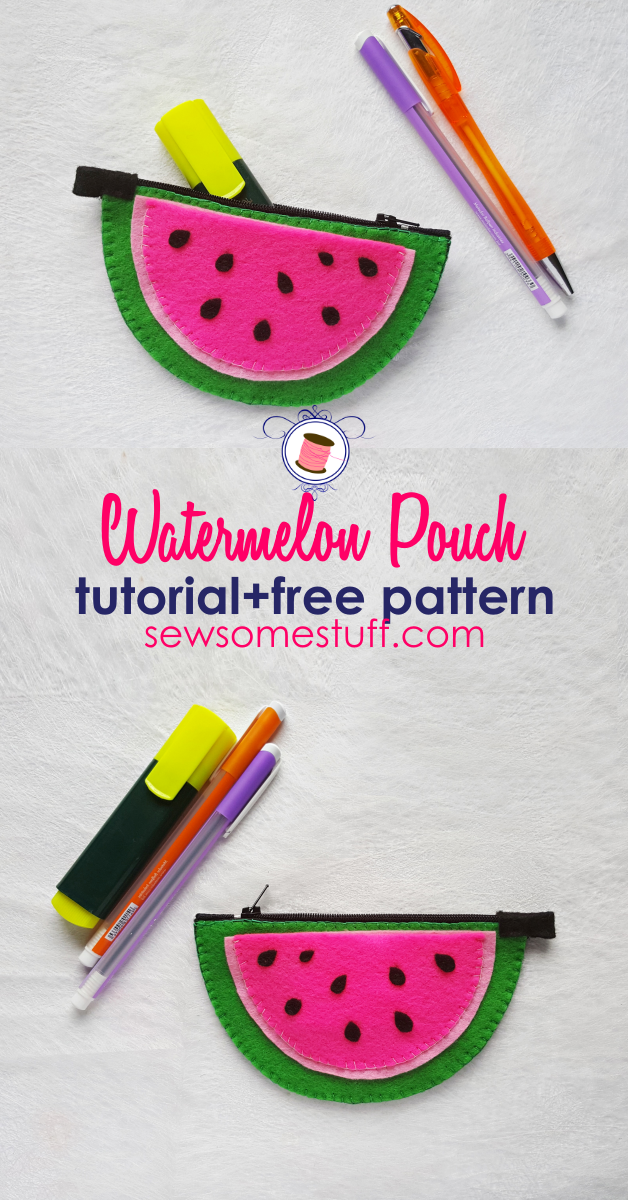
That’s it! Your pouch is ready.
Make this watermelon zipper pouch now! Become a member by entering your name and address below, grab the template and start sewing.





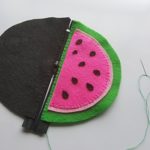


[…] How to Sew a Watermelon Zipper Pouch […]