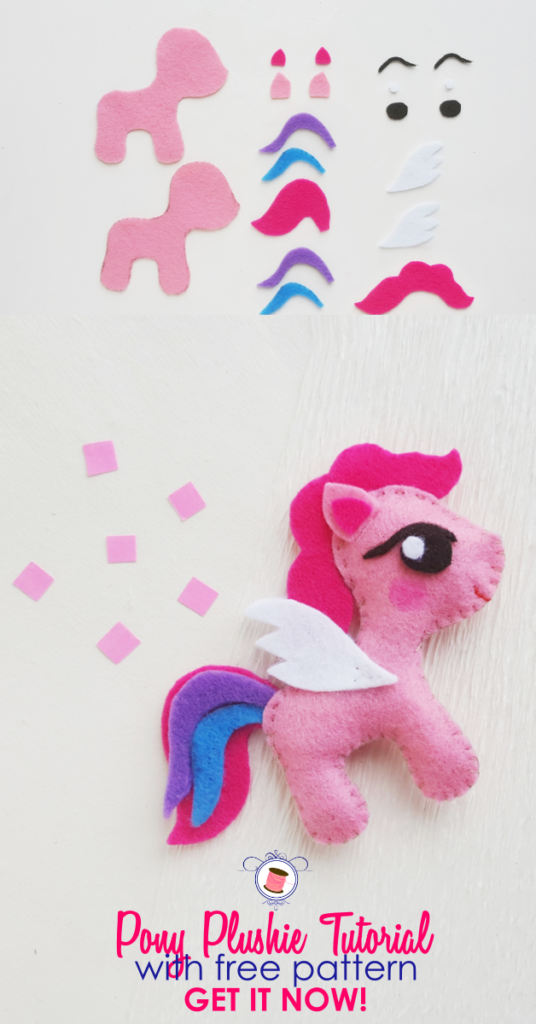
In this post you will find, My Little Pony Sewing Pattern (Free) and Tutorial.
I have a love/hate relationship with breaks and holidays.
I love them because they’re refreshing but do you know why I hate them?
Because it’s SO HARD to catch-up once you’re back.
I’m still struggling with it after the 1 week turned 1-month wedding break.
At the same time, I didn’t want to stop sharing awesome content with you girls.
So, I’ve started working with a very talented sewing fairy to create sewing tutorials for me that I can share with you all here.
Don’t worry it will all go under intense scrutiny before it appears here.
This will allow me to focus on the other important stuff of blogging while keeping the content on the blog fresh.
So, without further ado, here’s the first tutorial by my talented contributor.
My Little Pony Sewing Pattern (Free) and Tutorial
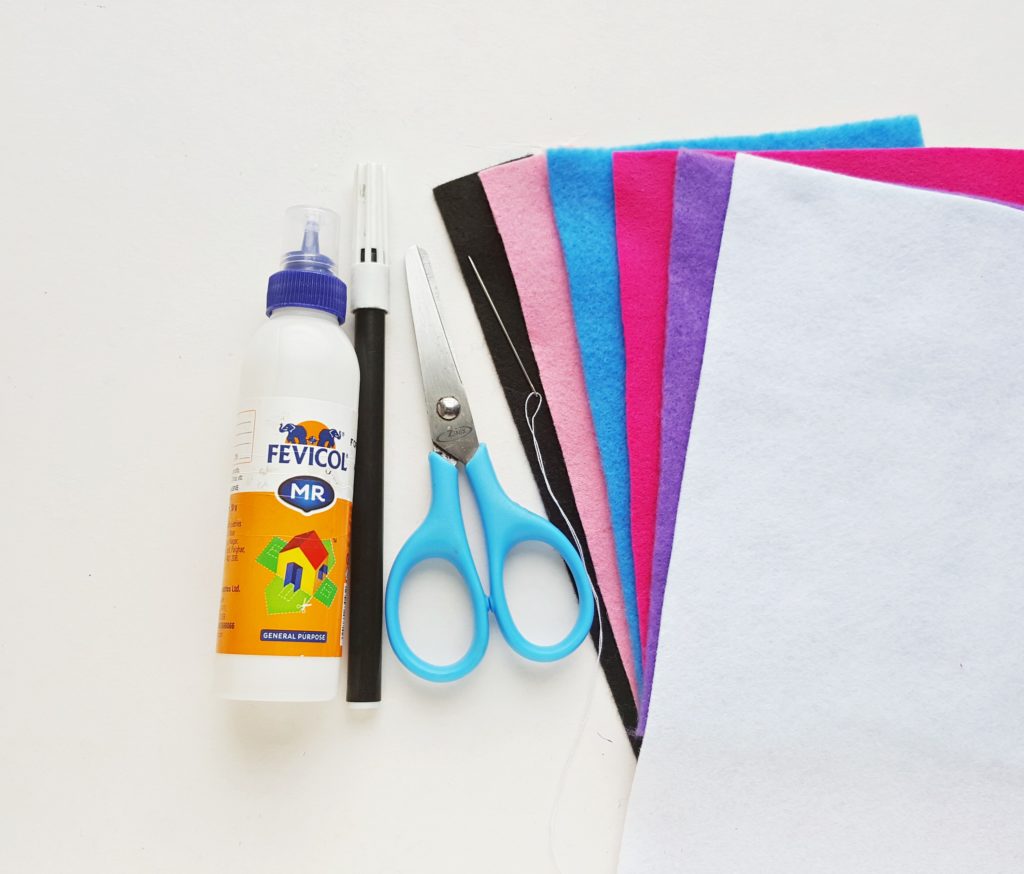
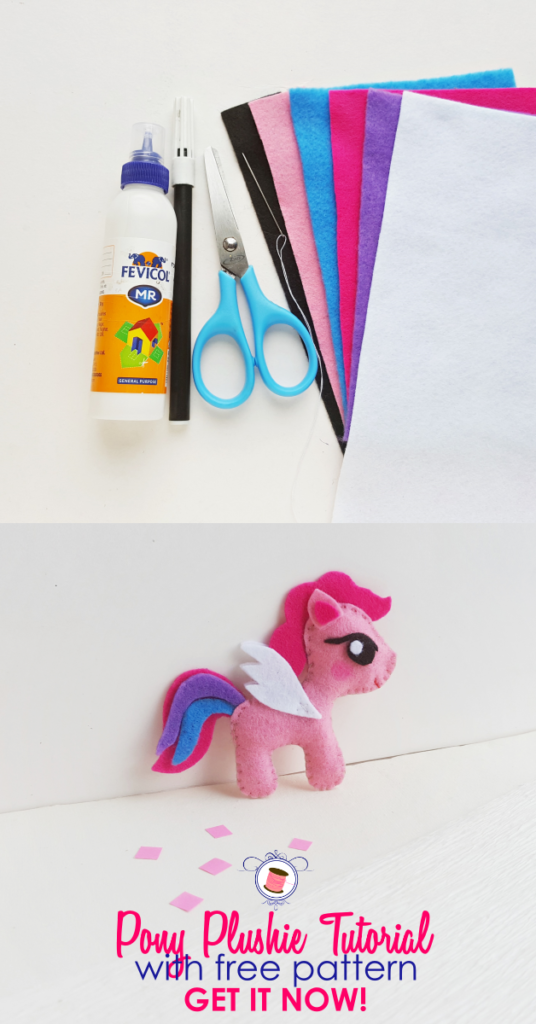
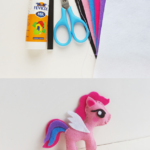
List of Supplies:
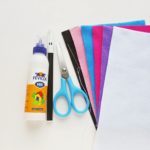
- 1. Felt fabric – colors of your choice
- 2. Scissors
- 3. Pencil
- 4. Craft glue
- 5. Needle and thread
- 6. Template
Instructions:
Step (1)
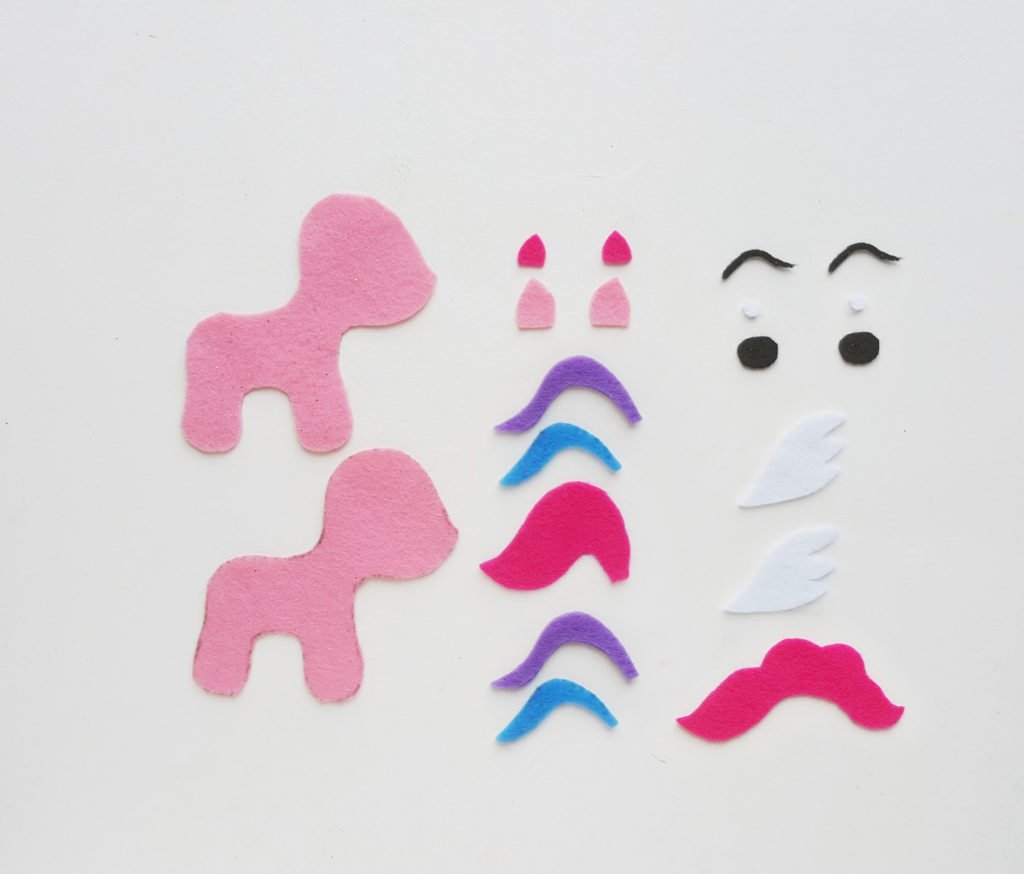
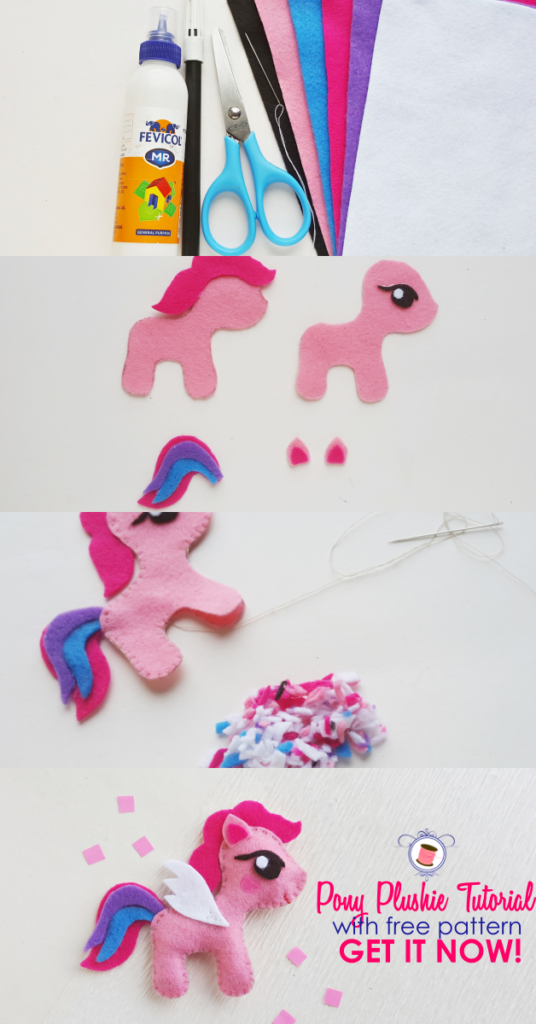
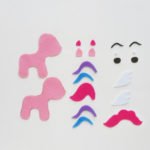
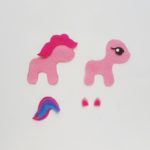
Print and cut out the patterns from the template. Select the felt fabrics of your choice and trace the patterns on them. Use scissors to cut out the patterns neatly.
Step (2)
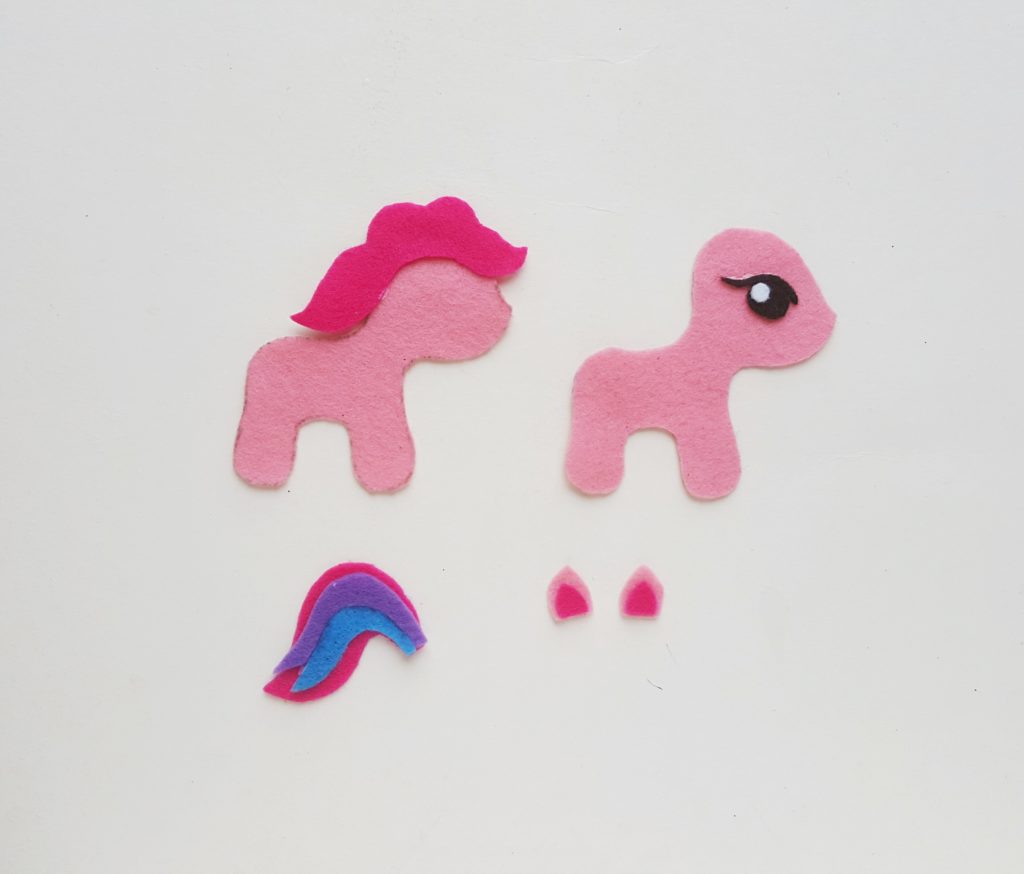
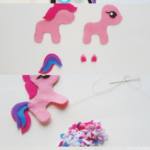
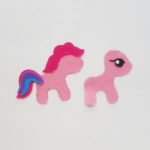
Lay the 2 body pieces and the base on a flat surface. Take the pieces for the eyes and assemble them on the front body piece; use fabric glue to attach them. Place the hair in its place; on the back body piece. Glue the inner parts of the ears on the large parts of the ears. Glue the 4 tail pieces on the base; 2 on each side. We’re using glue to keep the pieces in their places so that it’s easier to sew them.
Step (3)
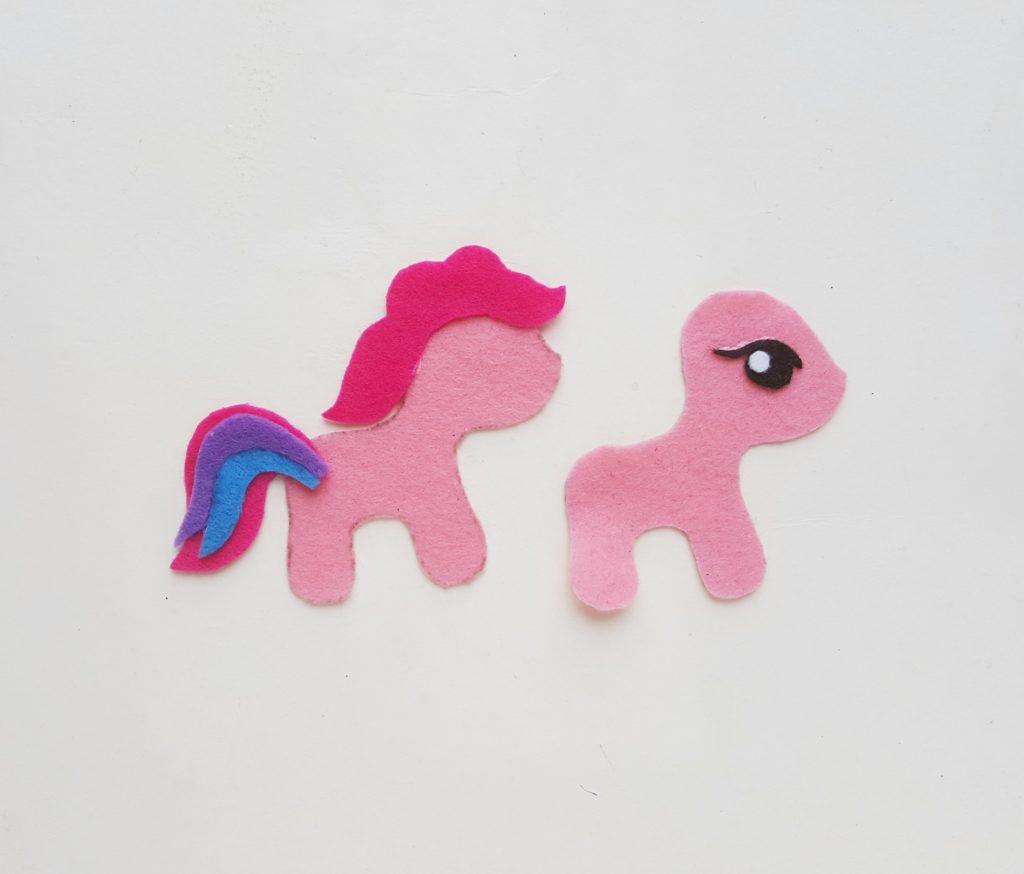
Place the tail on the back side of the back body piece.
Step (4)
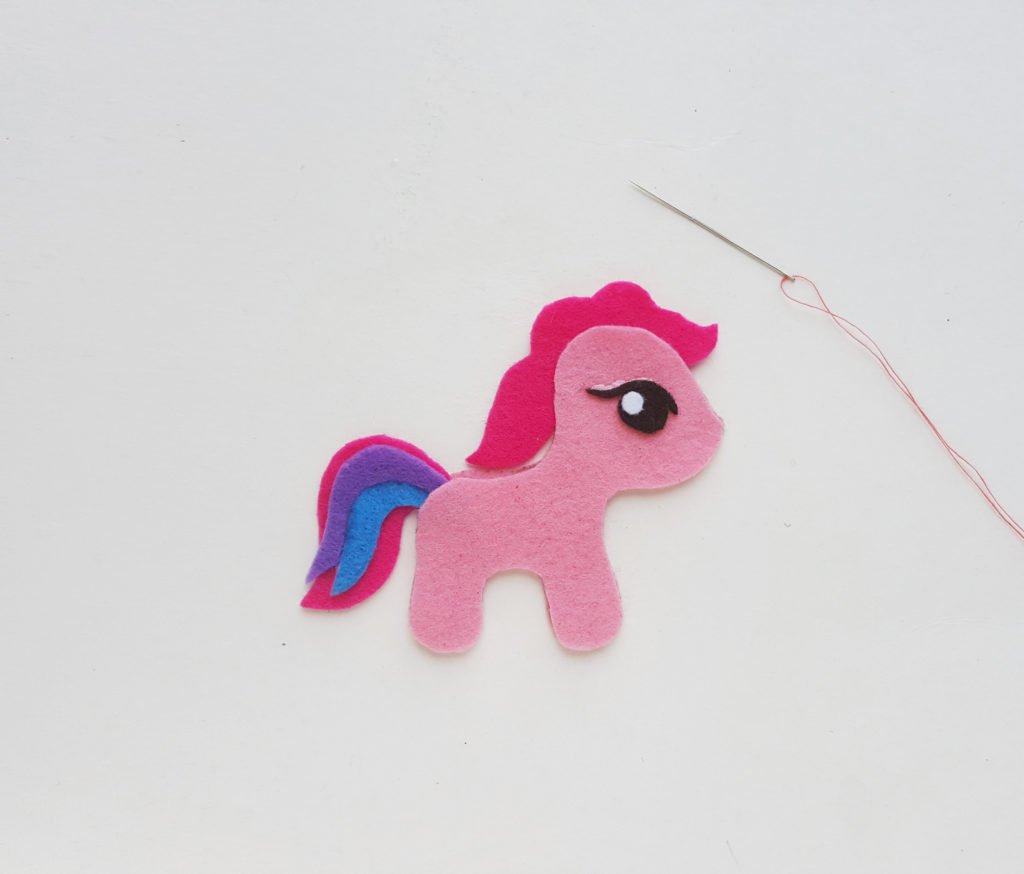
Neatly place the front body piece on the back body piece; making sure to match all sides of both body parts. Prepare matching needle and thread.
Step (5)
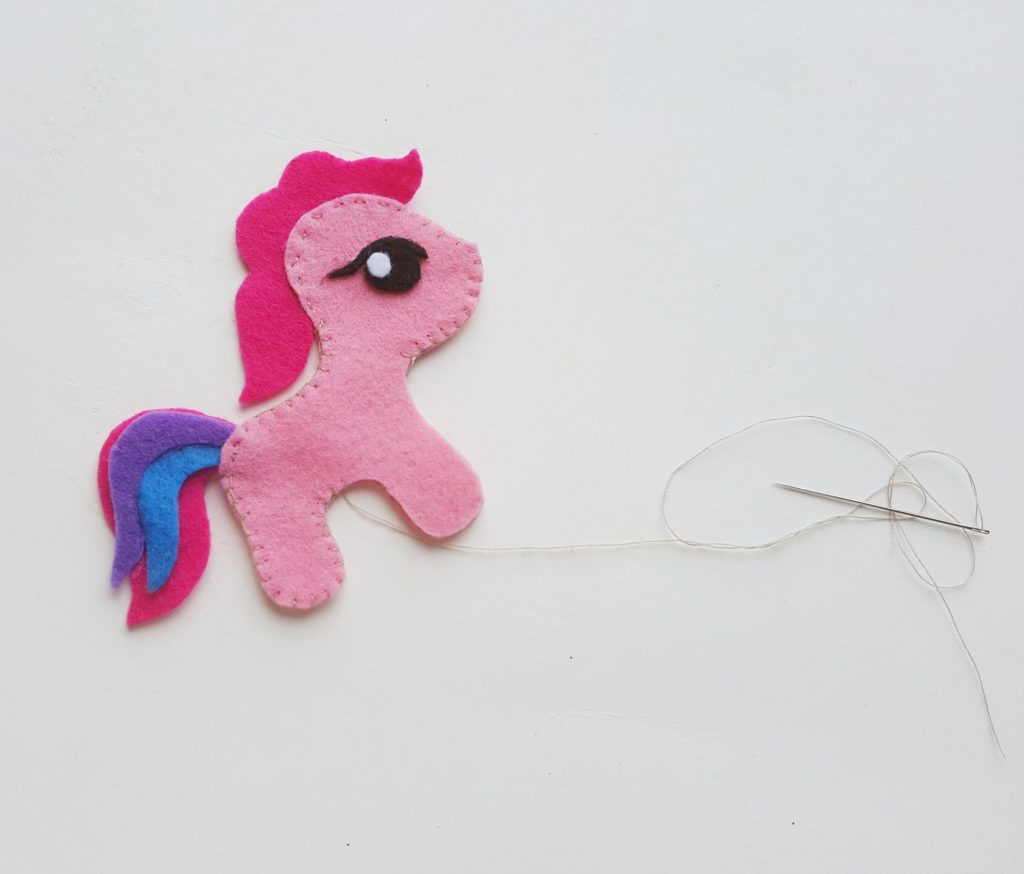
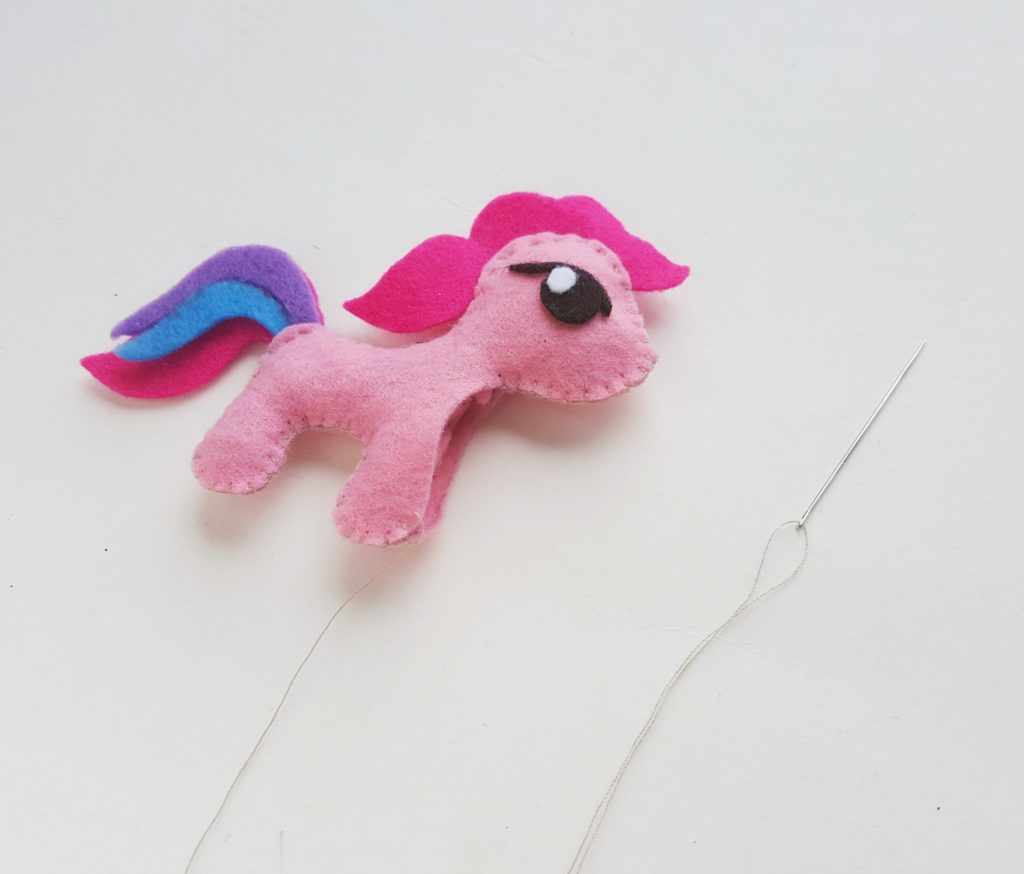
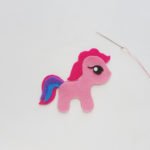
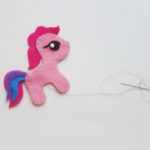
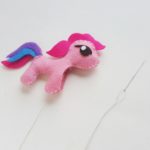
Start stitching from either the head part or the back leg. Simply do a flat blanket stitch along the side to attach both body parts together; along with the other parts (tail and hair).
Step (6)
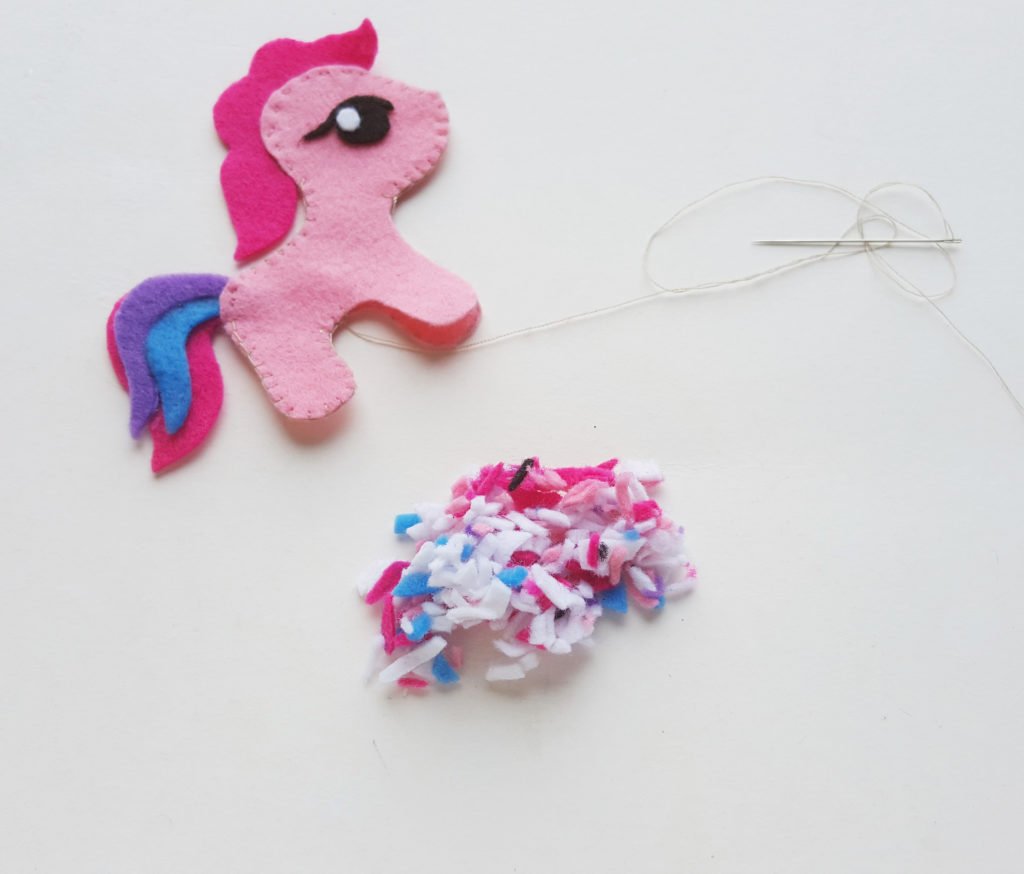
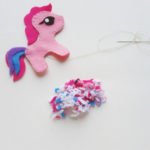
Do not stitch all around the sides; make sure to keep a small opening for stuffing the pony. Use the leftover felt fabrics from this project for the stuffing. Use scissors to cut them into small pieces.
Step (7)
Stuff the plush with the felt cutouts until you’re satisfied with the plushness. The stuffing shouldn’t be too loose or too tight.
Step (8)
Once you are done stuffing the pony, use needle and thread to close the open end. Gather the ears and the wings.
Step (9)
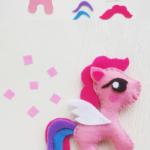
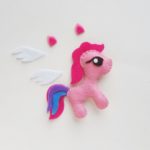
Place the ears and the wings on their positions and stitch or glue them. For the wings, I did a simple cross stitch on one side with the body parts.
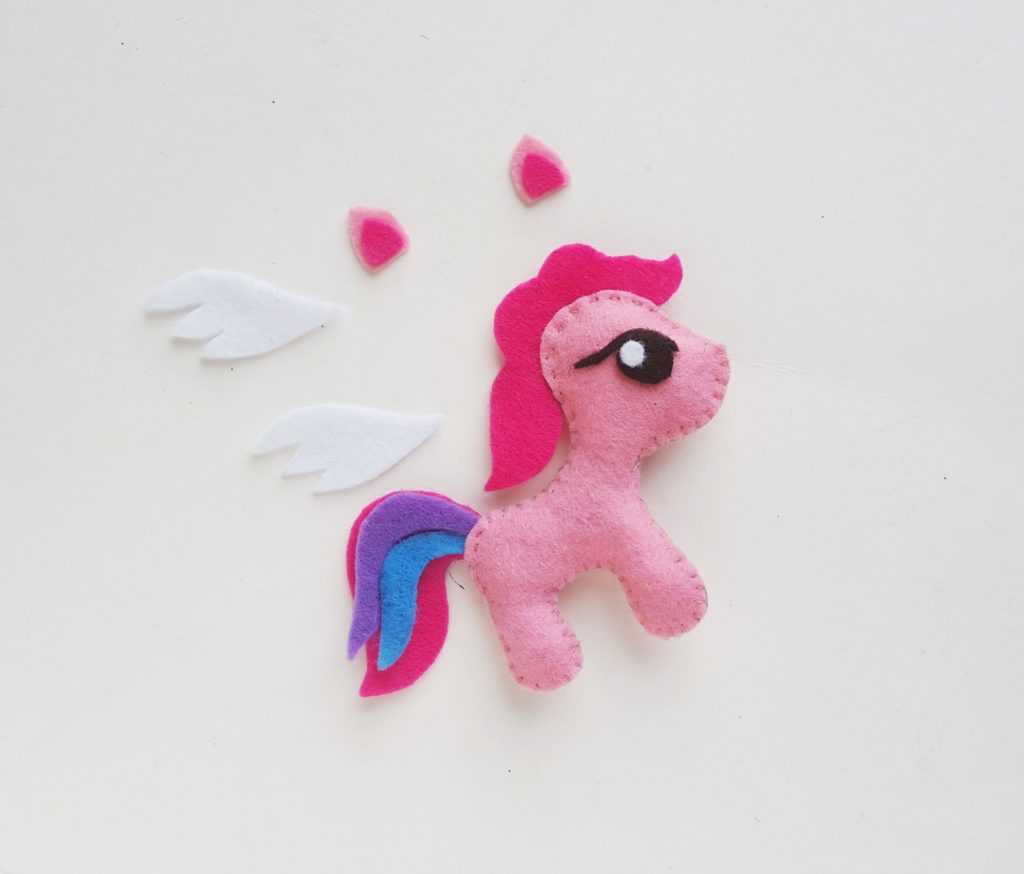
That’s it! Your super cute pony is ready!
To get the FREE pattern, don’t forget to become a member by signing up with your name and address below.


I’ve already signed up but my printer had an error and want able to printer the little pony pattern. How do I sign in to print the pattern again
Thanks
Hi, Jamie!
Just sent you an email. 🙂
I would love to have the my little pony pattern please.