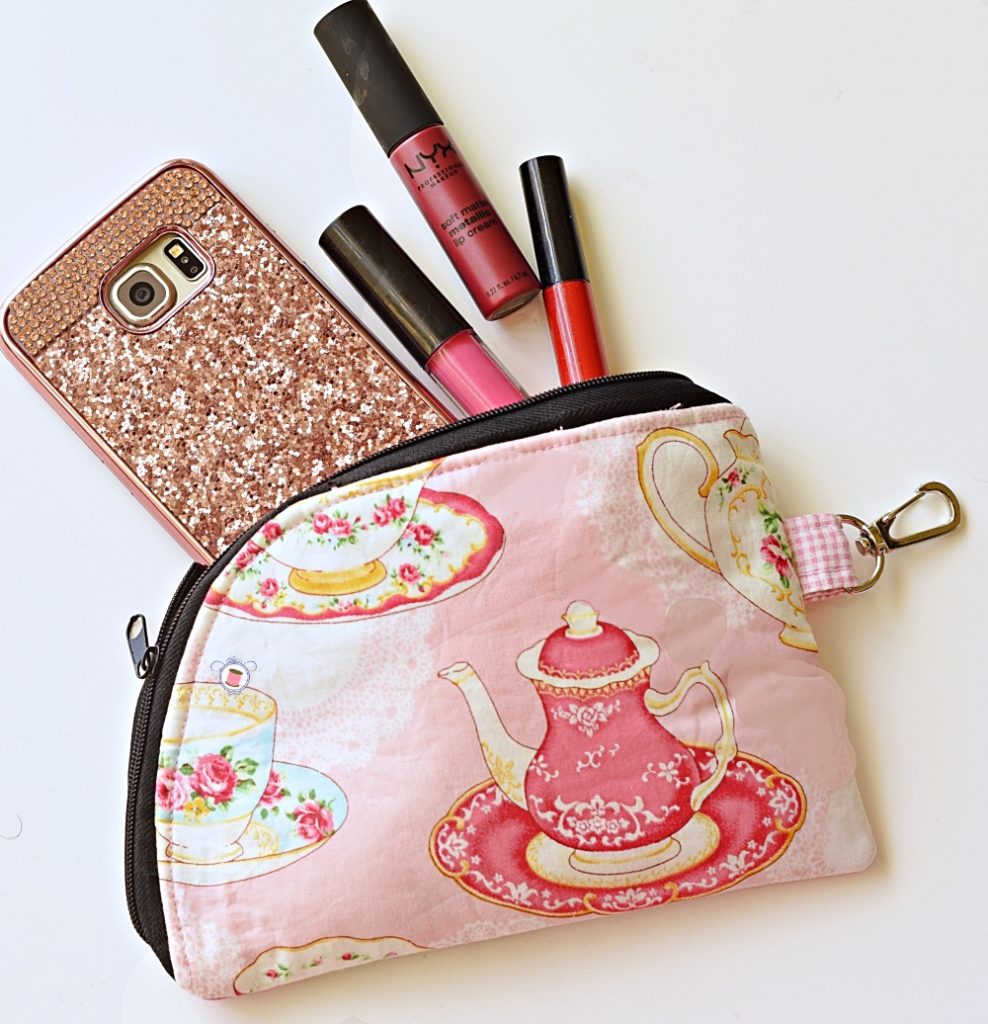
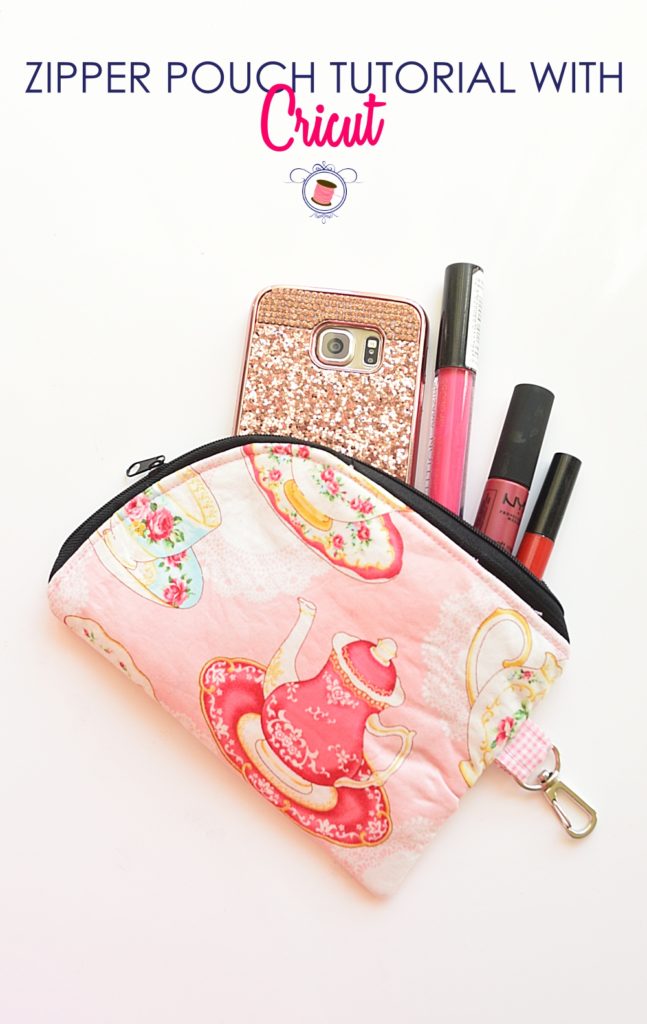
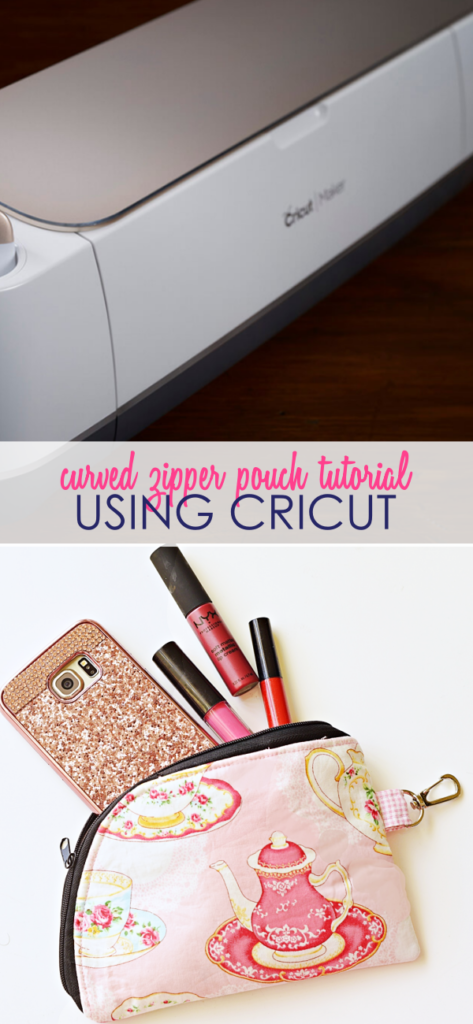
THIS IS A CURVED EASY ZIPPER POUCH TUTORIAL
Can you ever have enough zipper pouches in your life? I don’t think so, especially when you’re traveling and need to keep everything organized. So, I’ve been thinking of just sewing like 20 different pouches in several sizes and use them only when I’m traveling so during packing I don’t have to worry about organizing my stuff so that it’s easy to find.
Which is why I decided to make this curvy zipper pouch using a Cricut Maker sewing pattern.

What is the Cricut Maker?
Cricut Maker is the best thing ever invented for the sewists who like to work on small projects. It’s your personal cutting assistant that can cut out literally everything for you in seconds. To find out if Cricut Maker is right for you, click here to read my post Is Cricut Maker Actually for Sewists.
Okay, now let’s sew the curved zipper pouch!
Here are the supplies you would be needing for curved easy zipper pouch sewing tutorial.
Supplies
- Cricut Maker Machine
- 12″x12″ FabricGrip Mat (4)
- Brayer and Remover Tools
- 12″x12″ of fusible fleece, medium-weight interfacing, lining, pocket and exterior fabric
- 11″ zipper
- 1/2″ swivel clip
- sewing machine and sewing supplies
Video Tutorial for Easy Zipper Pouch
Cutting
To cut out the pieces you would first need to set-up your Cricut Maker.
Make sure it’s connected to the PC via USB or Bluetooth. Next, select this pattern from the project menu. The name of the pattern is “Two-Sided Zipper Case”. It’s a paid pattern so go ahead and purchase it first.
After purchasing follow the instructions given on the screen to load your mats.
You would need 4 mats; one each for the fusible fleece, interfacing, lining, and exterior.
I like to first cut out my pieces based on the measurements given in the project to avoid fabric from being wasted.
Load your mats into the machine and cut out all the pieces. Once you’re done with the cutting, proceed to watch the curved easy zipper pouch tutorial.
Sewing
The first step is to fuse the fusible fleece to the exterior and craft-fuse to the lining.
So, go ahead and do that.
Next, it’s time to sew the card pocket. So, fold the pocket fabric in a half, keeping the right sides together. Sew all around using a seam allowance of 1/4″ leaving a gap 3″ wide at the bottom. Turn right side out from the gap and press seams flat.
Place card pocket on one of the lining panels, so that it is 1″ away from the curved edge. Place the side with the opening at the bottom and sew from the three sides using a seam allowance of 1/4″, leaving the top open to slide the cards.
Next, to sew the pouch, we gotta first pin the zipper along the edge of both the lining and exterior fabric.
Next, need to sew the three layers together using a 1/4″ seam allowance as mentioned in the pattern.
The next step is to sew the other side of the zipper to the remaining exterior and lining pieces.
Now, it’s time to add the tab for the swivel clip.
So, fold the tab fabric in a half to mark a center crease. Next, fold the raw edges to match the center crease. Fold again from the center. Press and sew along the two longer edges using a long stitch length and a seam allowance of 1/8″.
Slide the tab into the swivel clip and fold in half.
Sew to the exterior panel 1″ away from the top edge.
Now, assemble the pouch together. Bring the two exteriors right sides together and the two linings right sides together. Sew all around, using a seam allowance of 1/2″ leaving a 3″ wide gap in the lining to turn right side out.
Once done, snip the corners and turn the pouch right side out.
Poke the edges out, close off the lining.
Give your pouch a nice steam press and you’re ready to roll!
The End of Easy Zipper Pouch Sewing Tutorial
With that, we have reached the end of this tutorial. Check out more interesting posts below!
- Must-Have Cricut Maker Accessories for Sewists
- How to Sew a Watermelon Zipper Pouch
- 16 Awesome Easy Sew Zippered Pouches


[…] Curved Easy Zipper Pouch Tutorial with Cricut Maker […]