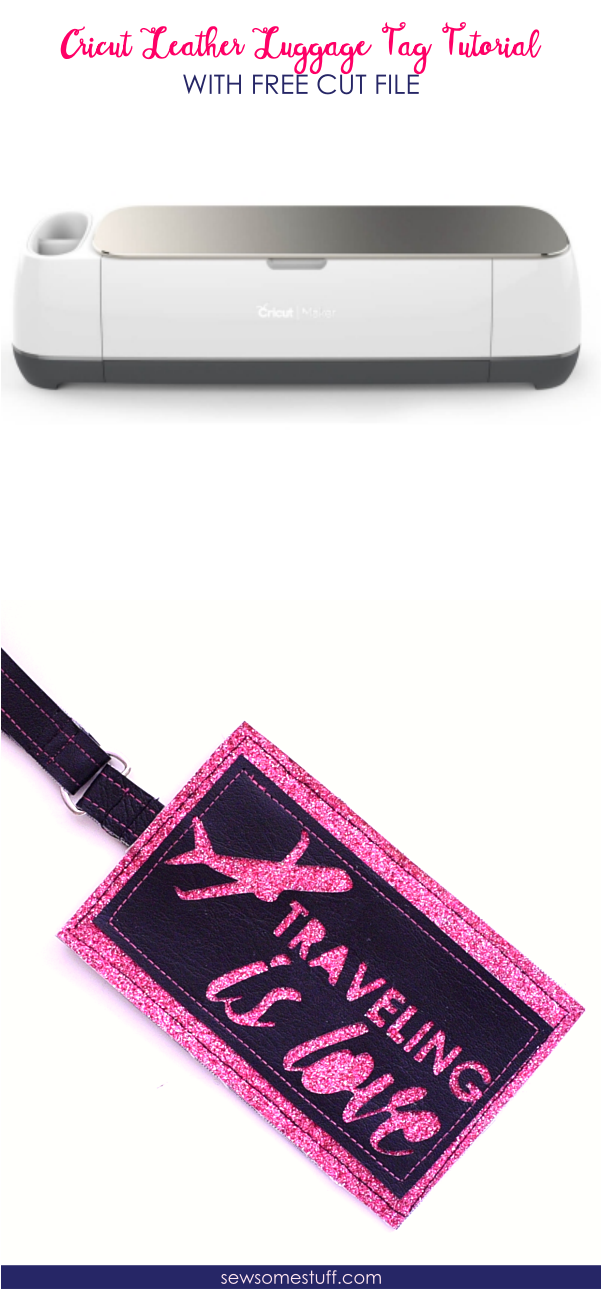
IN THIS POST I’M SHARING DIY Leather Cricut Luggage Tags WITH FREE SVG.
The last time I made new luggage tags was last February, more than a year ago. I used them for more than three trips and they survived them all without any hint of falling apart (unlike the first luggage tag that I purchased several years ago). They just need some washing now and they’d be good to go. But the problem is, I forgot where I left them because over the past year I’ve been to more than 3 countries and my stuff is scattered all over the place, literally.
The point is, I needed a new luggage tag.
And since this time I had my Cricut, I had more creative freedom to try out some totally unique luggage tag design.
And that’s how the Leather Cricut Luggage Tags tutorial was born.
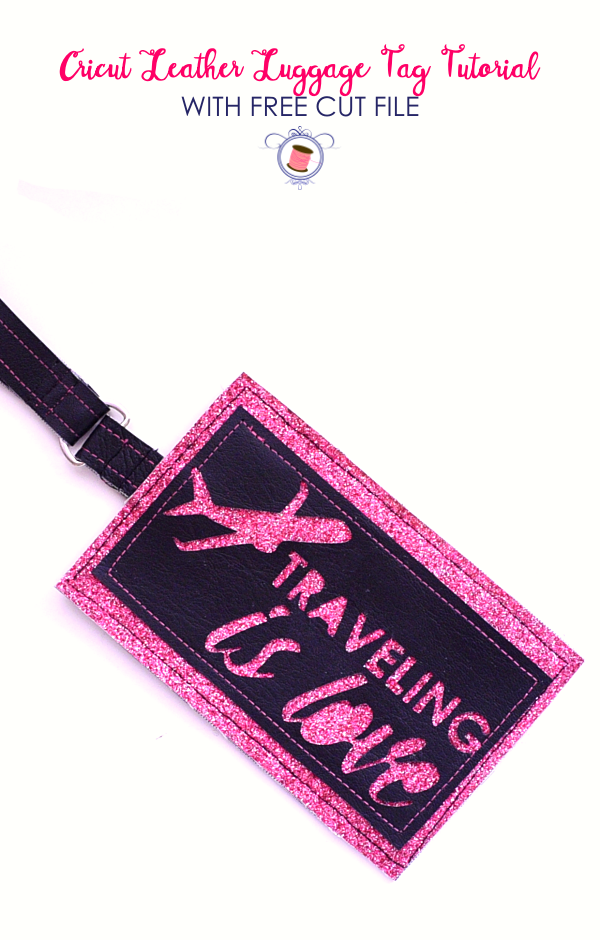
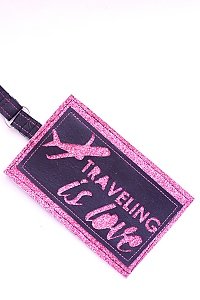
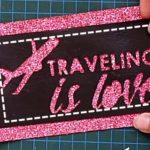
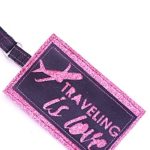
Made from black and glittery faux leather with a cut-out overlay, this is one luggage that’s TOTALLY going to stand out from the crowd.
You can choose to make this luggage tag in ANY faux leather colors.
I’ve designed this luggage tag so that it can be easily sewn on any domestic sewing machine, which means it will have raw edges. If you’re not a fan of raw edges, you can check out my fabric luggage tag tutorial here.
The finished size of this leather Cricut luggage tag is 6.5″X4″.
AMAZON AFFILIATES DISCLOSURE
For this tutorial, I used my magical Cricut Maker machine to cut out the shapes for this project. This saved me a LOT of time and I didn’t waste any paper as I didn’t have to print the PDF file. How awesome is that!
If you don’t know what is Cricut Maker, read below.
What is the Cricut Maker?
Cricut Maker is a personal cutting machine made for sewists to cut out intricate shapes and designs by just one click. It can not only cut literally any fabric you can think of, but it can also cut leather, cork, and WOOD! To get in-depth knowledge of what Cricut Maker is and if it’s something you should invest in, check out this post: Is Cricut Maker Actually Good for Sewing? Honest Answer

DIY Leather Cricut Luggage Tags Tutorial
Supplies for Cricut Luggage Tags
- Cricut Maker Machine
- Free SVG file/PDF pattern: can be grabbed from the free pattern library for VIP members. Become a VIP member by signing up for the email list at the bottom of this post.
- 12″x12″ Strong Grip Mat
- Brayer and Remover Tools
- Cricut Essential Tools Kit
- A scrap of Contrasting Faux Leather
- 1/4 yard of Main Faux Leather
- Sewing supplies
- Walking foot
- 1/2″ D-ring
- Clear vinyl
- Free SVG cut file that you can grab by signing up for the email list below.
Cutting Instructions for Leather Cricut Luggage Tags
Cut out the following pieces:
| Main Faux Leather | 12″x9″ | Cut the rest of the pieces using Cricut. Make sure you select “mirror”. |
| Contrasting Faux Leather | 6.5″x4″ | Cut manually |
| Clear Vinyl | 5.5″x4″ | Cut manually |
| Straps | 0.5″x15″ (2 pieces) | Cut manually |
After uploading the PNG file on Design Space, make sure you resize it so that the rectangle with “Travelling is love” measures 6″x3″ or else the contrasting faux leather and clear vinyl size will not match the rest of the pieces.
Video Tutorial for Leather Cricut Luggage Tags
Step-by-step tutorial for Leather Cricut Luggage Tags
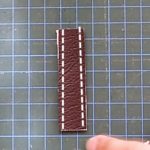
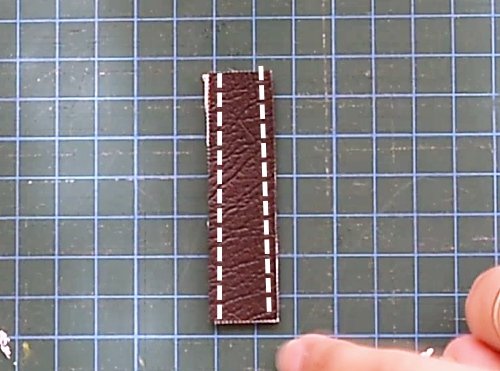
Step 1: Sew the extenders right sides together with a 1/4″ seam allowance along the longer edges as shown below.
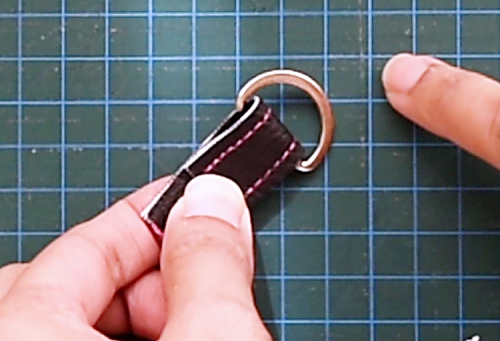
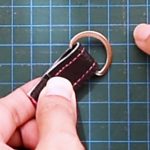
Step 2: Insert extender into the 1/2″ D-ring, fold over by 1/2″ and sew parallel to the D-ring using a seam allowance of 1/4″ and 1/2″. Keep aside.
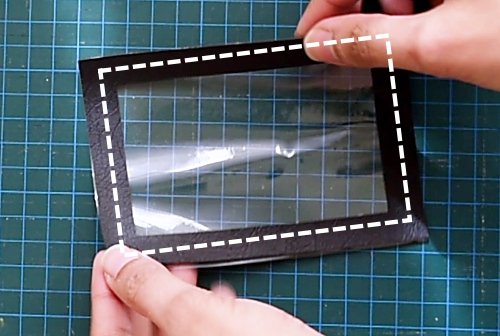
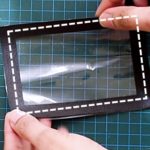
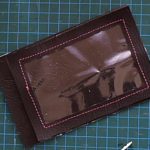
Step 3: Place clear vinyl on the wrong side of the window panel and top-stitch around the inner edge of the tag as shown below.
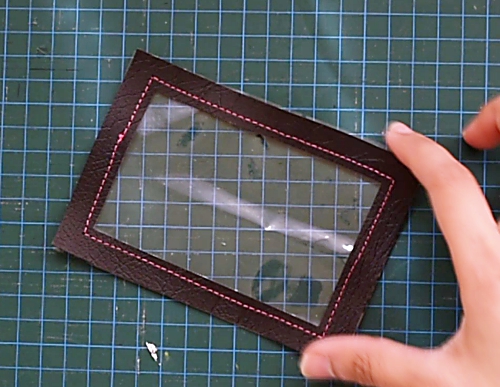
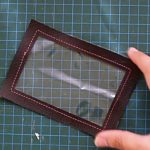
This is what it should look like when done.
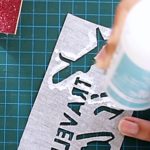
Step 4: Glue the cut-out to the RIGHT SIDE of contrasting faux leather, making sure you apply glue on the inner corners.
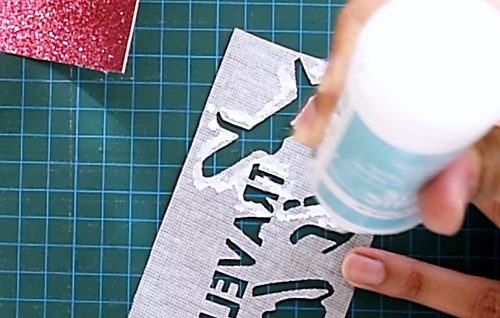
Step 5: Top stitch all around using a 1/4″ seam allowance. I like to use a wide stitch length for top-stitching so that the stitches are prominent and beautiful to look at.
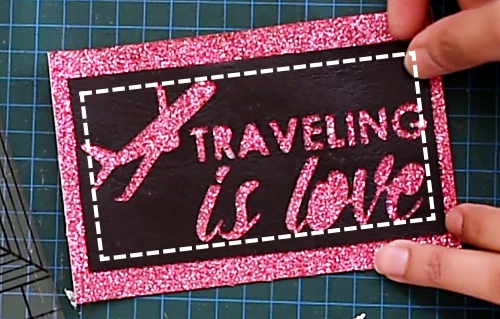
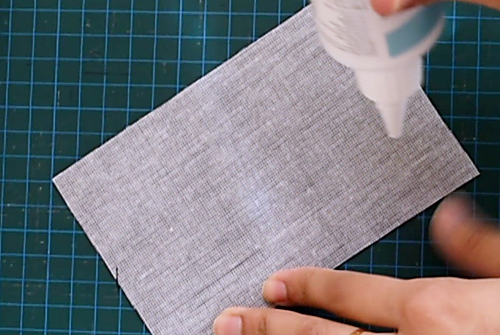
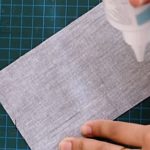
Step 6: Glue main faux leather and contrasting faux leather, wrong sides together.
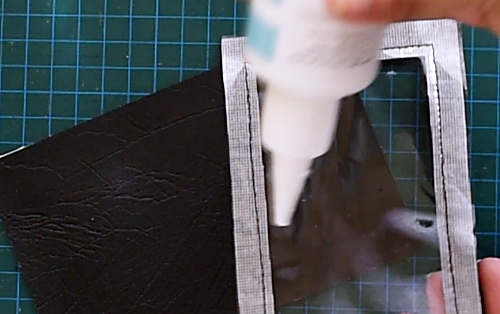
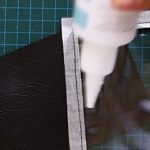
Step 7: Glue window panel to the RIGHT SIDE of the main faux leather as shown below.
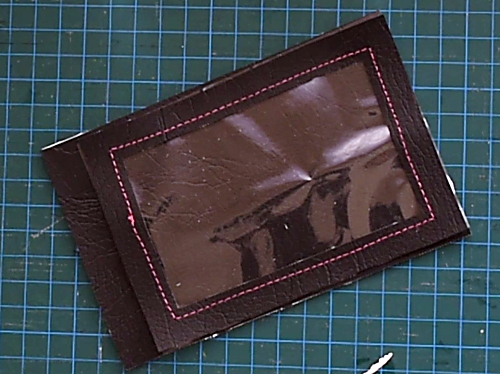
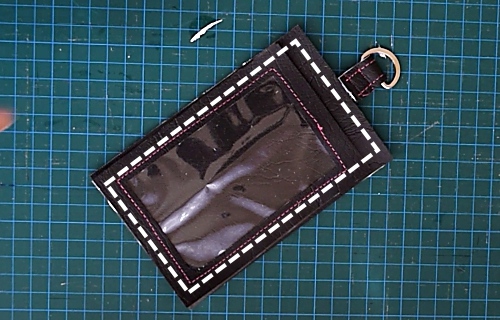
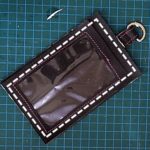
Step 8: Insert the extender at the top so that it is centered. Sew all the layers together along the four edges using a seam allowance of 1/4″ as shown by the dotted lines below.
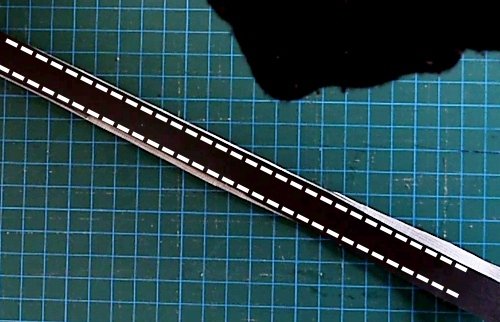
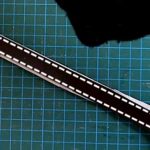
Step 9: Glue the two strap pieces WRONG SIDES together. Top-stitch along the longer edges using a seam allowance of 1/4″ and wide stitch length.
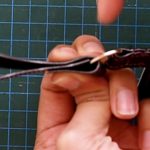
Step 10: Insert one of the ends of the strap into the D-ring and fold it over by 1″. Sandwich the other edge in between the fold as shown below.
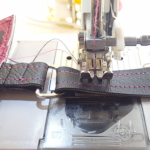
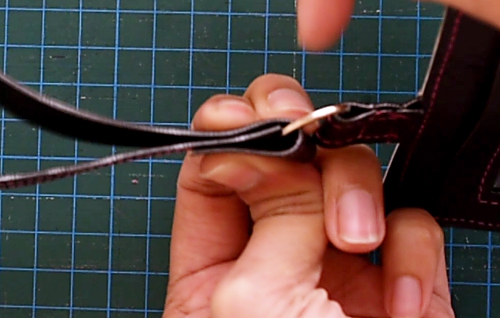 Step 9: Top-stitch parallel to D-ring as shown below using a short stitch length.
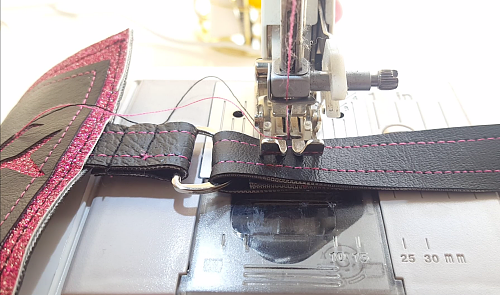
All done, your leather Cricut luggage tag is ready!
Sign Up Below to Access the FREE PATTERN library for VIP Members
More Luggage Tag Tutorials
BEST Schmancy DIY Luggage Tags Plus Video Tutorial
Ultimate One-Stop Guide on How to Make Fabric Luggage Tags
More Cricut Maker Sewing Projects
11 Super Easy Cricut Maker Sewing Projects as Gifts



Thank you so much for the Cricut Leather Luggage Tag. Could I get a file that says: Traveling My Way
Hi, Selina!
Sure, here are the links to the file. There’s one with an airplane and one without.
https://drive.google.com/file/d/1LK54VdhP-GsILSdFjnI2Cd6gdPbA5Ey6/view?usp=sharing
https://drive.google.com/file/d/1ljGMM8kMRbYFR1j4pytG7H4eU6sw0p1m/view?usp=sharing