I really hate the boring covers of the notebook and wanted something that I really liked. Something fun and unique.
Browsing through my fabric collection, I found some options which suited best for this project, in the end it was the Hello Kitty pillow cover fabric that won.
It’s surprising how many things you can make out of one pillow cover. I’ve made two other projects from the same fabric, a large cosmetic pouch (Vera Bradley inspired) and a manicure pouch and now the notebook cover. And, I still have some left to make a mini pouch or something. Yeay!
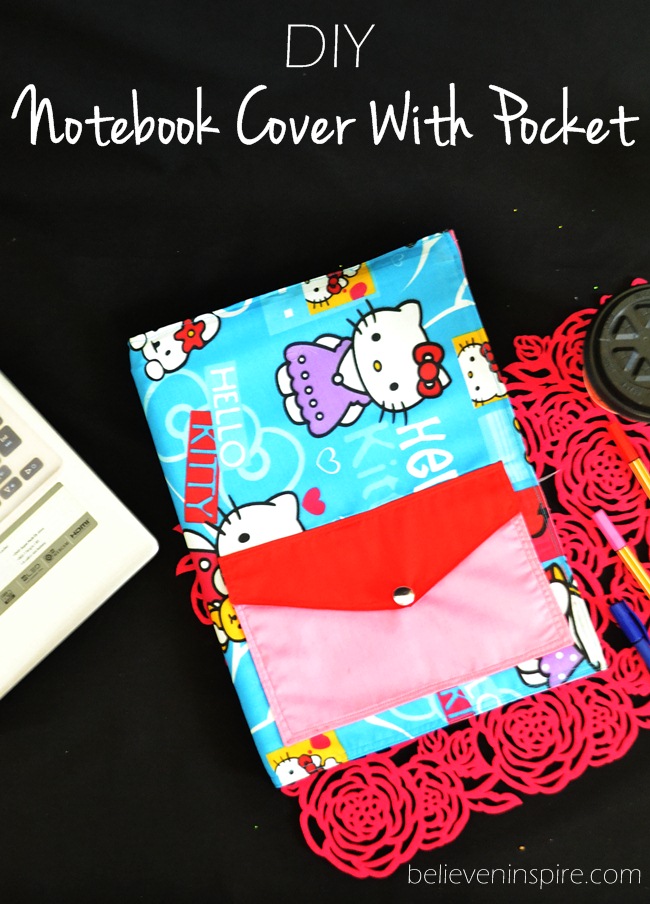
Custom Notebooks Cover Sewing Tutorial
Before we begin, I would like to point out one thing, the measurements of this projects are not fixed. We can each have different sized notebooks, and the challenge here is to make something that fits perfectly on the book, which would require fitting sessions like when you’re sewing a dress for yourself.
I’ll mention the steps when the fitting is required so no worries.
SUPPLIES:
- Exterior fabric
- Lining fabric
- Accent fabric
- Soft fusible interfacing
- Clasps
CUTTING
Measure the width, height and depth of your notebook, as represented by the arrows.
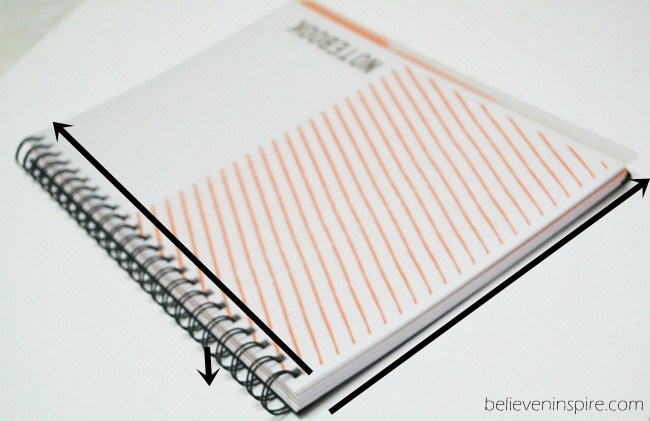
Multiply the width into two, add the height to it and add 1 inch for seam allowance. The total of all this will be the width of your exterior and lining panel.
For the height of the panels add 1 inch to the height of the notebook and cut.
Here are the measurements of my NOTEBOOK.
- Width= 8”
- Height=14”
- Depth=1”
Here are my final exterior and lining measurements:
- Width=18”
- Height=15”
PROCEDURE
Cut out the exterior and lining fabrics based on the measurements.
Cut out two rectangles measuring 5”xheight of your exterior fabric from the accent fabric.
5”x8” rectangles from accent fabric for the pocket.
2 flaps for the pocket from the template.
SEWING
Place the exterior and lining together (right sides facing each other) and sew from all sides, keeping a small hole for turning the right side out.
Clip the corners and turn.
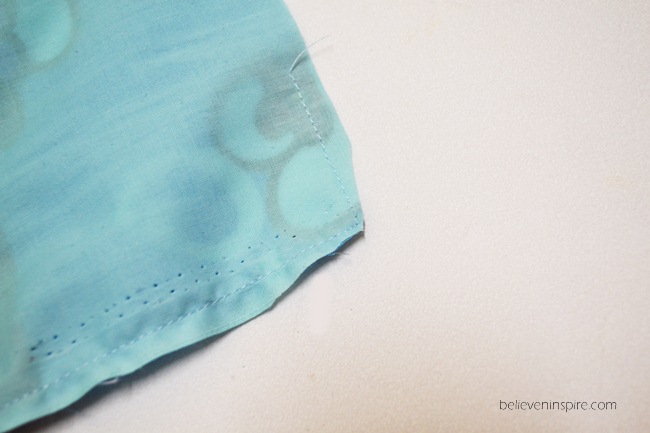
Check the fitting, if the cover is exceeding more than ¼ inch from the sides then you need to shorten it.
It might take one or two tries to get the perfect fit.
After the fitting is done, turn the fabric right side out and do a top stitch on the widths.
ADD THE POCKETS:
Take the rectangles for the pockets, fuse them with the interfacing, place the two right sides together and sew from all sides leaving a small gap. Clip the corners, turn the right sides out and do a top stitch.
Repeat the same steps with the flap.
Add the clasps.
Place the rectangle onto the notebook cover so that it is 1.5” away from the side and bottom edge. Pin and sew from three sides leaving the top open.
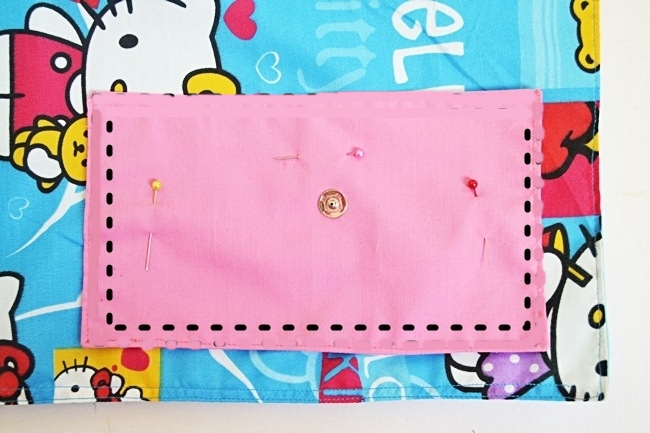
Place the flap ½” away from the top and sew.
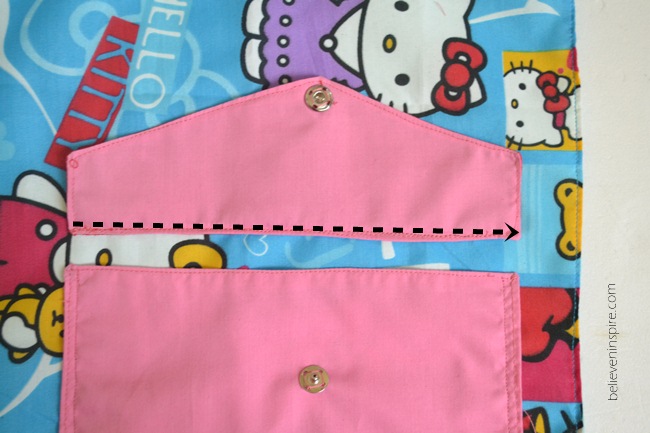
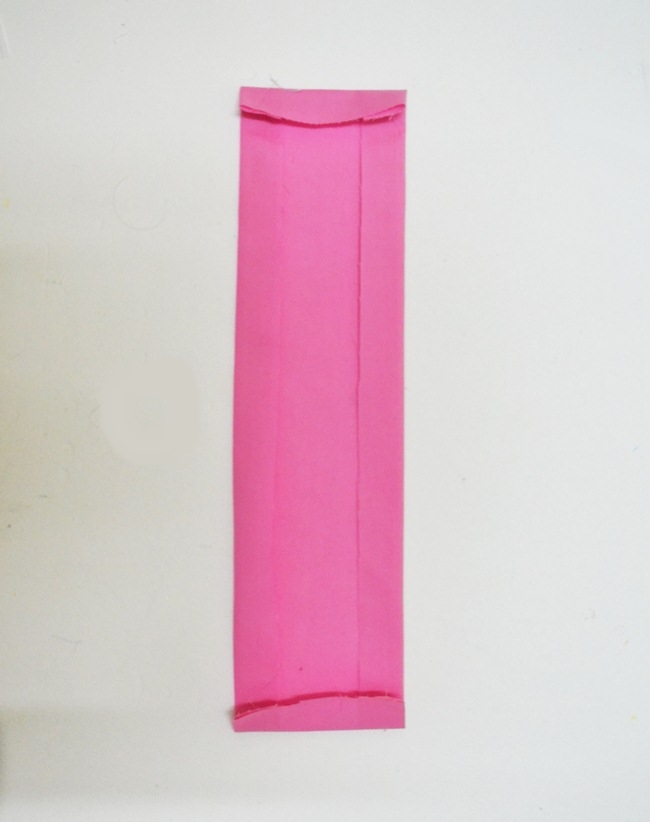
Take your two long rectangles, fold them from edges as shown and press. The height after folding should be the same as the height of the main fabric. Sew along the edge after folding.
Then tuck the raw edges in and sew again.
Place the rectangle onto the cover and sew along the edge as represented by the dotted lines.
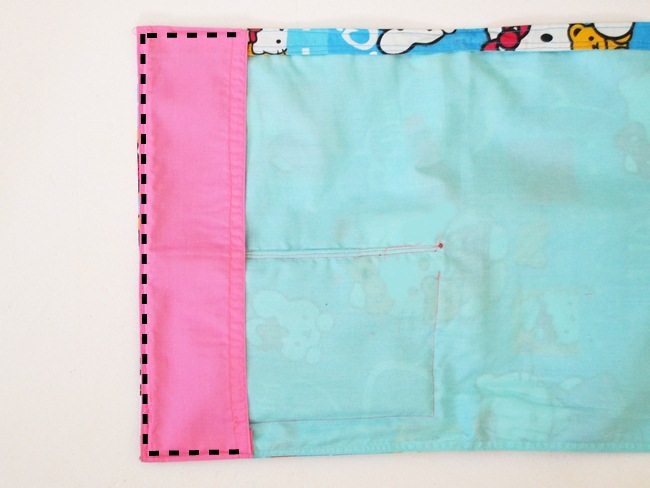
Repeat the same for the other side and you’re DONE!
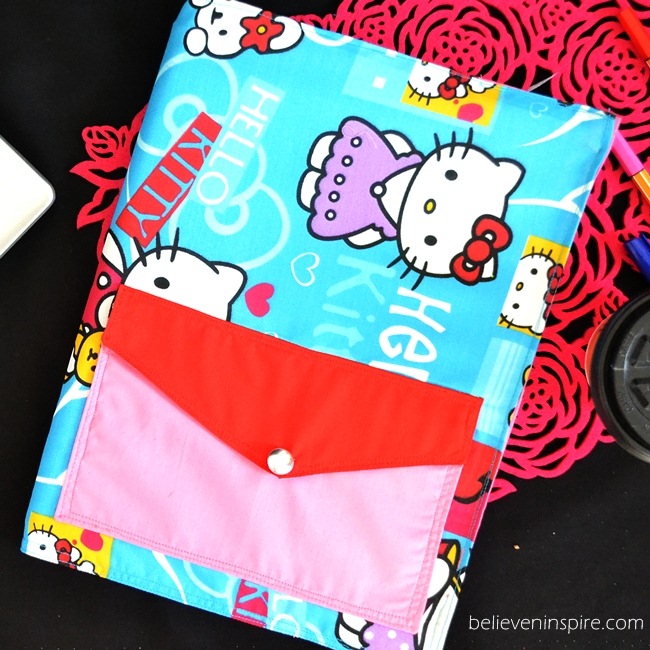
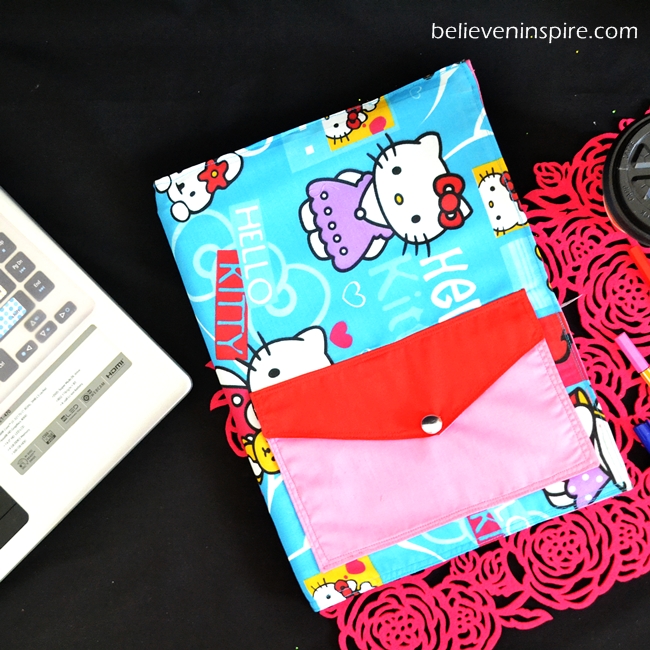
Don’t you just LOVE custom notebooks’ covers? So, when are you making one for yourself? Let me know in the comments if you have any questions and I will get back to you soon. 🙂
Thanks so much for dropping by!
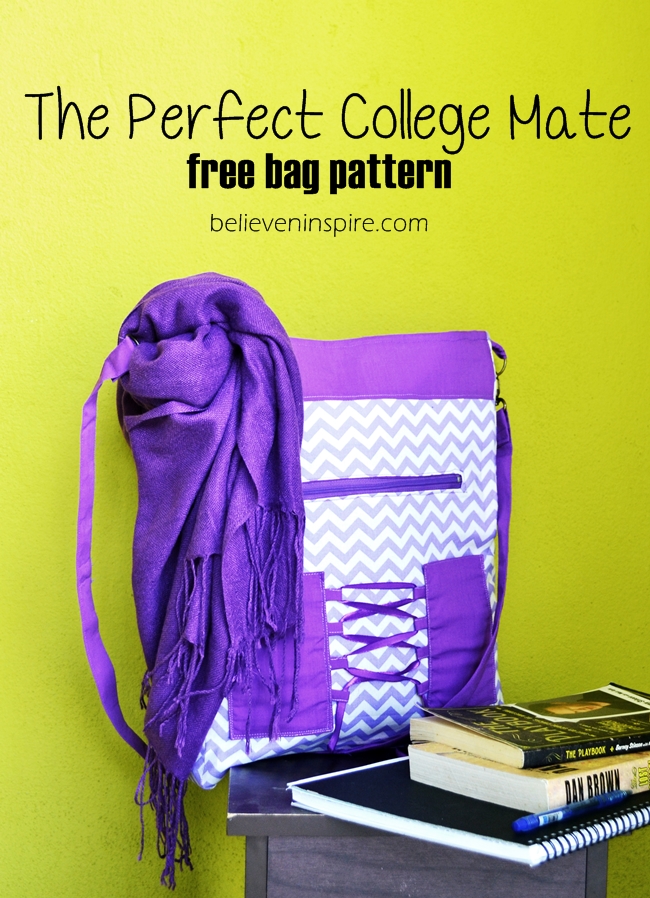
PS. You might also want to grab the free pattern for this bag.
The perfect college mate bag
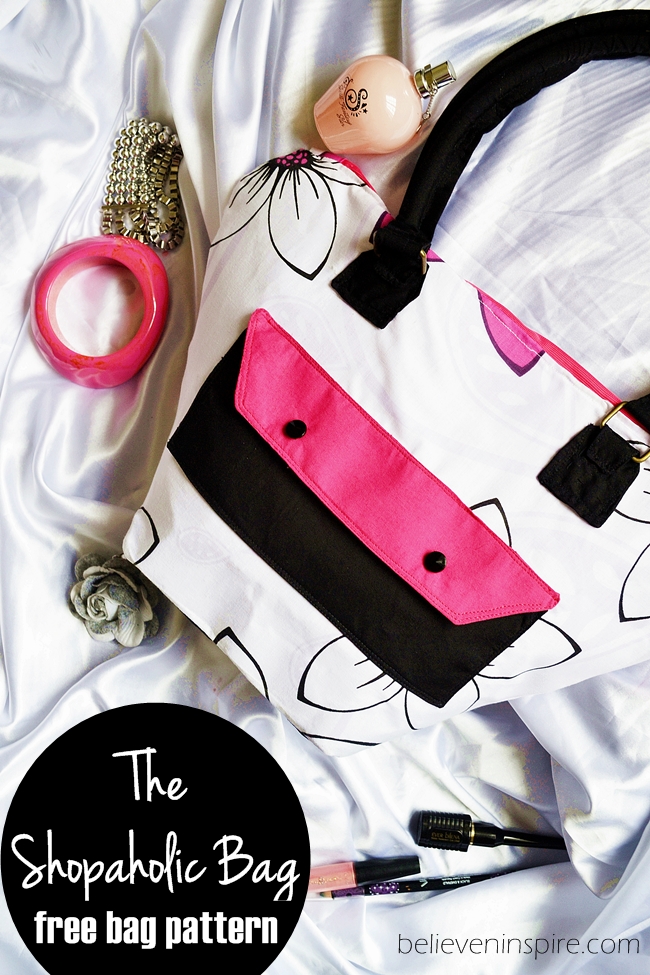
Oh, a new series is coming up on the blog! I’m so excited about it because it’s one of my MOST favorite topic, “BAG SEWING SECRETS”

Some of the posts that will be covered are:
- How to make perfect and sturdy straps
- How to sew boxed corners easily
- How to sew recessed zippers
- How to add zippered pockets to bags
- How to attach magnetic snaps
So, are you interested in these topics? Then subscribe to get all these posts delivered in your inbox weekly in the subscription box below. See ya! <3
Linking up to these blogs:
Not just a housewife, Savvy Southern Style, Funky Junk Interiors, French Country Cottage, Six Sister’s Stuff, Sew Much Ado, DIY Show Off, I heart Naptime, Craft berry Bush, Coastal Charm, DIY by Design, Too Much Time , The Charm of Home, Flamingo toes, Flour Me With Love, Someday Crafts, What’s Cooking Love, The Crafty Blog Stalker, Create Craft Love, My Romantic Home, Sugar Bee Crafts, Time to Sparkle @ The Gunny Sack, Home Stories A to Z, The Girl Creative, Kathe With an E, The 36th Avenue, Lil’ Luna, http://freshideastudio.com, My Re-purposed Life, 2 Crochet Hooks, It’s Overflowing, Live Laugh Rowe, One Dog Woof, One Project Closer, Glitter Glue and Paint, Natasha in Oz, Lolly Jane, Gina’s Craft Corner
This post first appeared on Believe&Inspire.
Don’t forget to sign up for our weekly summary of blog posts. Psst. there are FREE printables hidden inside! XD


I really like that Hello Kitty Fabric! So cute and crafty!
Navy Wifey Peters @ The Submarine Sunday Link Party
http://www.usscrafty.com/2014/09/submarine-sunday-103.html
Thanks Tonna! It’s my favorite too. XD
Such a cute idea, I love the addition of the pocket on the front. Any fabric, so endlessly versatile idea – thanks
Thanks so much! The pocket is so convenient, I don’t have to fish my pencil pouch separately from the bag now, everything just comes with the notebook. 😀
Love your notebooks and the pocket is such a GREAT idea!!!
Thanks Marni!
What a cute idea!! Thanks for linking up to my link party!
great idea and love the fabric choices! Appreciate the tute!!
I have made the covers before, and like you said…takes a few tries to get it all right, but it will get there. I have put pencil slots and a slide pocket on the front, but haven’t thought about the snap pocket. I’ll put that one on the next one! followed you from Sew Can Do linky
Oh, slide pocket sounds cool! I would love to see how it turned out.
Thanks so much for the follow! It’s a great compliment. <3