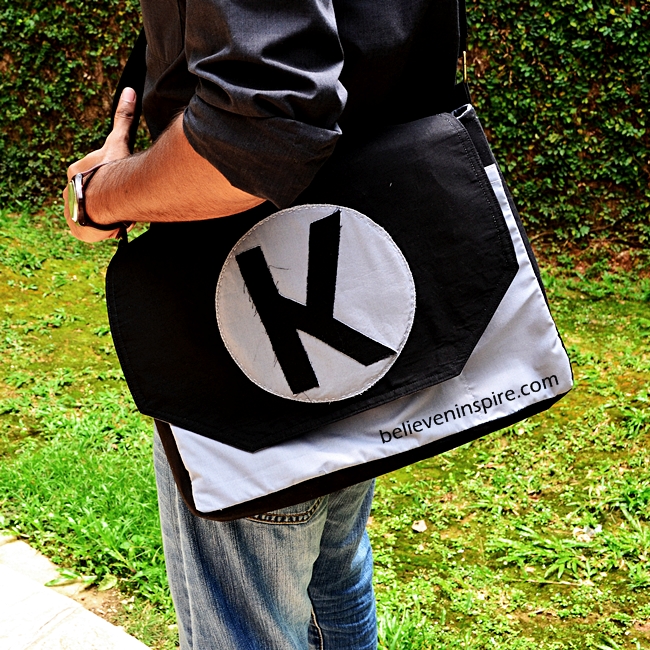
Cut out the following pieces of fabrics and mark them accordingly with a post-it note. (Refer to this post to ensure how to cut straight fabrics using rotary cutter and this post for without rotary cutter).
- A – 12″x15″ body (Cut two from lining, cut two from exterior fabric)
- B – 11″x15″ flap (Cut one from lining and one from exterior)
- C – 10″x15″ pocket (Cut one from exterior)
- D – 4″x37″ gusset (Cut one from exterior and one from lining)
- E – 4″x34″ strap (Cut one from exterior)
- F – 2.5″x2.5″ strap extender (Cut 4 from exterior)
Cut pieces from hard fusible interfacing for A and D exterior.
Cut pieces from soft fusible interfacing for A (lining), B D (lining) and E
Print and cut out the pieces for applique (i.e. the monogram and the circle). In this word document you will find the circle for right size. You will have to just add your letter to it, and then you can print it.
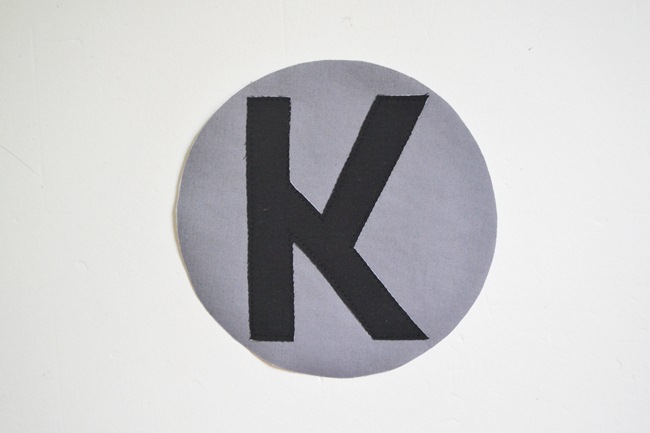
Fuse them with double sided soft interfacing. Next, fuse the letter onto the circle. Using a zig zag stitch sew along the edges of the letter. Fuse the circle onto the exterior flap. Using a zig zag stitch sew along the edge of the circle.
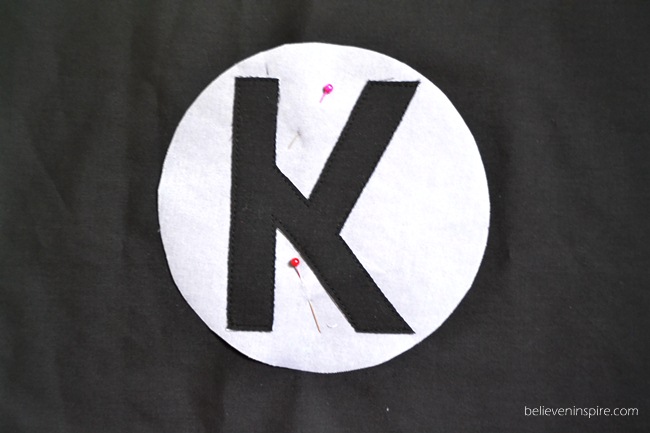
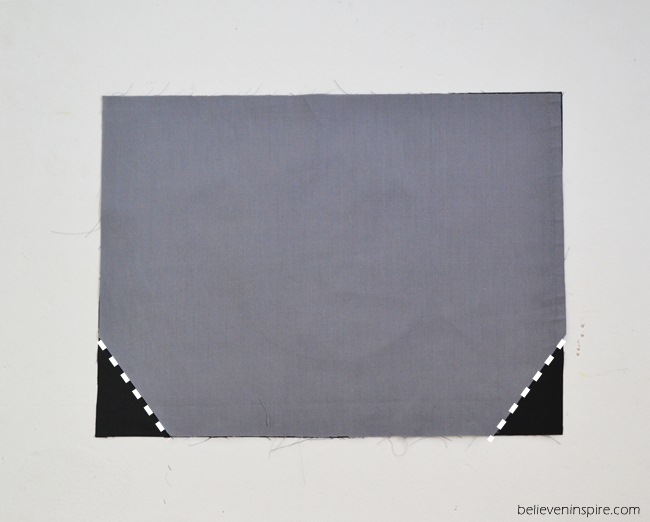
Take one of your flap piece fold it into half so that the edges meet each other and cut a diagonal line as shown.
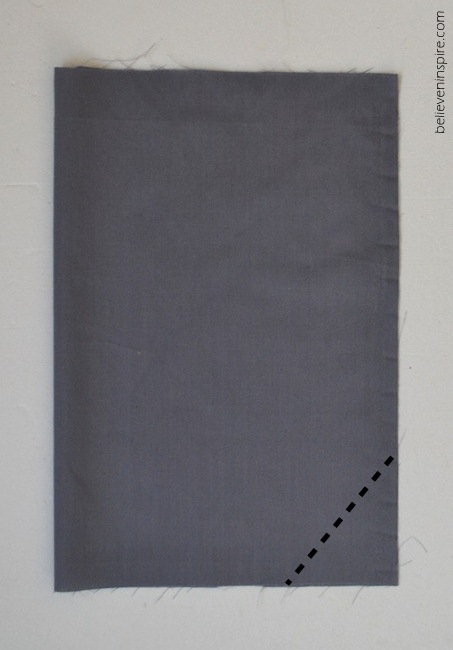
Open the fold and place the flap on top of the other flap and using the cut portion as a guide cut out the other flap too.
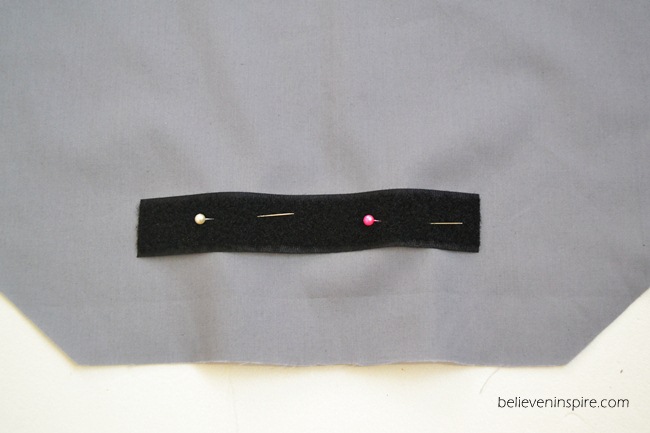
Take the lining flap and pin the Velcro in the middle and sew from all sides.
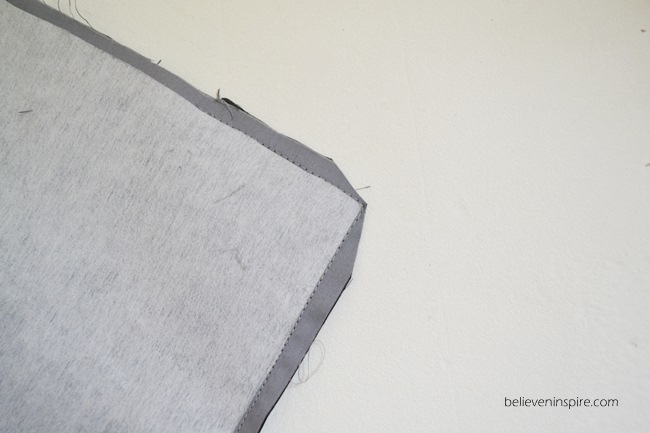
Take the two finished flaps; place them together so that the two right sides are facing each other. Sew from all sides except the top. Clip the corners and turn. Press and do a edge stitch followed by top stitch (read more about these here).
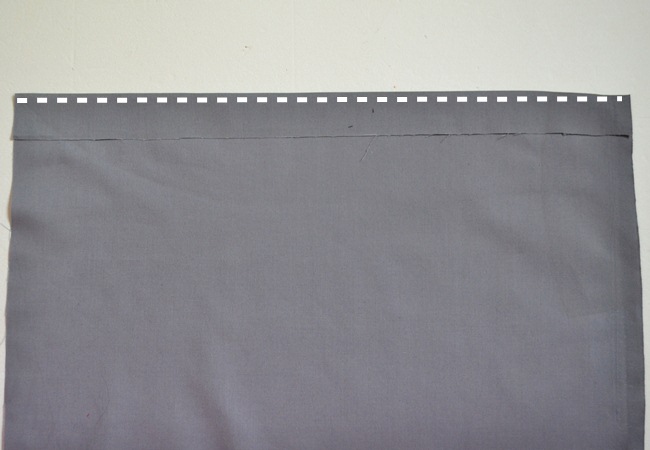
Take your organizer piece and fold it around 1” towards the inside, and sew along the folded edge.
Now fold the frayed edge and sew.
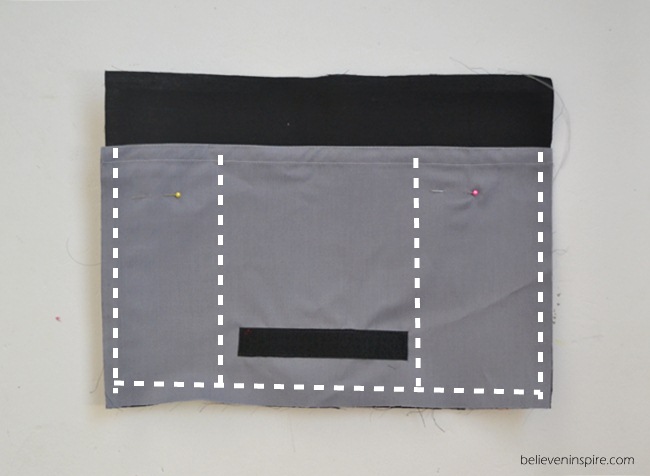
Place the piece onto the b piece and sew lines as shown.
For the flap, fuse the interfacing first then, fold it 1/2″ from sides as shown and press.
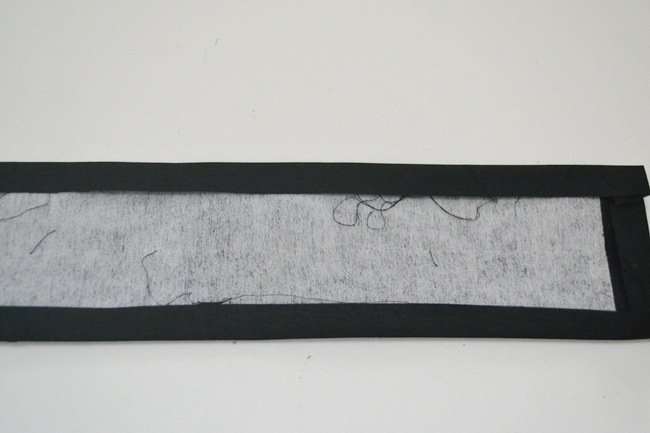
Then fold the strap again from the center and press. Sew along the two longer edges making sure to keep the top open for the next step.
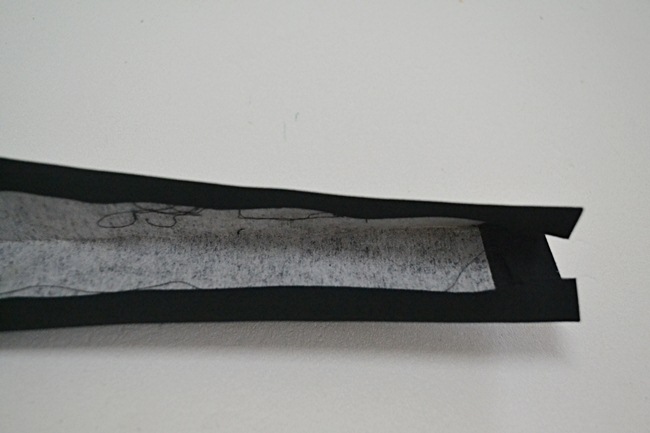
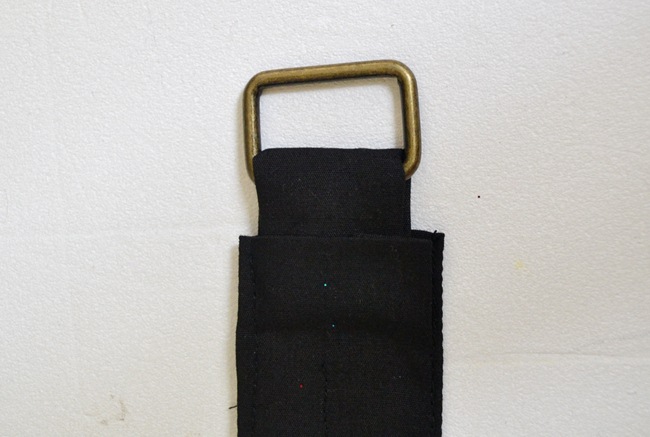
Take your x pieces, place the edges together and sew. Turn right side out. Press it so that the crease is in the middle as shown.
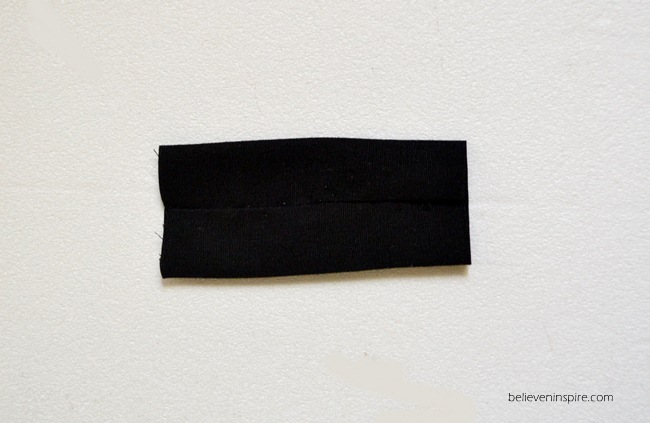
Insert the ring inside the piece fold it back onto itself and place it inside the strap as shown. Sew 2-3 lines to close the opening.
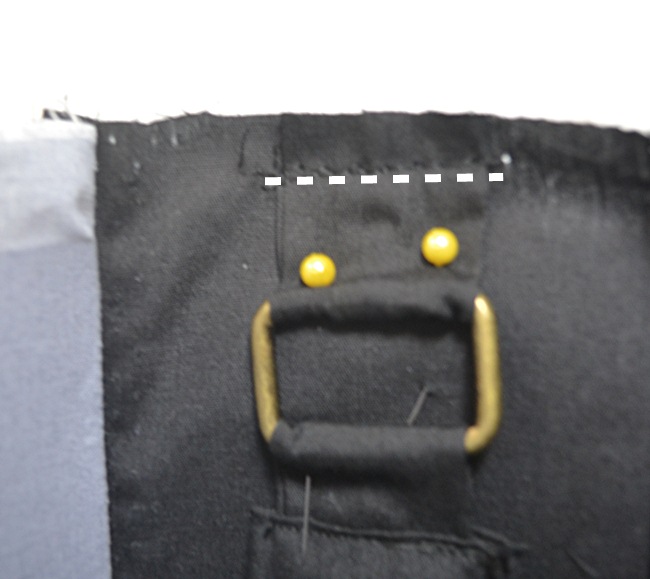
Next take the other x piece, insert it into the ring and attach it to the inner side of the bag using a pin and sew along the dotted line.
Set your completed exterior in front of you. Place the flap against the back side of the bag. The Exterior Flap and Exterior Main Panel should be right sides facing with raw edges aligned, and the Flap should be centered. Pin, then baste the flap in place.
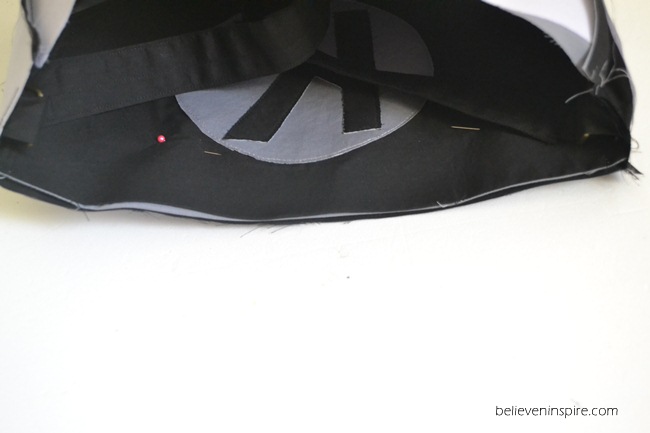
Place the completed lining over the exterior so that they are right sides together. Make sure that the Flap and Strap is tucked safely inside. Align the side seams, then pin in place. Sew along the
entire top edge of the bag.
Turn the bag right side out through the hole in the lining. Press. Topstitch or slipstitch the hole in the lining closed.
Topstitch around the entire top opening that you sewed in previous step and you’re DONE!
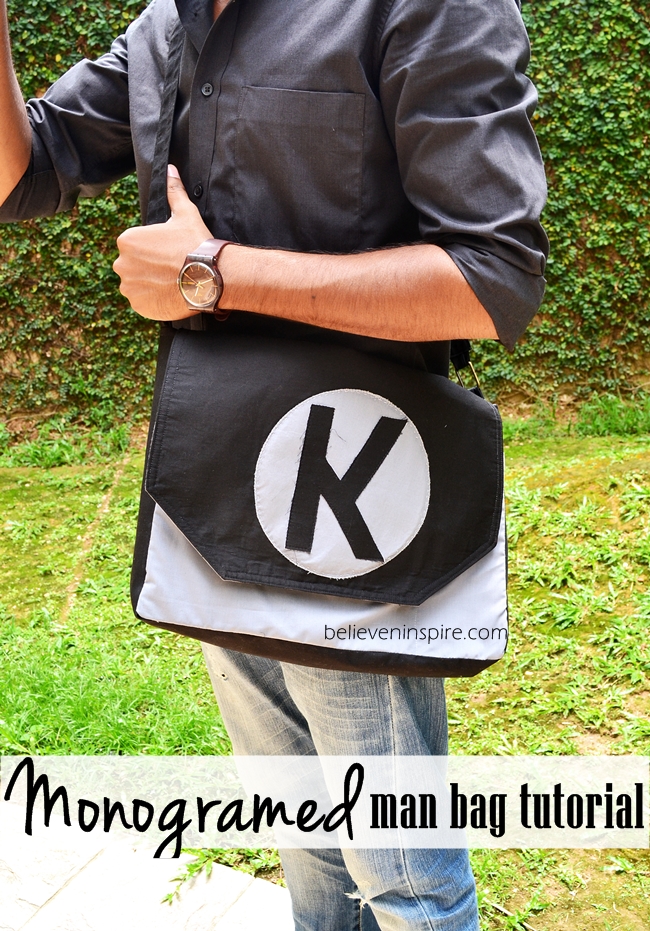
This is a very basic version of a bag, though I loved it in the end but now when I look at the pictures I think I could’ve done better by adding more details and design element. Hopefully my next man bag will be much cooler and satisfactory for me. XD
Linking up to these blogs:
Not just a housewife, Savvy Southern Style, Funky Junk Interiors, French Country Cottage, Six Sister’s Stuff, Sew Much Ado, DIY Show Off, I heart Naptime, Craft berry Bush, Coastal Charm, DIY by Design, Too Much Time , The Charm of Home, Flamingo toes, Flour Me With Love, Someday Crafts, What’s Cooking Love, The Crafty Blog Stalker, Create Craft Love, My Romantic Home, Sugar Bee Crafts, Time to Sparkle @ The Gunny Sack, Home Stories A to Z, The Girl Creative, Kathe With an E, The 36th Avenue, Lil’ Luna, http://freshideastudio.com, My Re-purposed Life, 2 Crochet Hooks, It’s Overflowing, Live Laugh Rowe, One Dog Woof, One Project Closer, Glitter Glue and Paint, Natasha in Oz, Lolly Jane, Gina’s Craft Corner
This post first appeared on Believe&Inspire.
Don’t forget to sign up for our weekly summary of blog posts. Psst. there are FREE printables hidden inside! XD



[…] forget the men in your life. They need a bag too. Here is a great Monogrammed Man Bag. Not cute, I would say more […]