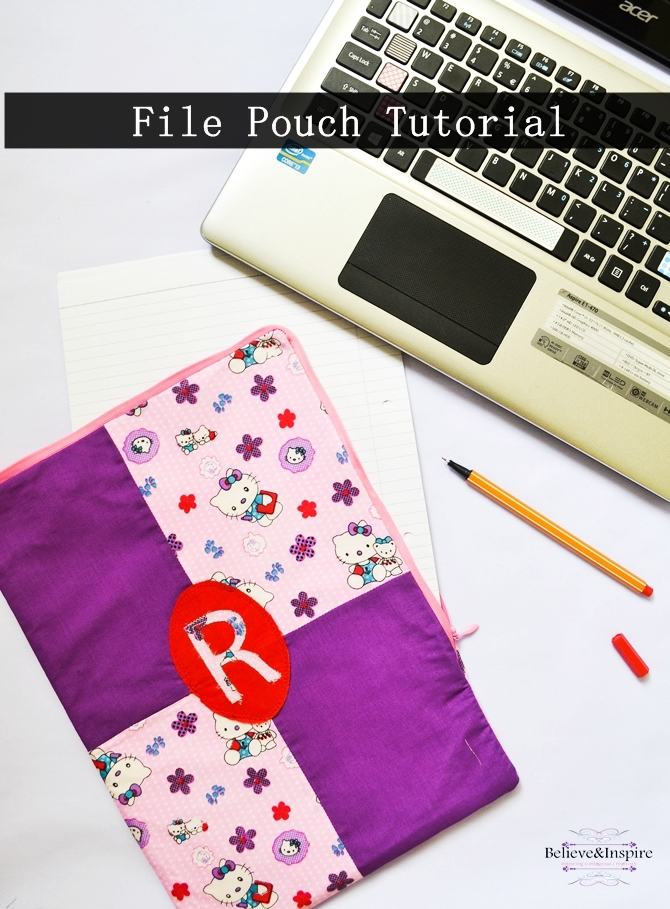
Today I’m sharing file pouch tutorial that I whipped up for my niece. Gotta make another one for the other niece with exactly the same design because you know how kids always like to compare and contrast their gifts and they always want the other person’s stuff. So yea. To further minimize any chances of disputes I also added their initials on top so that the pouches don’t get mixed up and there is absolutely zero confusion about which pouch belongs to who. Plus, it will also keep the pouch safe.
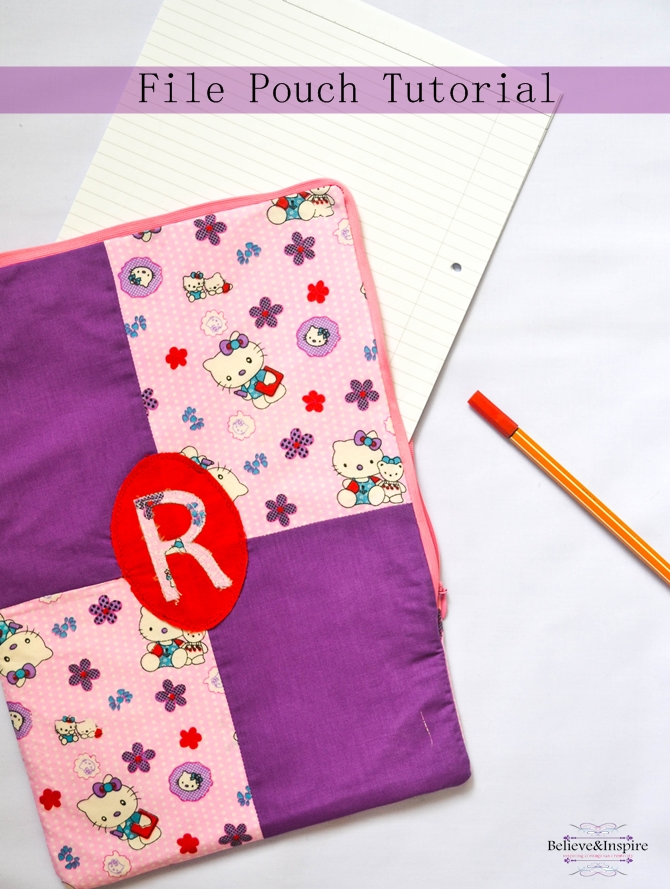
Alright, let’s get started with the tutorial.
How to Sew a File Pouch
Supplies:
- 1/2 yard main fabric
- 1/2 yard lining fabric
- 1/4 yard contrast fabric 1
- 1/4 yard contrast fabric 2
- 1-yard medium weight fusible interfacing
- 18″ zipper18″ zipper
- Double sided interfacing
Cut the following:
- A= 2 rectangles 7.5″x 5.5″ from main fabric
- B= 1 piece 15″x 11″ from the main fabric for the back
- C= 2 rectangles 7.5″x 5.5″ from contrast fabric 1
- D= 2 pieces 15″x 11″ from lining
- E= 14″x 3″ for the strap from contrast fabric 2
- F= 4″x 6″ for the monogram from contrast fabric 2
- G= 4″x 6″ for the monogram from main fabric
Cut out fusible interfacing for B, D, E. Also cut one extra for the main front piece the same size as B.
Cut out double-sided fusible interfacing for F and G pieces.
Instructions: Make the front main piece
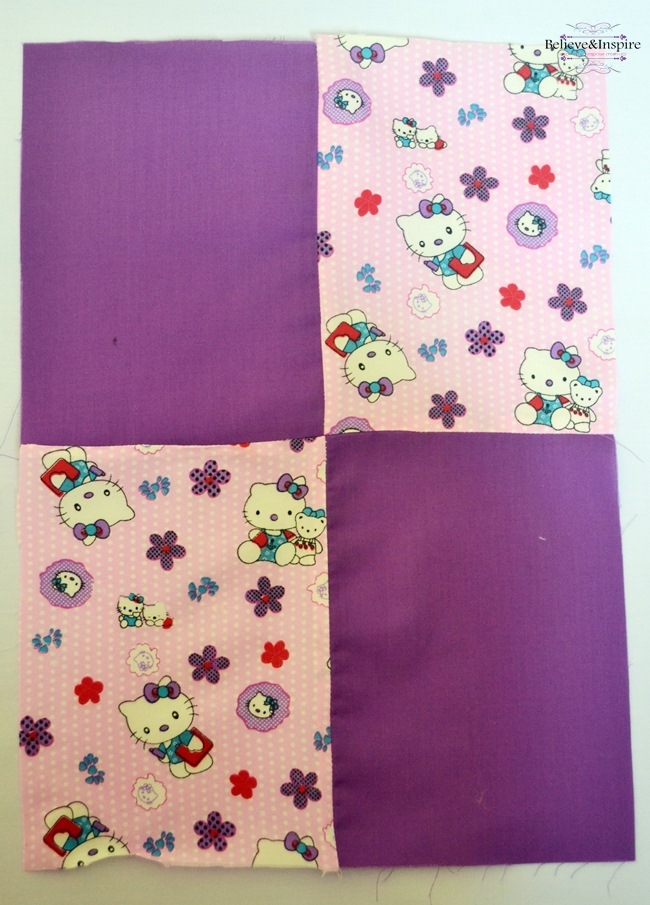
First, take one of each A and C pieces and sew them together from the longer side, repeat with the other two pieces, then sew the four rectangles together to get one large rectangle piece shown below.
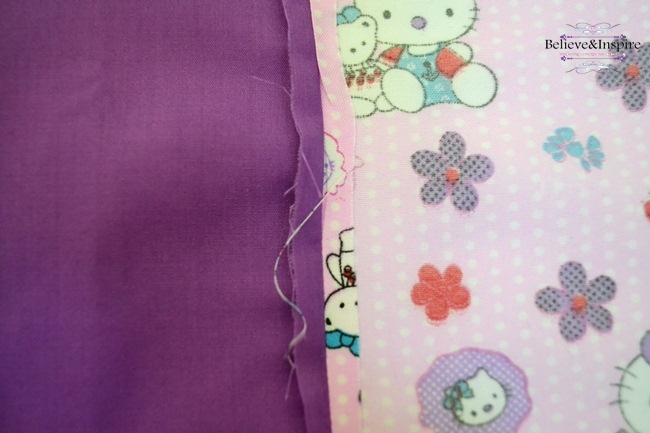
Turn, press and open all the seams as shown.
Add the monogram:
Take the interfacing of your F piece and trace out the oval onto it through this clipart.

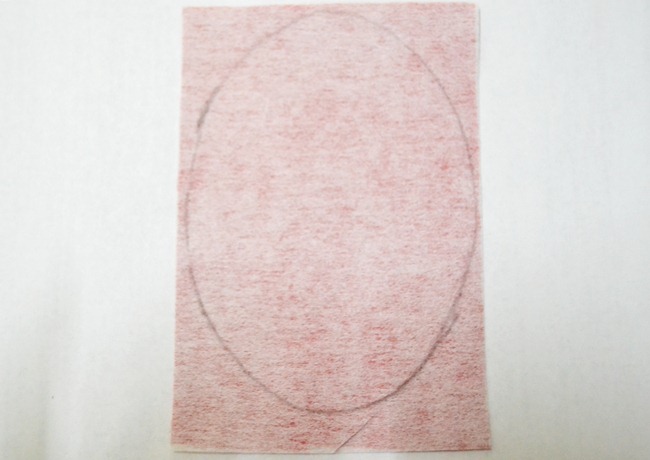
Fuse it with the F piece, then cut it out. Repeat the same thing with the letter.
Press and stick the letter and the oval in the middle as shown. Then using the zig zag stitch sew all around.
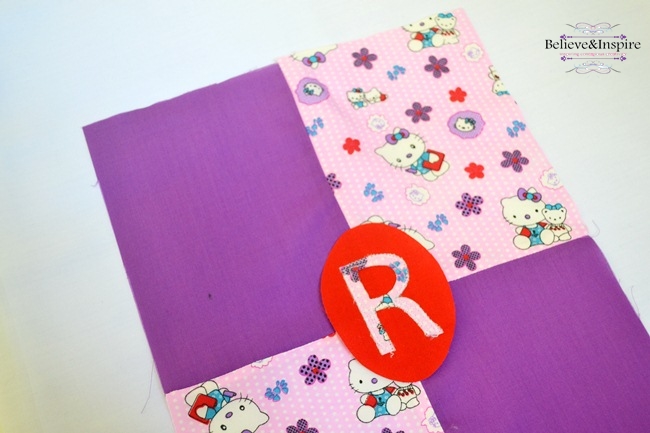
Now fuse all the pieces with their respective interfacing.
Make the strap:
You can find a detailed tutorial on how to make the strap here.
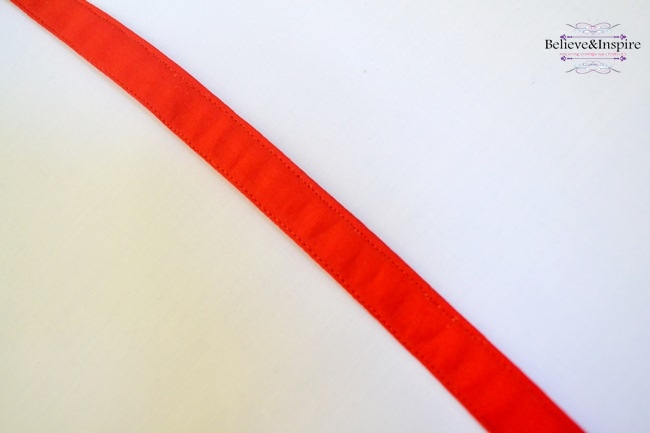
Fold the strap into half and pin it along the edge and sew 3-4 times to make sure it attaches perfectly as represented by the dotted line.
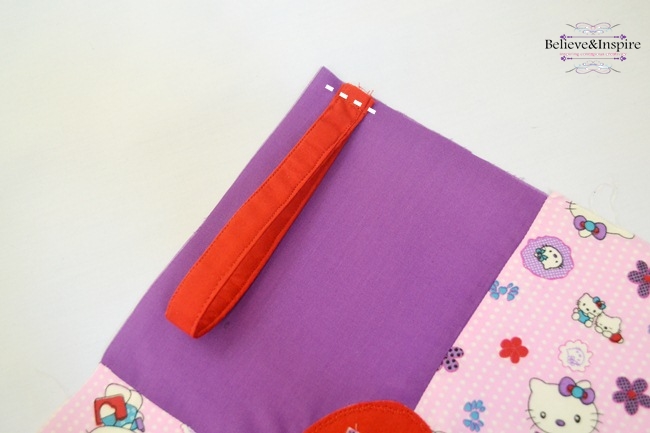
Sew the body:
Prepare your zipper as shown here.
Next, place the zipper on the short edge so that the main piece is facing up and the zipper pull is facing down. Now, pin the zipper in place.
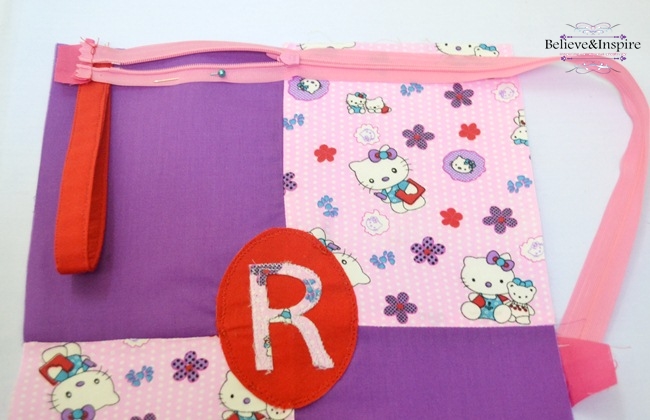
Next, take your lining piece and put it on top so that the lining is facing down. Now, sew the zipper sandwiched in the middle.
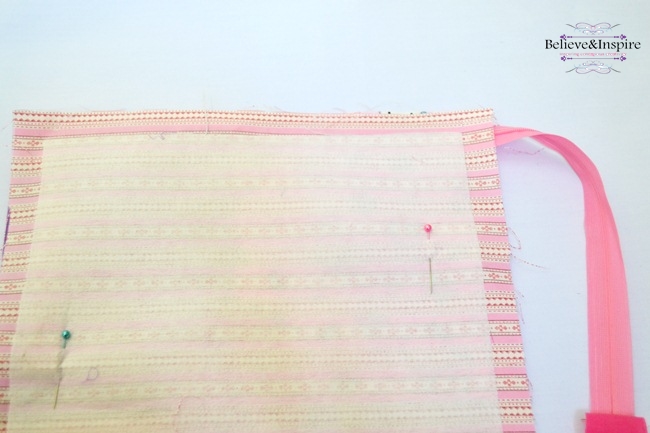
When you reach the corner, bend the zipper and put a cut at the bend as seen and continue the sewing. It might seem a bit difficult to sew at the edge, but it’s okay, if you miss the corners you can hand sew them in place.
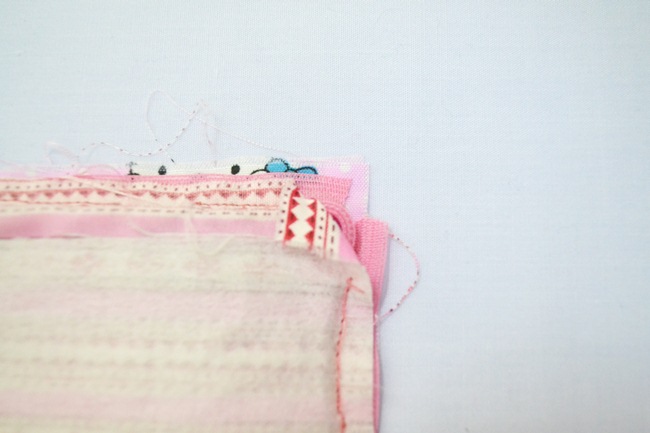
Next, repeat the same thing with the other side of the zipper.
In the end, you will have something like this. Push one side inside and sew from all sides, leaving a gap. Use this gap to pull the right side out. Repeat on the other side.
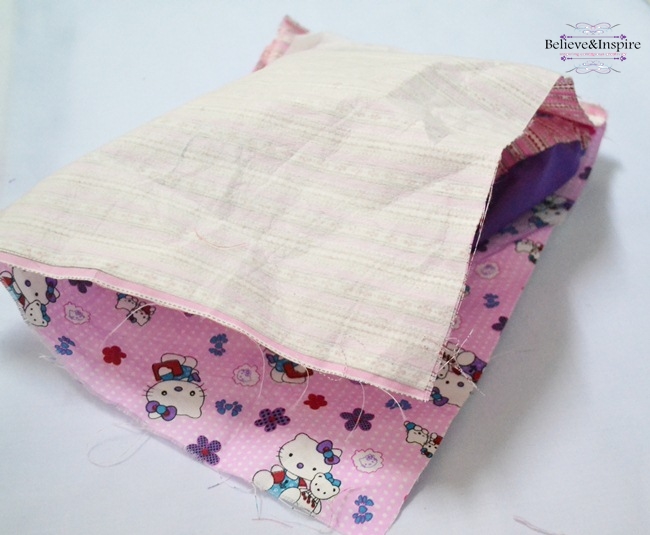
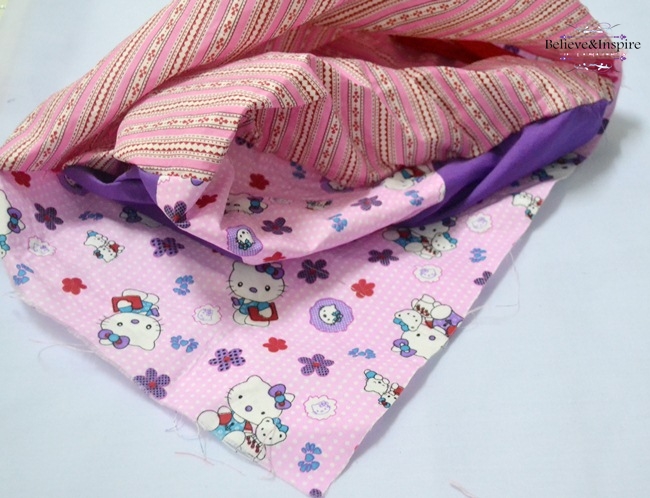
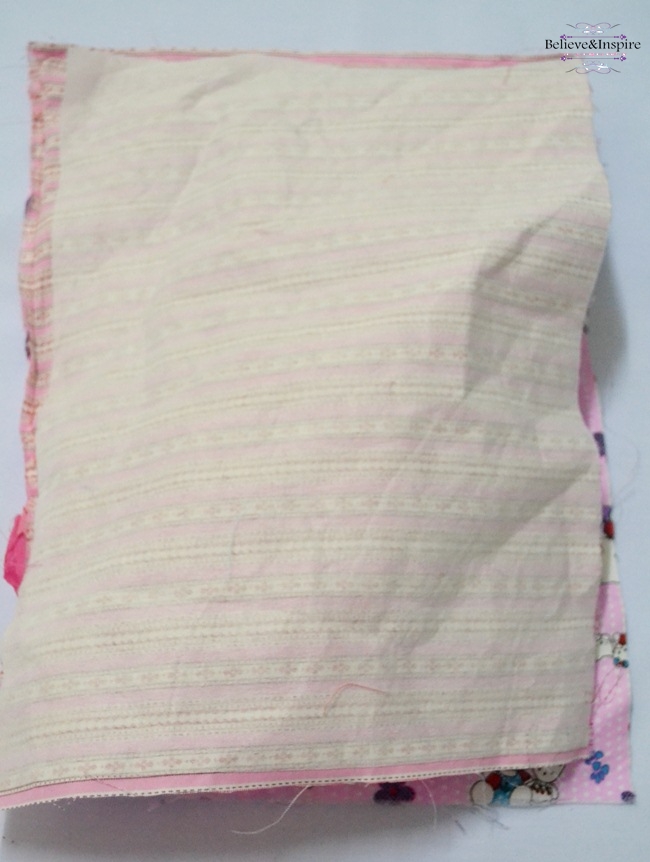
In the end, you should have two complete sides as shown. Place the front and back pieces together so that the lining is outside.
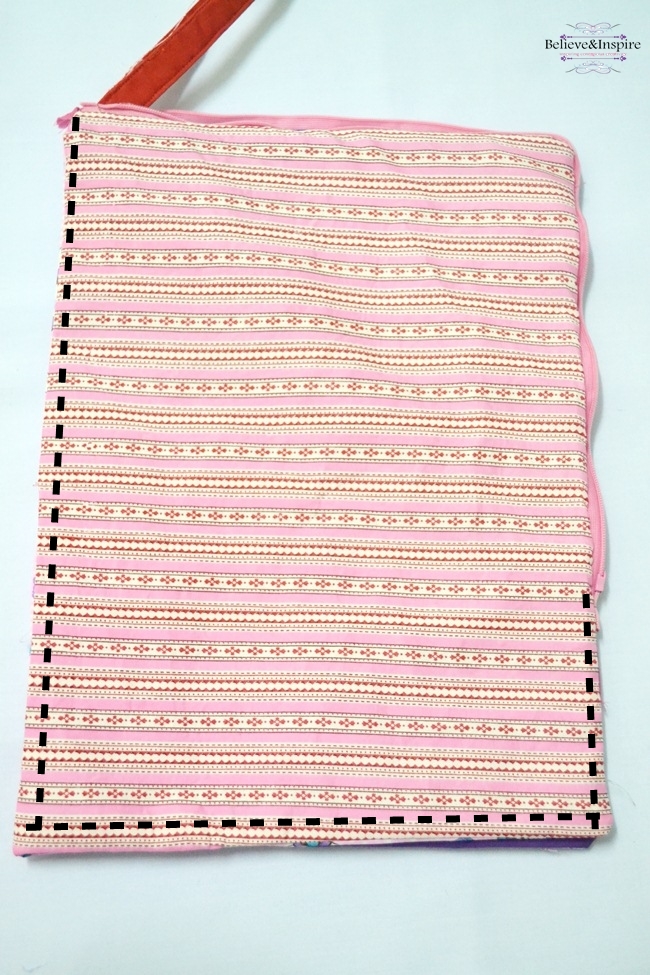
Sew along the dotted line.
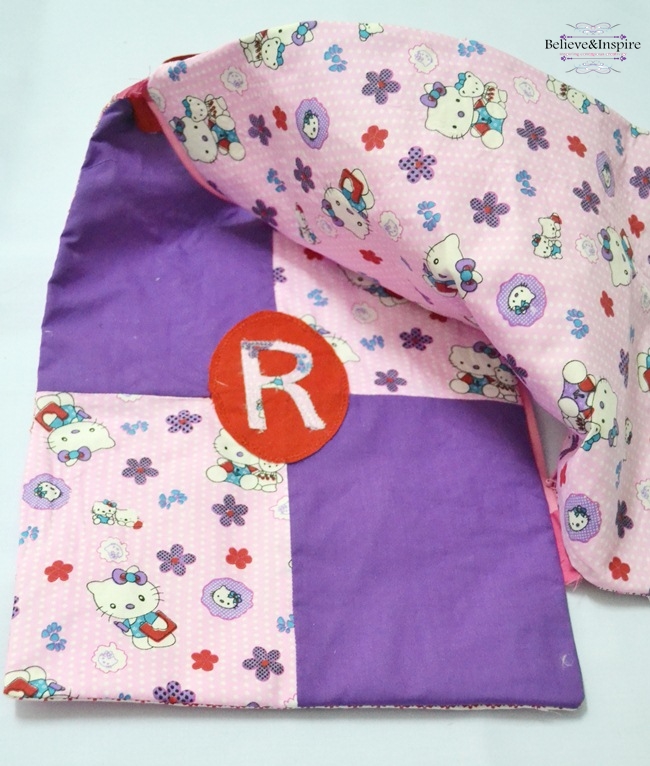
Turn the right side out and press with iron. Now you’re good to go!
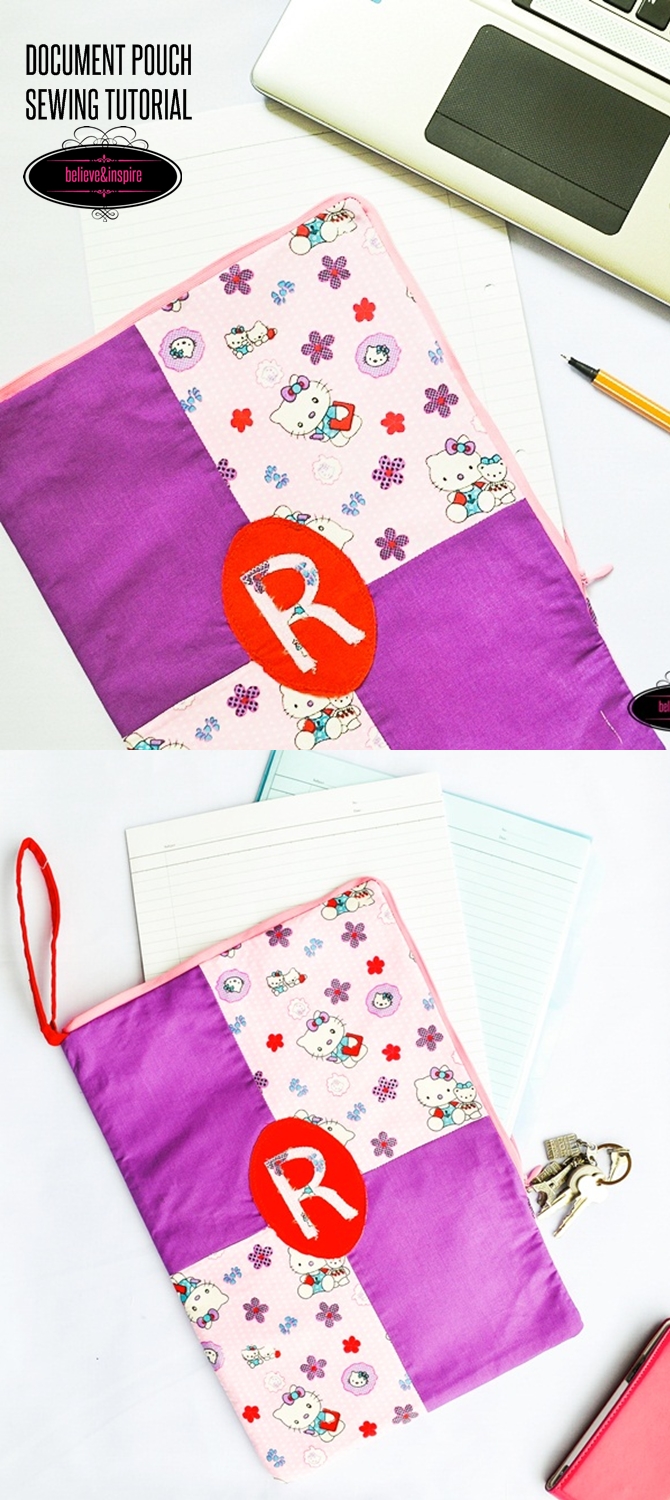
For more sewing tutorials and free sewing patterns don’t forget to sign up for our mailing list. XOXO


[…] A file pouch would be a perfect gift to keep the papers organized. Maybe you can sew a set with different labels to keep different types of papers in one place. Plus, it’s a GREEN PROJECT! ? Get the tutorial here. […]