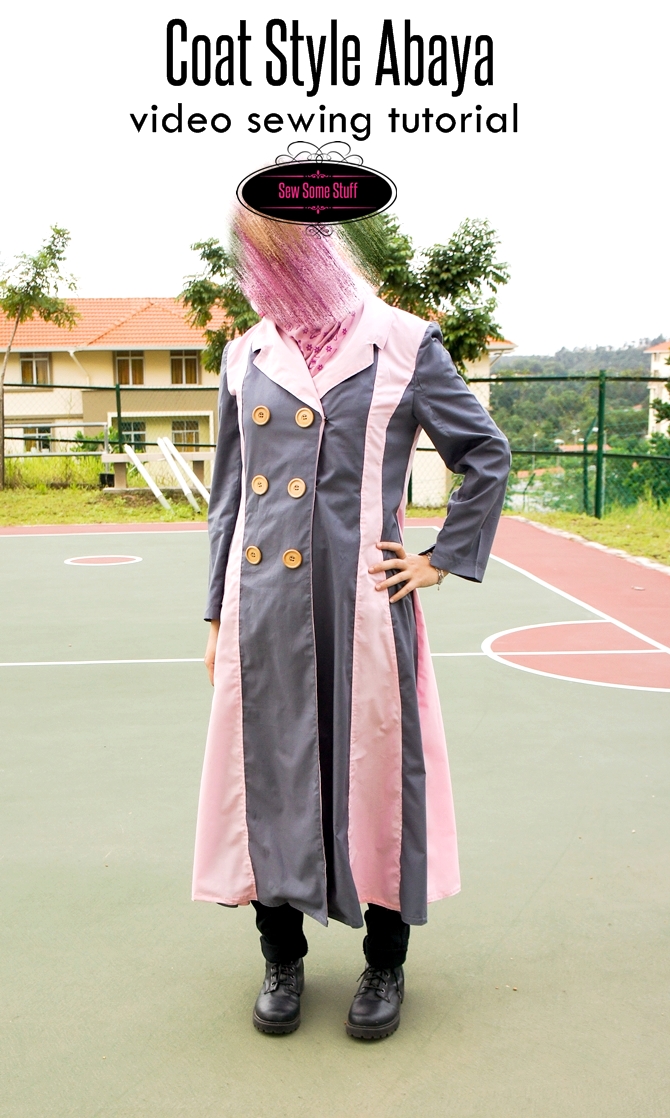
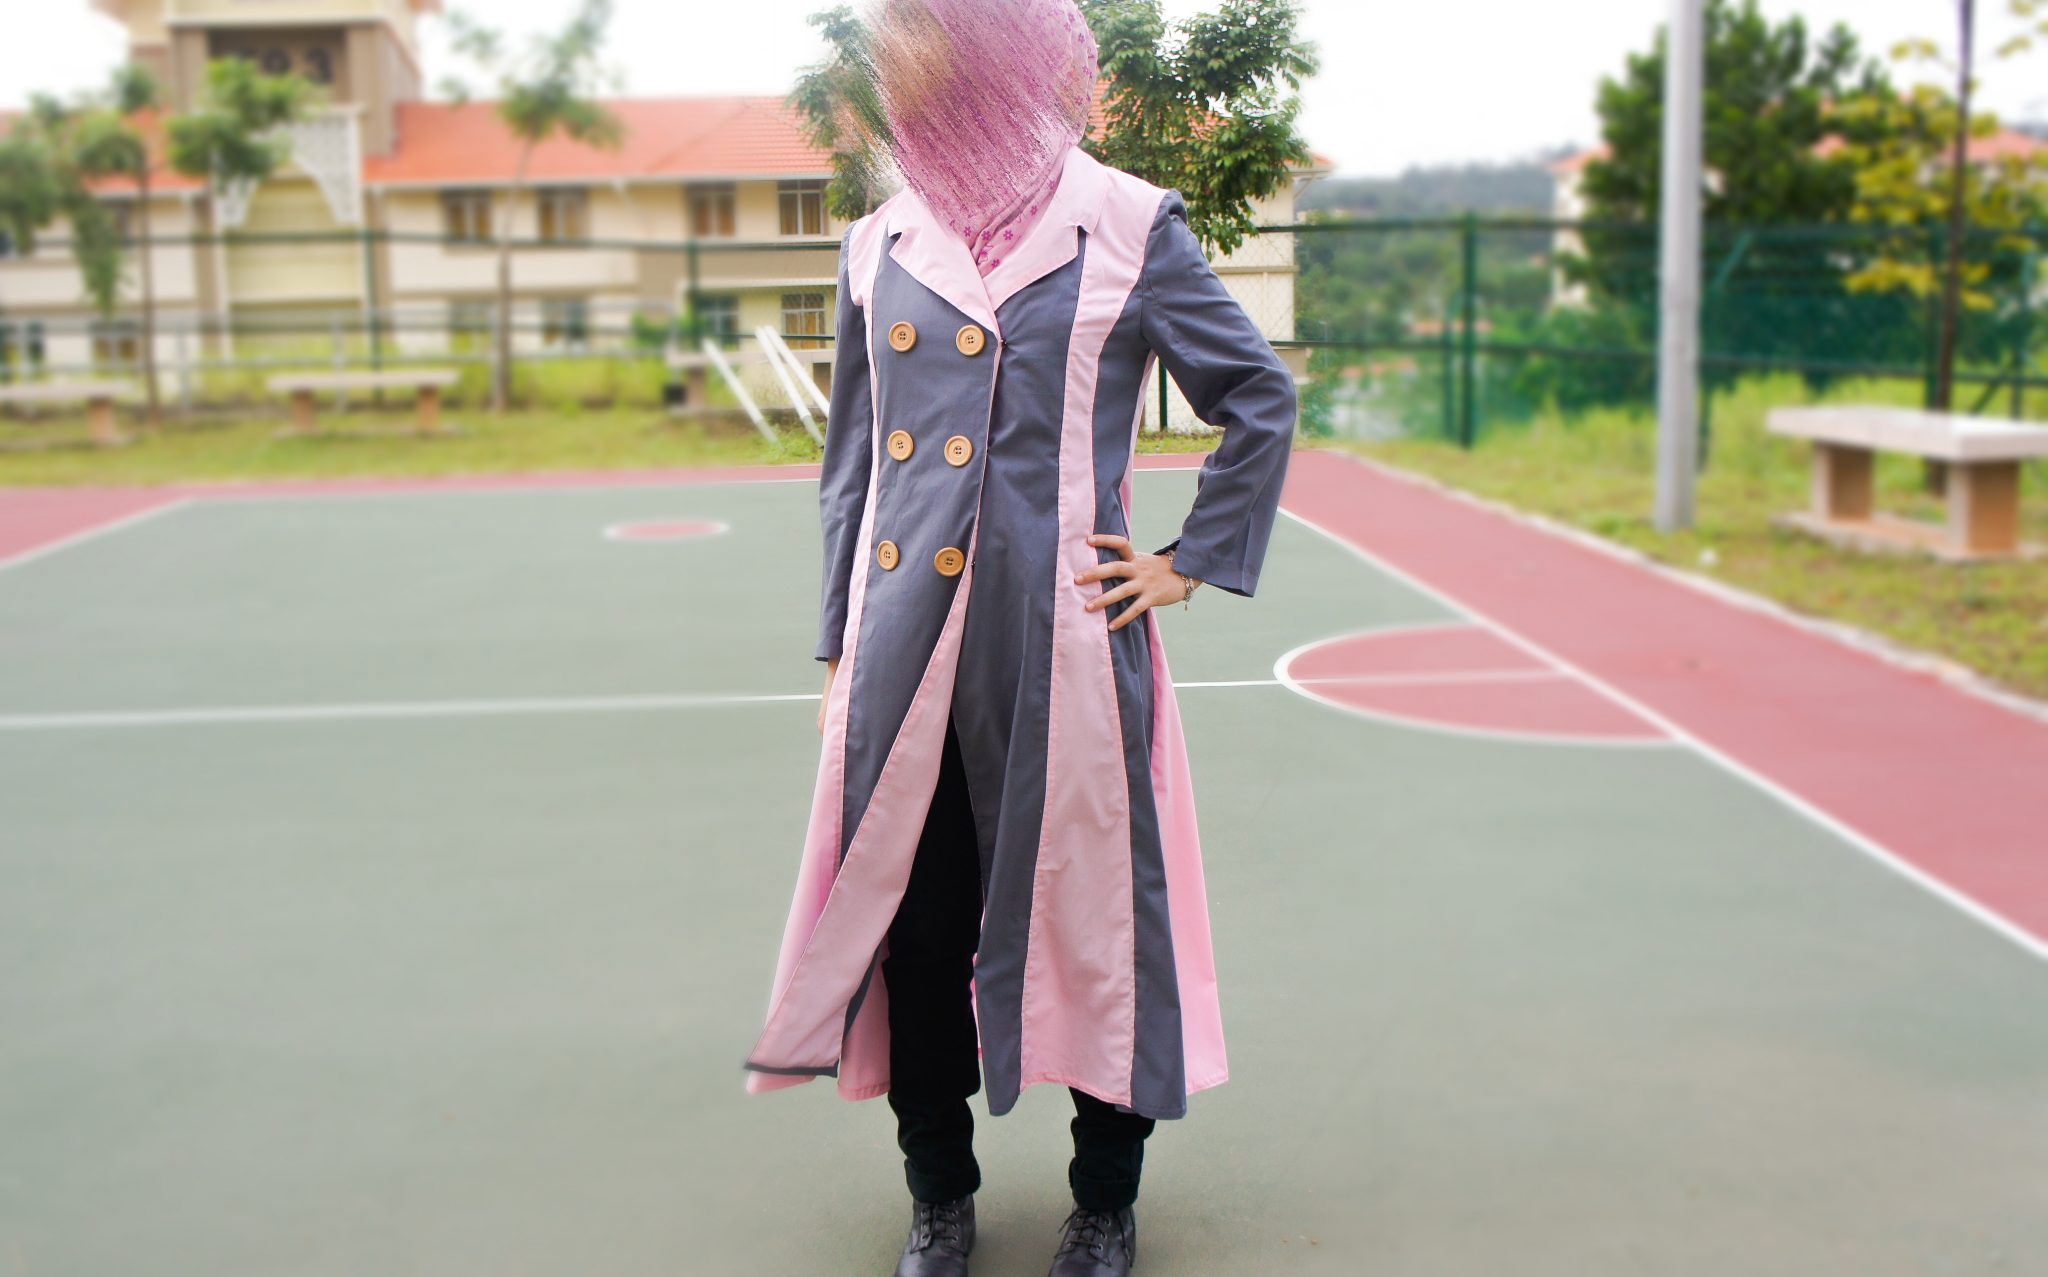
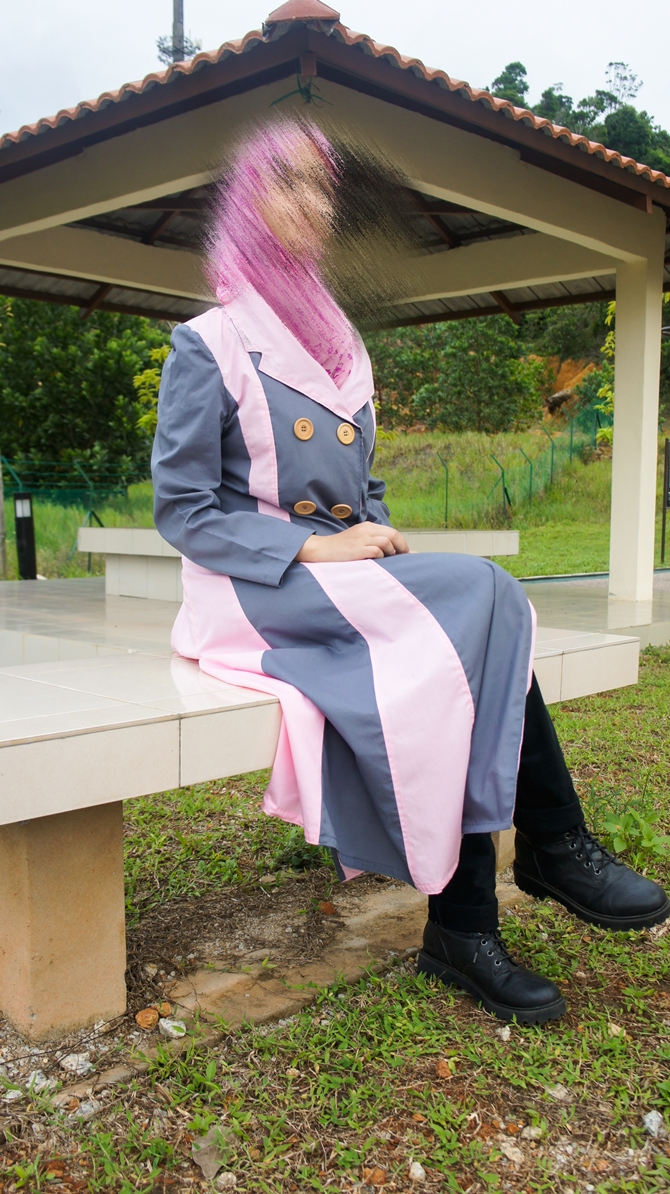
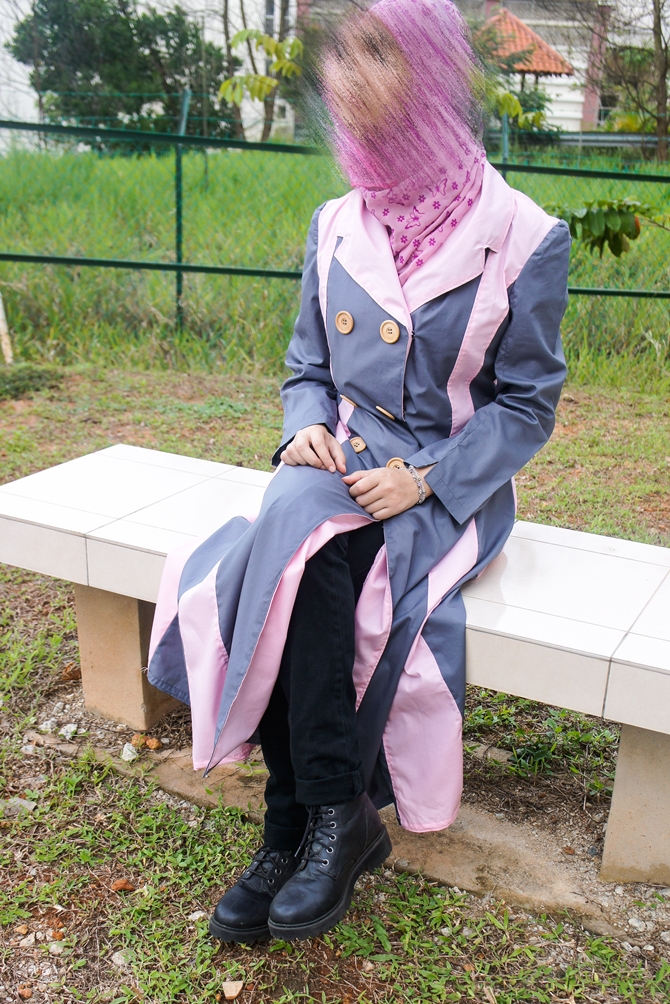
Today I’m showing you how to sew this gorgeous coat style abaya sewing tutorial. This long coat to be worn as a winter coat too. Isn’t the timing for the Coat Style Abaya Sewing Tutorial just perfect for winters?

Pin Coat Style Abaya Sewing Tutorial on you Pinterest sewing board
Okay so for this Coat Style Abaya Sewing Tutorial you would need:
- A total of 6m fabric to make this entire coat.
- Sewing supplies
- Soft fusible interfacing
- Shoulder pads
- Buttons for the coat
- The pattern from here
Coat Style Abaya Sewing Tutorial
Cutting
Now if you’d like to use two different colors, you can buy 4m of one fabric and 2 m of the other fabric, based on how you like. The seam allowance used for this pattern is ½ inch through out.
So first off, purchase the pattern and print it out. Lay them all on the floor, piece them up, tape them and cut them out. And then trace each pattern onto the fabric and cut out the fabric. Do make sure that you transfer all the notches to your fabric. They look like T marks on some of the patterns, like the sleeve pattern, the front side two. Let me show you how to transfer the notch. It’s this one here. Since my fabric is quite transparent, I can just put it on top of the pattern and mark it.
As you cut make sure you keep checking the list given in your pattern so that you don’t make any mistakes and end up cutting the same piece twice. And don’t forget to label each pattern with a post-it note after cutting out the piece to stay organized. All these might take you 7-8 hours, so be prepared.
Sewing the welts and pockets
Okay so I’m going to start with the easiest thing first and that’s the welt piece for pocket. Take the two welts and placing the right sides together, sew all around leaving a gap for turning. When you’re done clip the corners and turn the right side out. Press and top stitch. Repeat for the other side.
Next, take the side front 2, place the top of your welt with the notch on the top, pin and sew. I’ve already done it for one piece, Now take one of your sacking piece, since I’m not using a lining, I cut out two sacking pieces for each pocket. Sew it so that when you flip the pocket to the other side, it will go to the back. By the way the sacking here is upside down. I’m going to show you how to do it with the other.
Now, to attach the side front 1 to side front 2, place both pieces together, and the grey piece should fit in the curve of the pink piece, since we don’t know where to start exactly, it’s better to start pinning from the bottom. Make sure you clip the seam at the end so that the curve turns out to be smooth.
So this is how it should look like after sewing.
Next, attach one sacking to the grey piece and sew, right sides together, flip it inside, place the other sacking on top of it, align it with the opening of the pink side and sew. In the end, take the two sackings together and sew from all sides.
The next task is to attach the center front to the sides. We have two sides and two fronts, so attach each to their ones respectively. And after you’re done clip the seams, then press them open.
Sew the center back
Now it’s time to sew the center back. You must have noticed the center back pattern has this weird rectangle on it. Actually it’s a mark to show where your pleats should go. So take your center back piece, place it on the pattern and mark the point where the rectangle starts. If your fabric is see through you can just place it on the paper and mark it. But, if your fabric is not see through, you can put the fabric under the paper, insert a pin on the mark and use a chalk to mark the point where the pin touches the fabric.
So repeat this for the other center back. The marks should be on two opposite sides. Next place your center backs on top of each other so that the right sides are facing each other. Make sure the pleat marks are towards the outer edge. So, after you’re done sewing the center, go ahead and pinch the pleat mark, bring it to the center and pin. Do this for both sides. Use the center back top piece as a guide to make sure you folded it to the right length.
Looks just perfect. Next, sew the two pieces together, right sides facing each other. And then press the seams apart. Now it’s time to sew the two side backs together. Pin them just like you did for the fronts. Start from the bottom to the top.
Next, sew this piece to the center back piece. Repeat for the other side, and this is what you should have. As you can see, I’ve already pressed the seams apart.
Next, take your half belt pieces, sew the right sides together, turn and top stitch. Just like you did for the welt pieces.
This step is completely optional. Here I’m just going to do a top stitch on the sides of the back pieces using the left side of my presser foot as a guide.
Sew the front and back pieces
Now it’s time to sew the front and back pieces together.
After you’re done, place the half belt at the back so that it’s centered and pin it in place. Next, take your buttons and mark their holes on it using a pencil, so that you can use the marks as a reference when attaching the buttons. You can sew the button using a sewing machine or by hand it’s totally upto you.
Okay, now take your back neck facing and front band facing and sew the shoulders together, I’ve already done it for one side.
Now you must have noticed these extensions coming out from the front pieces, well these will be joined together to make the collar. And then you would sew them to the neck line. Similarly, the front facing would be joined together and sewn to the back neck facing. You must be wondering why one side of my piece is clipped, well it’s because I made a huge blunder.
Okay so this is how you should join it the two pieces from the center.
Now you can see that there are some sharp corners that you have to sew from so to make it easier, first do a stay-stitch, and then clip. It will open up the corners. Now pin the collar to the neckline and sew. Let me just show how to attach the collars to the facing because there’s a lot of bulk here. When you’re sewing the shoulder part, flatten the bulk and keep it to the right. Then, when you reach the corner, put needle down and then put the bulk to the left. Do the same when you reach the end.
Clip the seams and press.
The next step is to put the right side of the front facing together with the right side of the front center piece and sew. So turn your coat right side out then place the front facing right side down on top of it. Start off from the center by aligning the collars together then, move to either sides. I’ve already done one side, as you can see here.
After you’re done, trim the corners and turn the right side out, and press in place.
And now it’s time to add the buttons. So what I did was use this pocket notebook as a guide. I placed my buttons on four corners of the book which helped in knowing that my buttons were exactly the same distance apart. Then, I used a sharp pencil and marked the holes of the buttons. Now I can easily refer to these marks while sewing the buttons. Simple right? Click the like button if you like this idea!
Next, I want to show you something here. Since I’m not going to be using a lining for this coat, what I did was sew the inner back facing to the collar seam here, so that it folds inside and for the sleeves, I just finished the edges with zig zag stitch.
Okay, time to sew the sleeve. First, make sure you have all your notches in place. There are two notches on the top sleeve, and one on the lower sleeve.
So, first connect these two pieces together like this and sew. And then sew the other side as well. And then press your seams open. Also press the vent two folds inside. And then, fold the cuff inside and sew each vent separately. So you should have something like this.
Now move to the shoulders of the sleeve. Remember those notches, now sew a basting stitch from this notch till the seam on the other side. And then, pull the bobbin thread to make slight gathers on the shoulder. We don’t want lots of gathers or puckers, something just like a wavey look. If you do get puckers, you can always even it out. When you’re done turn the sleeve right side out. Turn the coat, wrong side out, insert the sleeve in the arm hole so that right sides are together. Start pinning by aligning the notch at the shoulder with the shoulder seam. Then, align the notch at the bottom seam. Now pin the straight areas first. Then move onto the gathers. Evening them out as you go. The length should be the same as the length of your arm hole. If you get this perfectly pinned your sleeve would turn out perfect in first try inshAllah. You can also hand baste it first. After you’re done, take it to your machine and sew. Okay, we’re done looks like I made a little mistake here; I’ll go ahead and fix it.
Pressing tips
Now, let me show you how to press the shoulder seam. For this you would need a tailor’s ham, if you don’t have one, you can just roll a pillow and insert it inside. Now press your shoulder seams towards the outside, you see how they’re naturally pointing out. Just follow that. In the end you would have a well-defined shoulder with 3D structure.
The final task is to fold the hem. since I’m not using a lining, I just folded the hem by 1 inch first, then folded it again inside and sewed.
That’s it! Coat is ready!
Final notes and reviews on the long coat pattern
But before we go let’s talk about the problems I had to face throughout the sewing process:
- The first one was the time it took me to lay out and tape all the pieces together. It was like total of 5 hours, which is quite a lot and over whelming, but after that it went quite smoothly UNITIL
- Collar problem: I reached the collar part, where I couldn’t really figure out what to do with these extensions here. I must have sewn this part like four times. And at one point I was sure that I had it right that’s why I trimmed the corners without giving a second thought only to find out that it was totally wrong. That’s why you would have seen the weird cuts on these pieces. Not that bad, but it took me 2 days to figure this thing out after hours of mistakes and research.
- And one more thing I realized later was that I shouldn’t have used two different colors for front and back because of how the grey thread is popping out on the pink fabric.
- Lastly, the thing I altered a bit was the lining. Actually, I didn’t use any lining for my coat because honestly it would just make it too hot to wear in 25 degrees temperature so I just skipped it.


And that’s the end of my rant, I mean the review. So, it’s totally upto you if you’d like to go for this pattern, as everything is already figured out, you can just get the pattern, follow the video and make your very own gorgeous long coat.
Let me know in the comments if you liked this Coat Style Abaya Sewing Tutorial. Share this tutorial in your sewing circle. What type of tutorial would you like next?


[…] this is the thing that scares me the most and I haven’t tried it yet. Even when I was sewing my coat, I skipped the button holes because I was so scared I would end up ruining it. I just opted for […]