How to make lined zippered pouch
In this tutorial I’m sharing how to make lined zippered pouch. This post is a part of Hearty Last Minute Gifts To Sew series.
Welcome to the NEW series that I promised few days ago where I would be sharing some quick and easy sewing projects PERFECT as last minute gifts. Yeay!
Holidays are ALMOST around the corner and some of us might not even have realized it. Which is why I decided to share some super quick sewing projects that would just take an hour or less to make but would be PERFECT as gifts. You can make several of them for all the family members in a day or two and not worry about what to gift. Alternatively, you can also check out some of the gift guides I’ve put together if you do not have time to sew.
Okay now let’s get started with the post where I show you how to make lined zipper pouch!
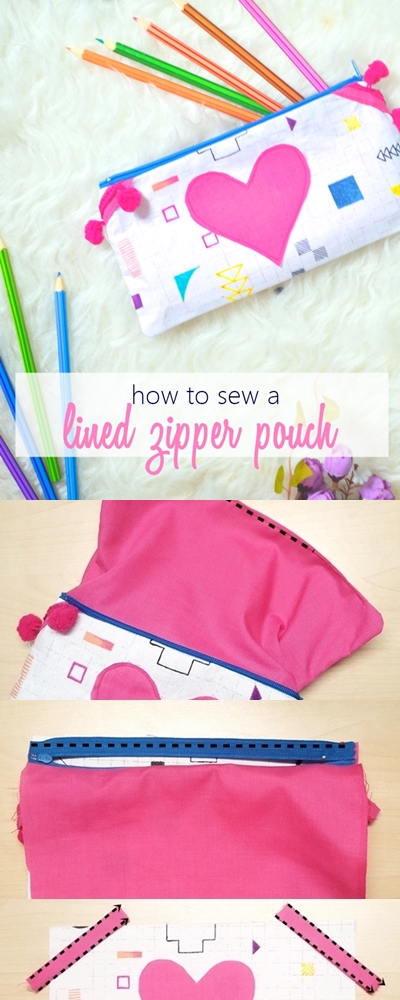
Pin this image to your sewing board to check it out later!
Want to get the printable version of this post for offline use? Sign up for the newsletter and download it instantly!
How to make lined zippered pouch
DISCLAIMER: This post contains affiliate links and I will receive a small compensation for any purchase made through these links.
Supplies
- 1/4 yard exterior fabric
- 1/4 yard accent fabric
- 8″ zipper matching the exterior fabric
- 1/4 yard medium weight fusible interfacing
- ric racs matching the accent fabric
- Fabric glue (optional)
- Free heart pattern
Cutting
Cut out the following pieces:
- Main body: 9″x5″ (Cut 2 from exterior fabric, 2 accent fabric and 2 interfacing)
- Accent strip: 7″x2″ (Cut 1 from accent fabric)
- Heart: (Cut 1 from accent fabric and interfacing using the pattern given)
Sewing instructions
Step 1
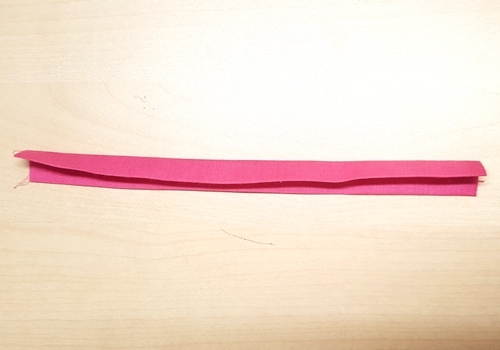
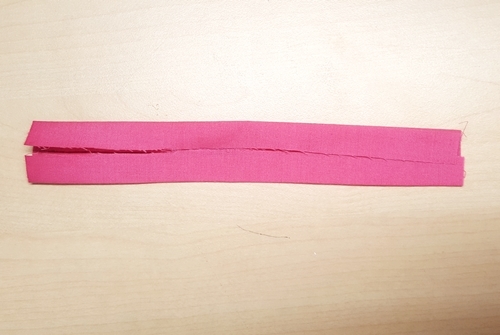
Fold accent strip in a half, bringing the wrong sides together along the longer edge and press to make a crease in the center. Open up the fold, next bring the longer edge to the center crease (keeping the wrong sides together) and press. The fold should be 1/2″. Repeat for the other edge. In the end the accent strip should look like the one below.
Step 2
Fold the strip again from the center.
Step 3
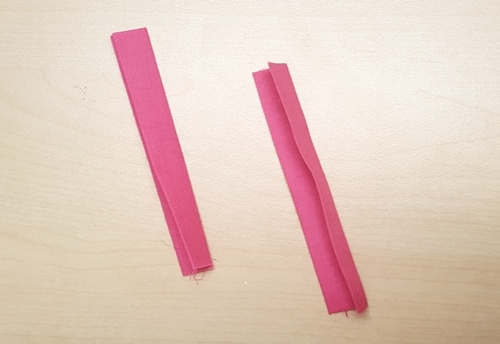
Fold the accent strip from center, bringing the shorter edges together and cut the strip in a half so that in the end you have two equal strips.
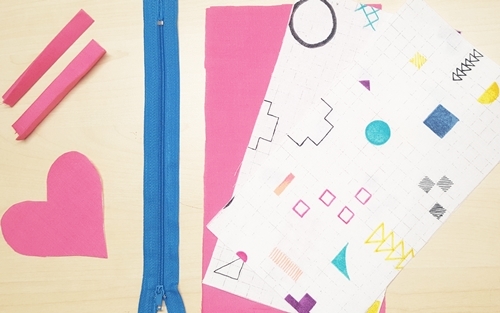
Click the image below to go to the next page for instructions.



Leave a Reply