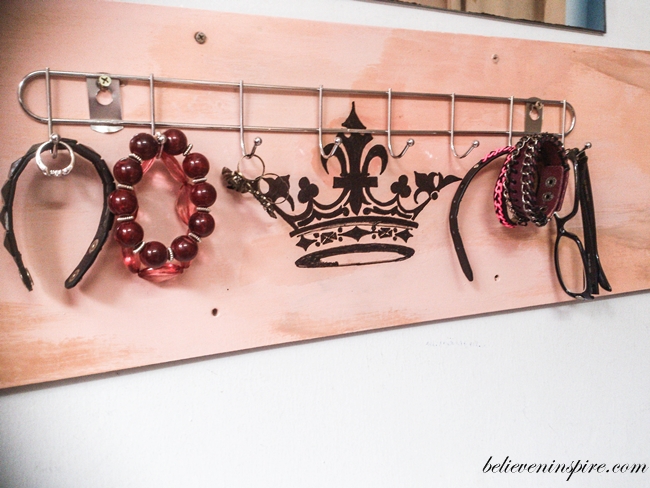
Hello lovely readers! The much awaited project is finally here. Something that I had been working on for almost more than a month. Painting, drying, painting bla bla. Okay without further due I present you the jewelry holder (necklace stand) that I made from this old shelf.

Project 1: Shabby Chic Lap Desk
Project 2: See below
Project 3: Wall Scones (Coming up in few days)
——–
How to – Turn Old Shelf To Jewelry Holder (Necklace Stand)

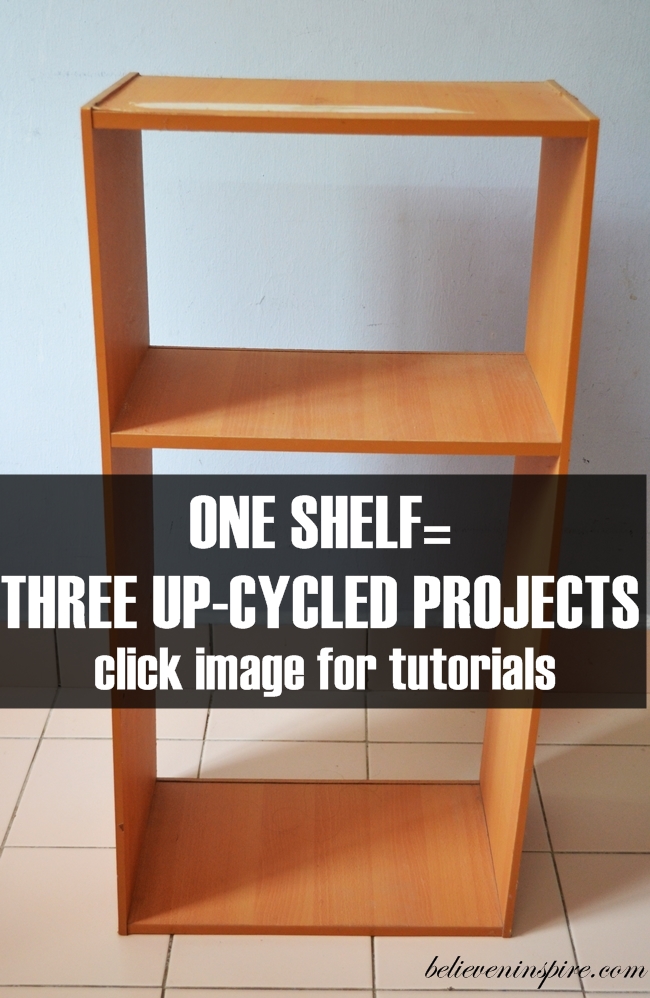
So I first started off with the shelf I picked up from under the staircase in our dorm building. There were two of these shelves. So I have a lot of plain wood lying around.
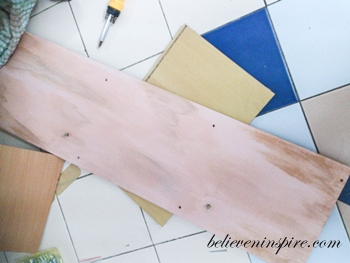
- First, I sanded, primed and painted using wood based latex paint
- For staining I followed the video shown below under helpful stuff.
- Then, I drilled some holes for the steel rack.
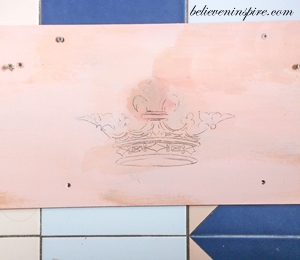
- Next, I used the lovely crown graphic from The Graphics Fairy. Transferred it on the wood using the old school carbon transfer method and then I colored it with a permanent marker.
- And ta-da!
This project went through a phase of suffering first. You can read the disaster story here. But, alhamdulillah I managed to bring it back to normal. Yeay for that.
In college life you are always under pressure to be on time in classes, so it was a must to keep my daily wearing accessories in a grab and go place. And the best I could think of is the jewelry holder, because even keeping them in a box seemed time consuming when I had to shuffle through the boxes looking for stuff. Ah! Life seems much more easier now :).
Helpful Stuff
This is the video that I found very helpful for the staining technique.
(AD)This is a great online course on craftsy that I’m enrolled into. It was of great help for learning the basics of painting furniture like where to start, how to fix some broken chips on a furniture piece, tips on finding the perfect inspiration for your piece and all that. I’m a complete newbie at this so I learnt a lot of tips here. I definitely recommend the course. Plus Ann Marie is such a talented and creative woman, its fun to know her and she always amazes me.
Here is the lesson plan for all the stuff that you will learn in (AD) this course:
| 1 | Introduction | 10:15 |
| 2 | Find Your Inspiration | 24:32 |
| 3 | Choosing Tools and Materials | 18:40 |
| 4 | Cleaning and Prepping | 48:52 |
| 5 | Milk Paint: Distressed Terra Cotta Pot | 35:37 |
| 6 | Milk Paint: Stencilled Terra Cotta Pot | 27:53 |
| 7 | Milk Paint: Regency Coffee Table | 55:02 |
| 8 | Wax Finish: Regency Coffee Table | 23:32 |
| 9 | Gilding: Picture Frames | 29:11 |
| 10 | Art Deco End Table: Primer, Base and Silver Leaf | 51:37 |
| 11 | Art Deco End Table: Crackle Finishes | 31:37 |
| 12 | Distressing, Stencilling and Glazing the Radio Cabinet | 57:15 |
| 13 | Transforming a Metal Patio Chair | 55:50 |
| 14 | Wrapping Up: From Drab to Fab |
Linking up to these blogs:
Not just a housewife, Savvy Southern Style, Funky Junk Interiors, French Country Cottage, Six Sister’s Stuff, Sew Much Ado, DIY Show Off, I heart Naptime, Craft berry Bush, Coastal Charm, DIY by Design, Too Much Time , The Charm of Home, Flamingo toes, Flour Me With Love, Someday Crafts, Alder-berry Hill. What’s Cooking Love, The Crafty Blog Stalker, Raising Reagen, Create Craft Love, Mom On Timeout, My Romantic Home, Sugar Bee Crafts, Time to Sparkle @ The Gunny Sack, Home Stories A to Z, By Stephanie Lyn, The Girl Creative, Kathe With an E, The 36th Avenue, It’s Overflowing, Lil’ Luna, Love Bakes Good Cakes, http://freshideastudio.com, DIY Home Sweet Home, Ginger Snap Crafts, Oombawka Design, Titi Crafty by Camila, Livin Better Together, Life After Laundry, Common Ground-Do.com
This post first appeared on Believe&Inspire.
Don’t forget to sign up for our twice a month newsletter for FREE printable!


Leave a Reply