Hello friends! I’m beyond EXCITED to bring you this post, because today we’re touring my college DORM ROOM! *squeal*
After more than a year of constant updates this post is actually going live. I moved into this room in September and since then I’ve been slowly completing projects one by one amidst all exams and stuff which explains the huge amount of time delay.
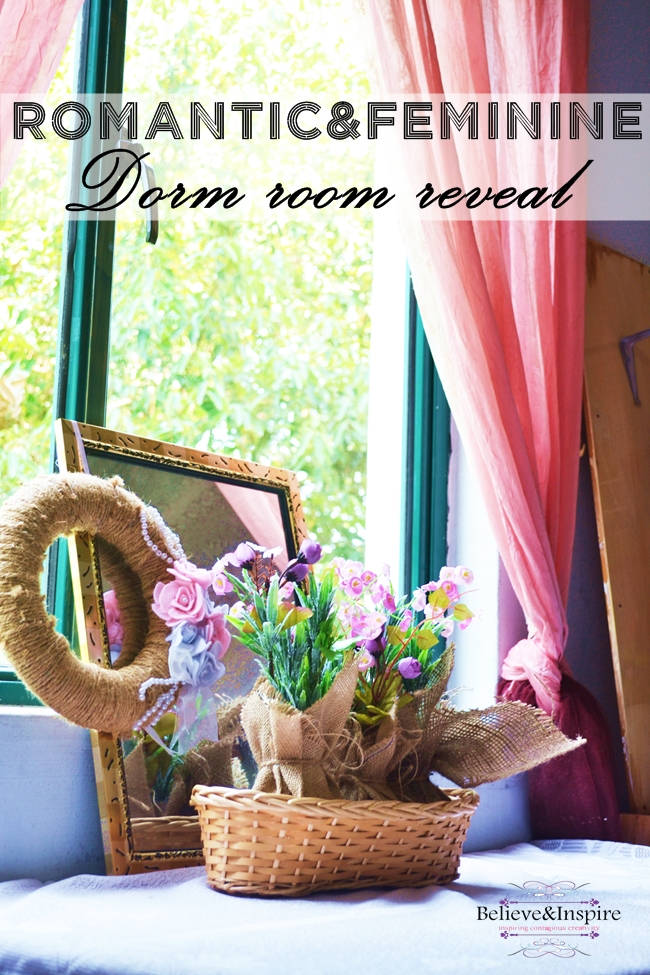
After doing a glam room decor of my previous room with bold zebra print, I wanted this room to be very feminine and soft and before I moved in, I was so worried about the type of furniture in the room and was deeply hoping that they won’t be ugly brown in color. I guess my prayers got answered for the furniture turned out to be in something pale pink, that went perfectly with the theme of the room. However, I was very unsatisfied with the walls because of the blue paint and white patches.
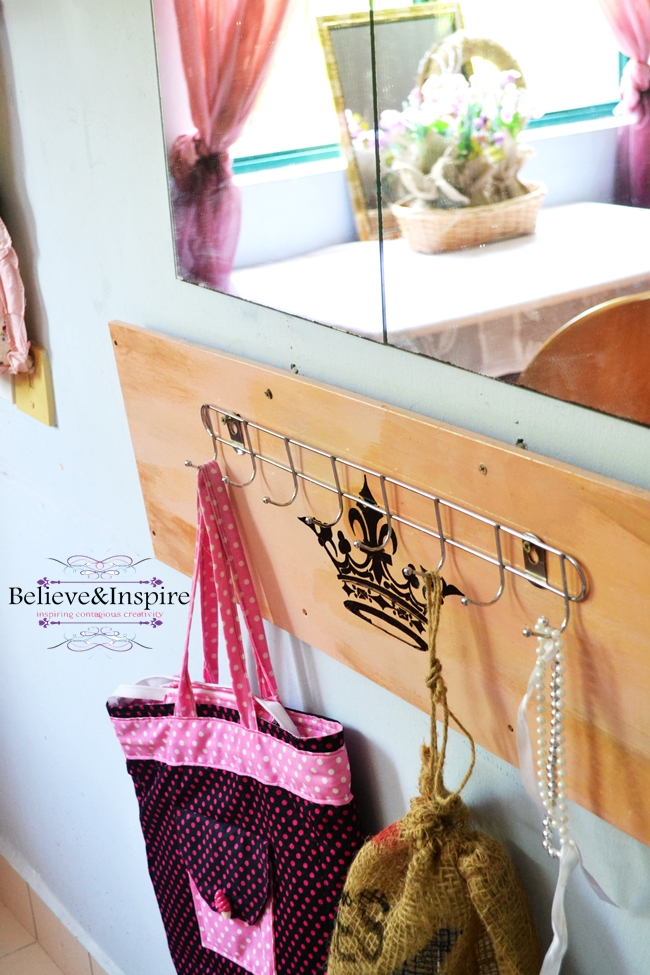
Other than that there were too many limitations. No posters on the wall, no holes as well as restrictions to move around the furniture. So, all I could do was use fabrics, and lots and lots of fabrics to create the look I wanted. I did break some rules though by sticking the hanger onto the ceiling ;).
Nevertheless it all turned out quite good in the end.
Okay, let’s start the tour!
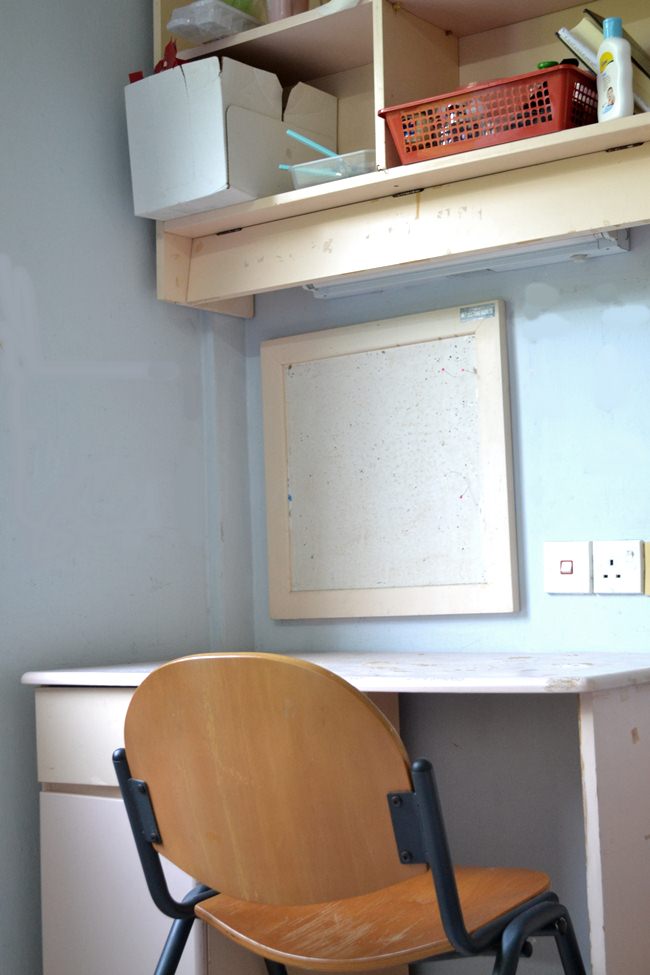
Here’s the before shot of the view from the entrance. All barren and cold, like some room from a horror movie.

And here’s the after. All colorful, and feminine. I wanted to create a symmetry so I moved the desk in front of the window, plus that helped to get the natural light on my work while doing the DIY projects.
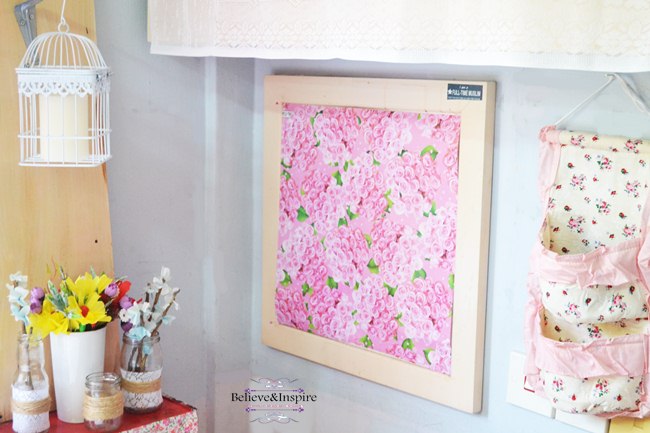
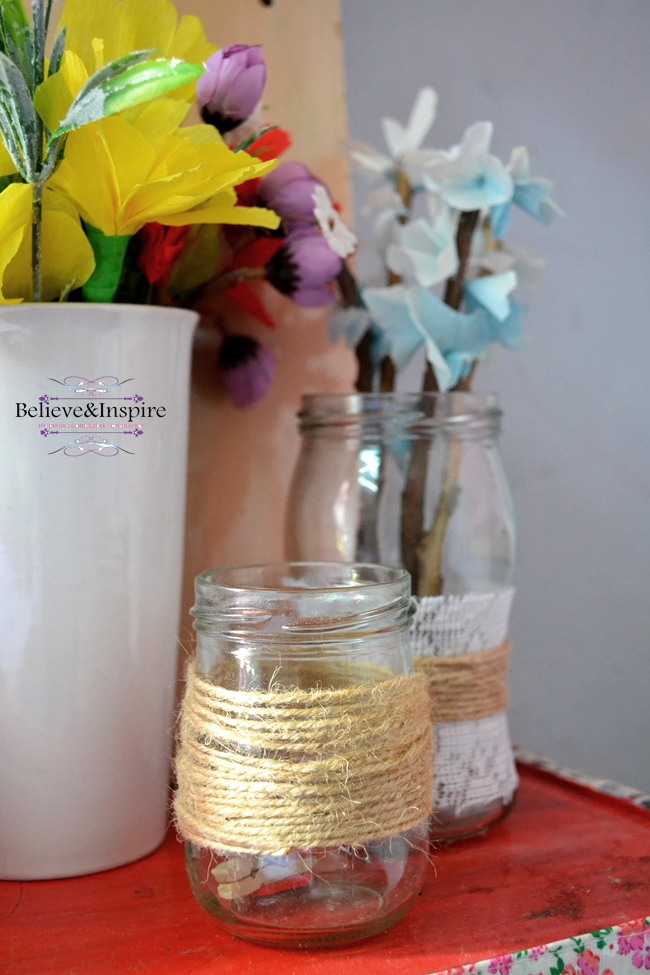
I covered the bulletin board with gift wrapping paper, painted an old book shelf and placed a DIY scone on top of it. One of my favorite piece in the room is that pretty bird cage. I covered some old glass bottles in lace and twine to make vases.
Since the stuff inside the bookcase made it look quite messy I covered it with a curtain, best solution to hide clutter.

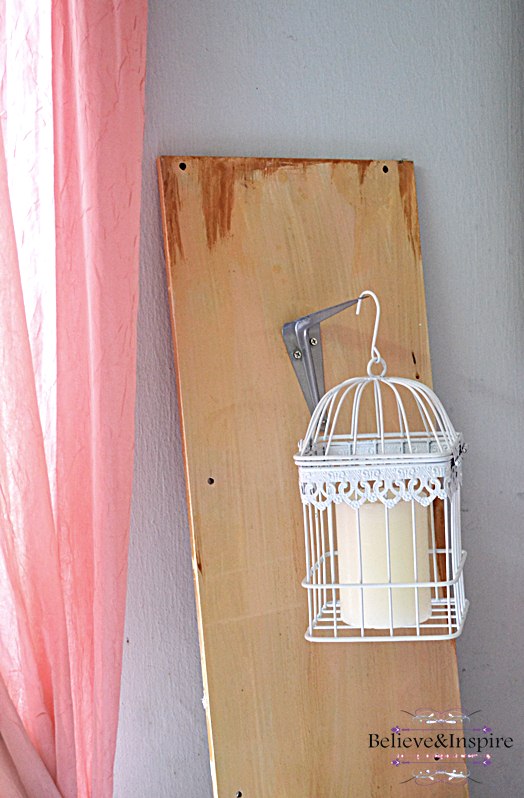
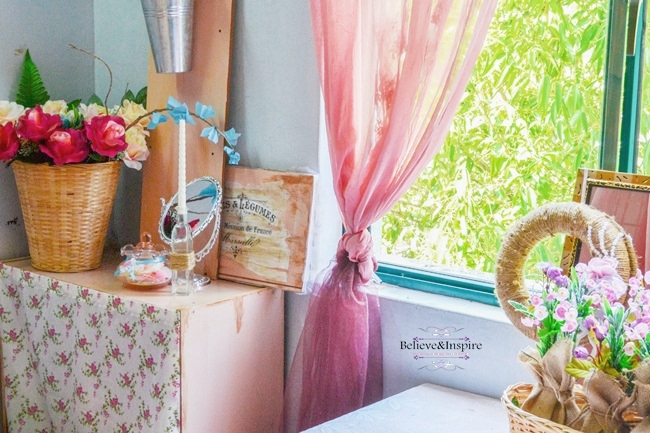
On the other side of the window, I added another bookshelf for my craft supplies and course books, and for the symmetrical look another scone on top of that.
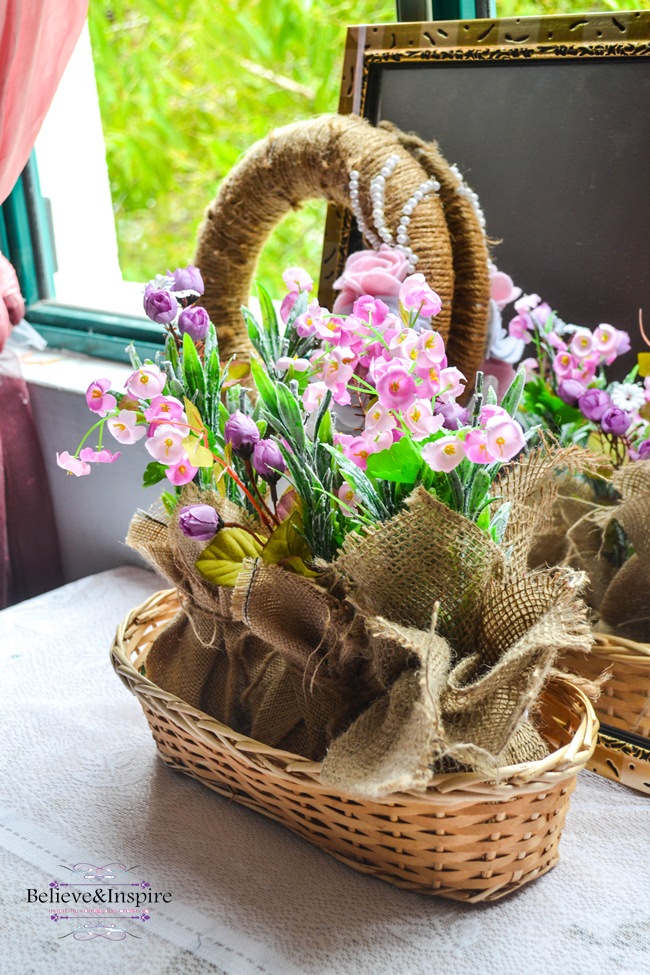

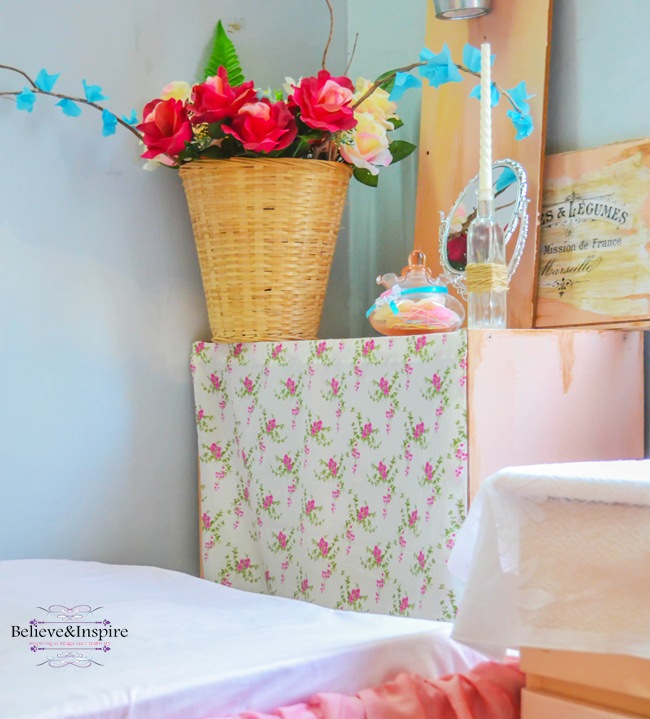
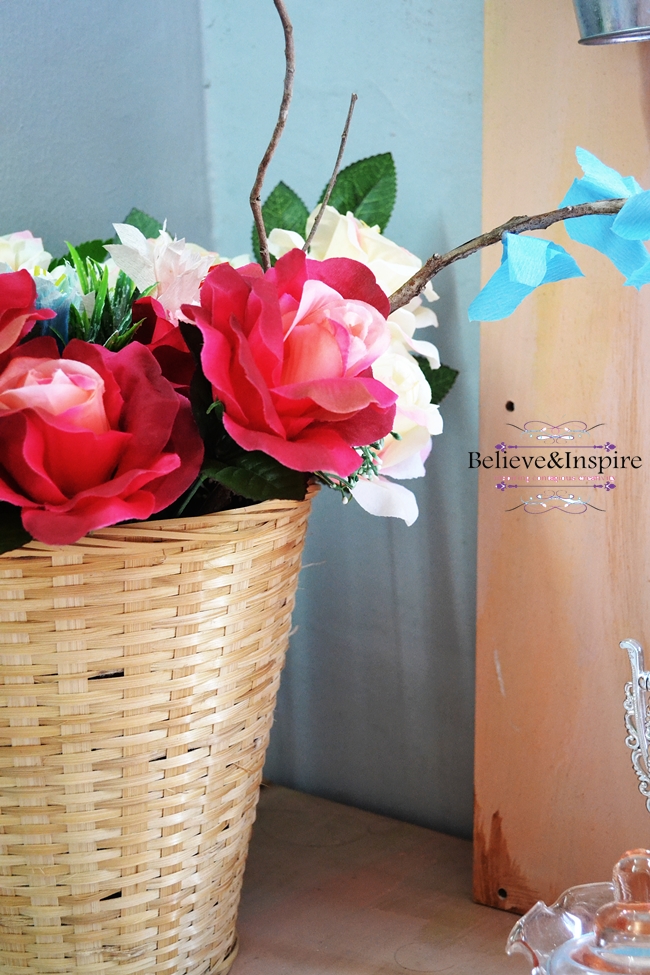
The blueberry blossoms from this basket are a DIY project and you can find the tutorial at DIY Blueberry Blossoms.
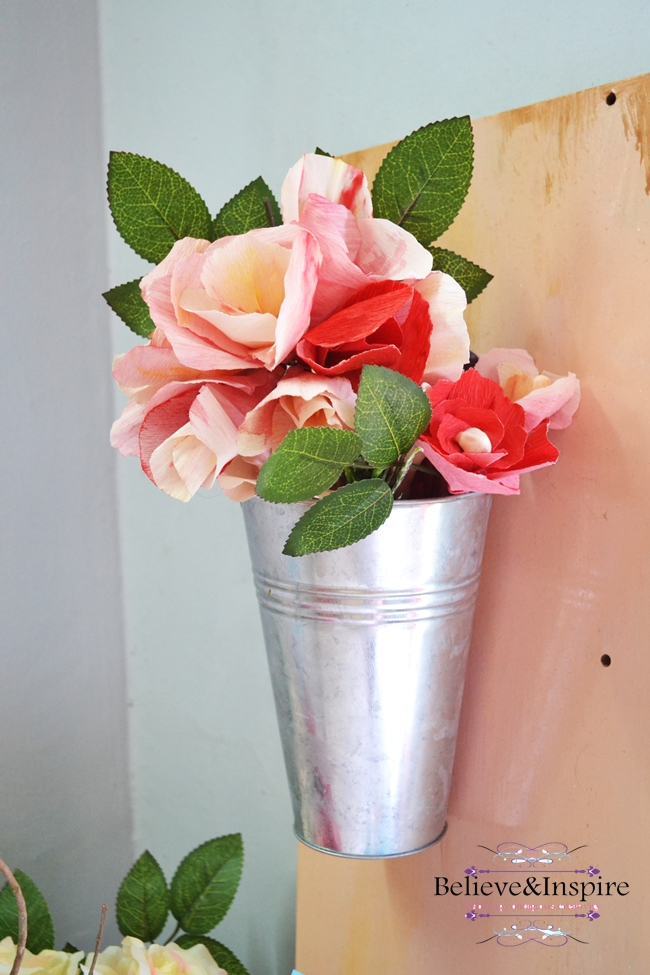
Made these flowers from the template found in this tutorial.
My most favorite part of the room are the windows (even though I hate the green color, I had to really stop the urge of painting them white) and the curtains because I’m a huge fan of big windows even though they look creepy at night *shivers*. And I love the sheerness of the curtains and the effect they create.
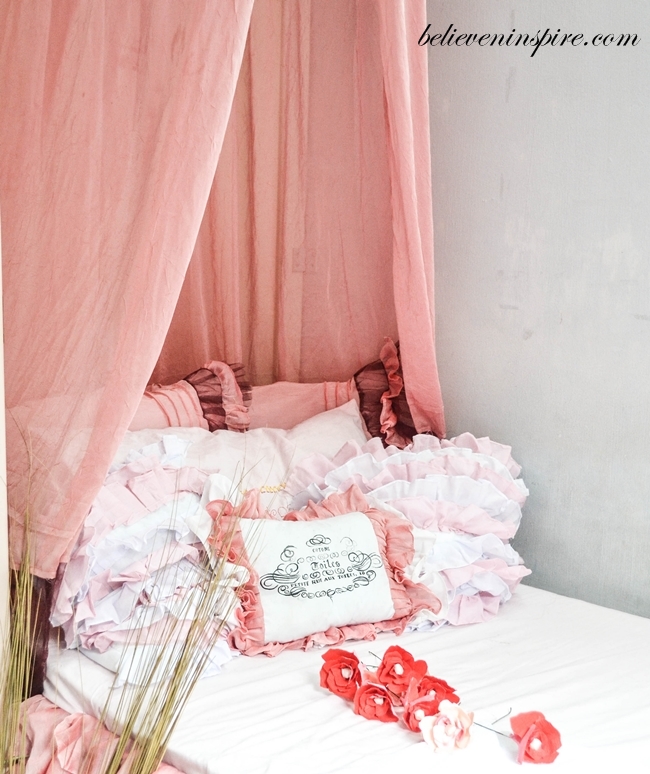
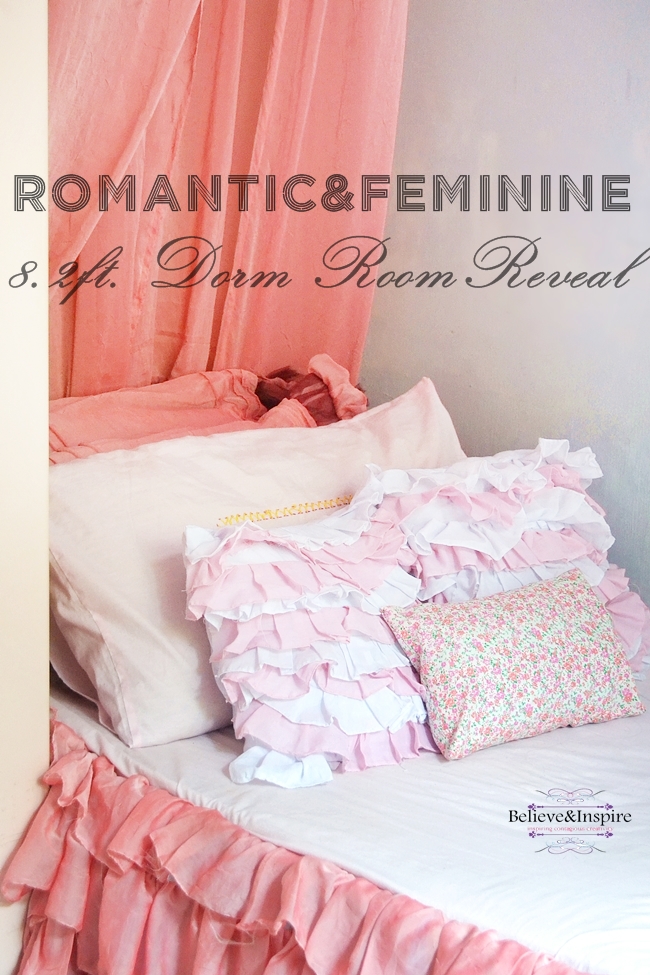
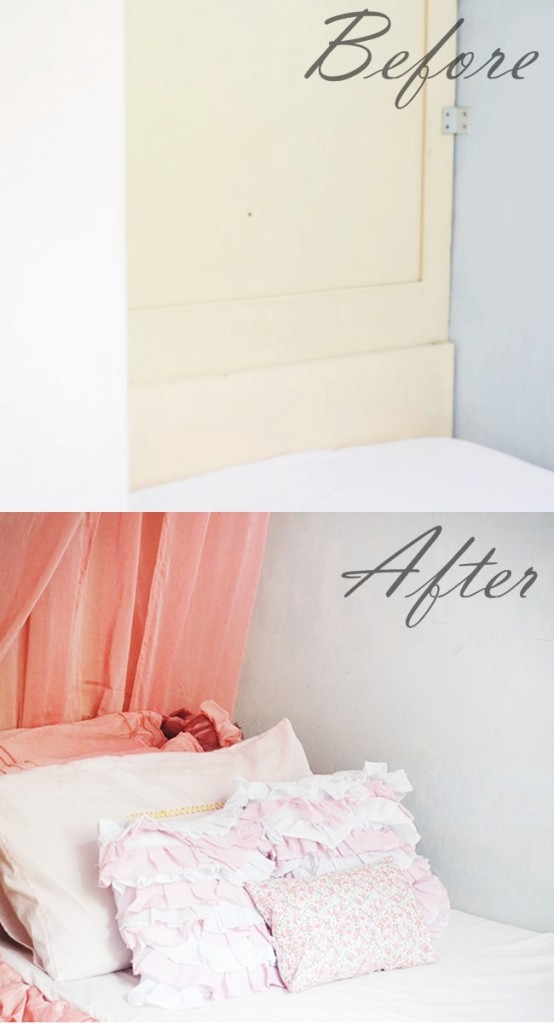
The other favorite part of the room is the bed, which is where I spend most of the time. I made the canopy from extra pair of curtains and you can find the tutorial at How to Make Super Easy Bed Canopy. The pillows are also done at home using extra curtain fabric. You can find the large rectangular pillow tutorial at My DIY Pillows, the ruffled pillow tutorial at Pottery Barn Tilly Pillow Cover Knock-off Tutorial and the French Typography Pillow. Since I used the curtains from my old room where I had the canopy surrounding the whole bed, I had a lot of unused curtain fabric. I used some of it to make the ruffled bed skirt too. You can find the tutorial for the ruffled bed skirt at Ruffled Bed Skirt from Old Curtains and Bed-sheet.
It was a great experience to work on the room and I leant quite a lot of new stuff. Some of the projects were totally new for me like painting the book cases and doing the wall scones so I was a bit unsure about them, nevertheless I enjoyed a lot working on them and gained some new experience.
Since I had the curtains from before, I didn’t have to invest much. All I had to spend on were the decor items, hence the whole cost came down to just around $60, including the cost of painting the book shelves. I think, if I didn’t have the curtains, I would’ve ended up spending more.
So what do you guys think? Doesn’t it look super comfy? Let me know in the comments below.
Thanks so much for dropping by! xo


Hey there! I’m glad you like my job haha 🙂 Would you like to be a journalist or something? I could answer some of your questions of you have some ! Have a great day 🙂
xo, Iris
Cool, thanks for the offer :D! I don’t know if I want to be a pro one, but I would like to cover events, take pictures and stuff to share on the blog. It all seems fun especially events like these.
You really transformed the boring dorm into a lovely tranquil place – great for studying to let your creative juices flow. Great job..
Thanks so much Jamala for lovely comment! I’m glad you liked it. xo
Prettiest dorm room I have ever seen. Please come share at the Anything Goes linky, if you have not already.
Awww Mindie! Thankyou so much!
Wow, I’ve never seen a dorm room look this lovely! It shows that you put a lot of work into your space. Wonderful job!
Are you not able to nail or screw anything into the walls? I wondered because of the planters you have attached to the wood planks. (Great alternative, if so!)
Thankyou so much for the awesome comment!
And no, we aren’t allowed to make any sort of holes on the wall or stick posters sadly. 🙁 That was the only thing I could think of to fill up the empty wall. 🙂
Lovely transformation!
Thanks so much Beth! Feels great to hear that from a DIY expert! XD