Have you met Pink Wings? I shared her pic on Facebook last week as an announcement and here she IS!
After I made this DIY Water Bottle Cover, I realized it was quite boring, kids would definitely not enjoy carrying that one around, but, if they had something like Pink Wings I’m sure they will never forget their water bottles anywhere. What do you think? So, bearing that in mind I came up with Pink Wings – The Dragon water bottle cover! 😀
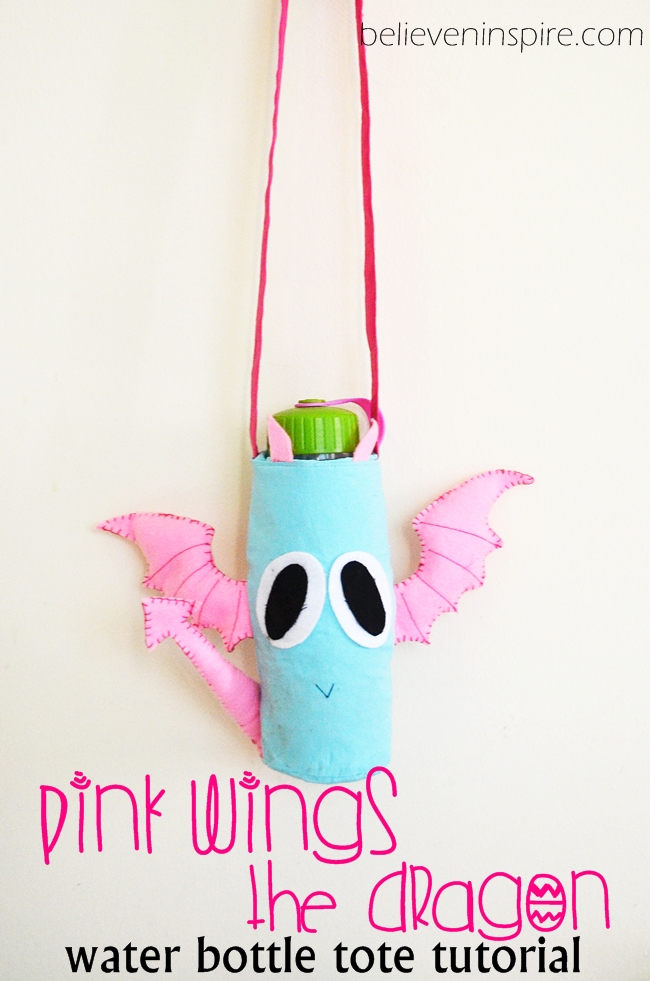
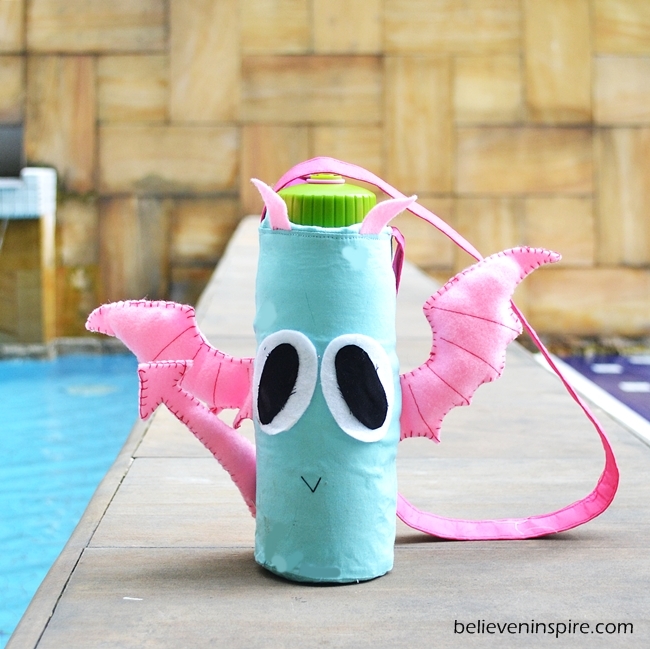
Pink Wings – The Dragon Bottle Cover (Free Kids Sewing Patterns)
The cover looked so good in the beginning, but then after turning it got all crunched up, thanks to my stupid mistake of adding the interfacing to the exterior rather than the lining. I knew I didn’t have to but I just forgot and blah the whole finishing got ruined. 🙁
Anyway, let’s look at what all we’re gonna need for this project:
Supplies:
- 1/4 yard exterior fabric
- 1/2 yard lining and strap fabric
- pink felt
- white felt
- black felt
- elastic
- glue gun
- Template
CUTTING
Step 1
Measure the bottle’s circumference. Add 2? to it.
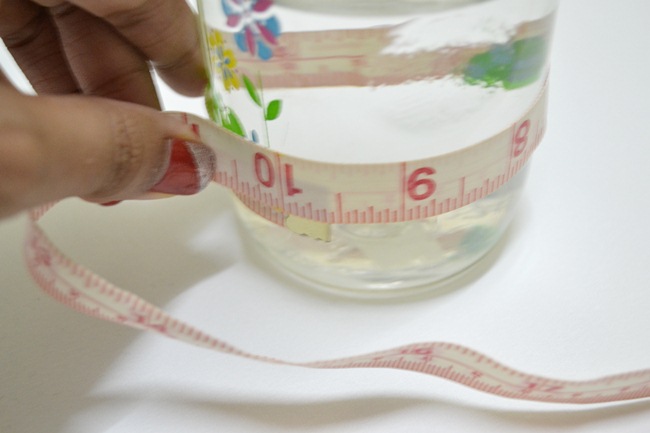
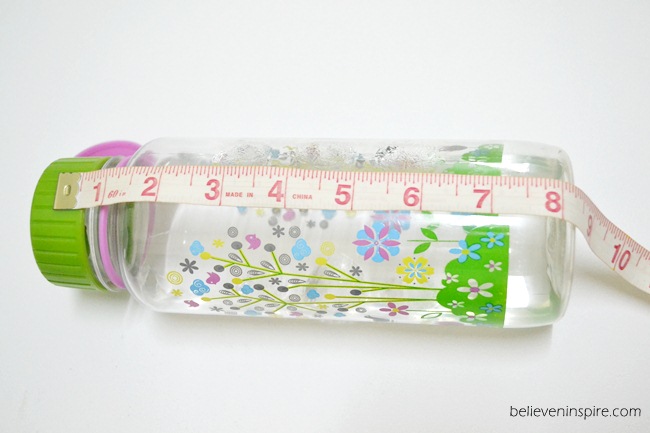
Measure the length of the bottle. Add 2? to it. Cut out the rectangle from exterior and lining fabric. Cut the rectangle into half.
Draw a circle using the bottle. Add 1? to it and cut from exterior and lining fabric.
I did this by measuring 1″ at each angle and marking it, and then I connected these marks together to form a large circle.
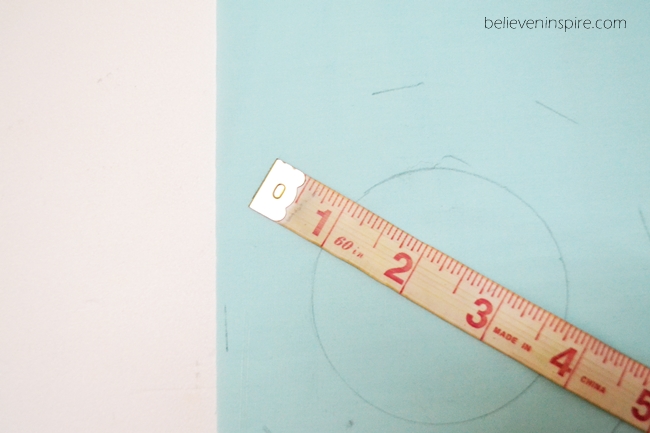
Next, cut out the fabric for your strap. 4?x30?
And, a piece for elastic holder which should be 4″ in height and the length should be the width of your rectangles.
Cut the fusible interfacing for the lining and the strap. (Do not add interfacing to the exterior or it will become messy like mine 🙁 ).
MAKING THE PARTS
Step 2
Cut out 2 of each of the wings and tails from the template.
Step 3
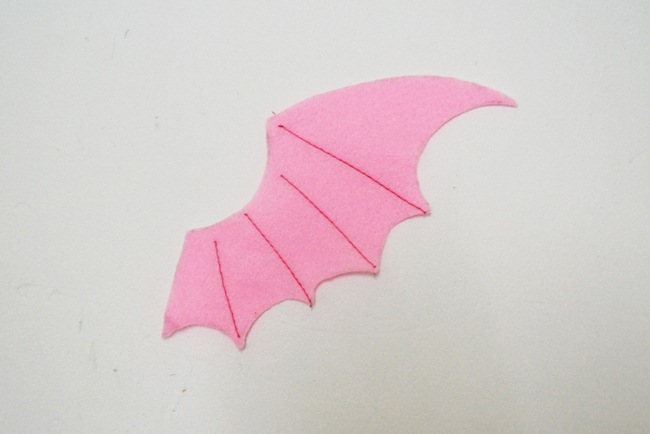
Take one piece (that will be the front) of the wing and sew straight lines on it as shown.
Step 4
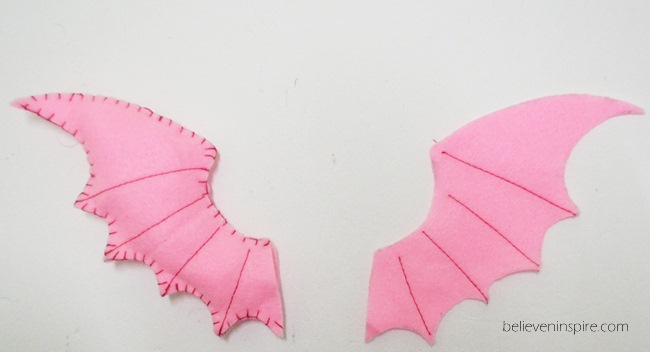
Join the front and back pieces of both the wings and tails using blanket stitch, keeping one side straight edge open.
Fill in the wings and the tail with pillow fillings and keep aside.
MAKING THE FACE
Step 5
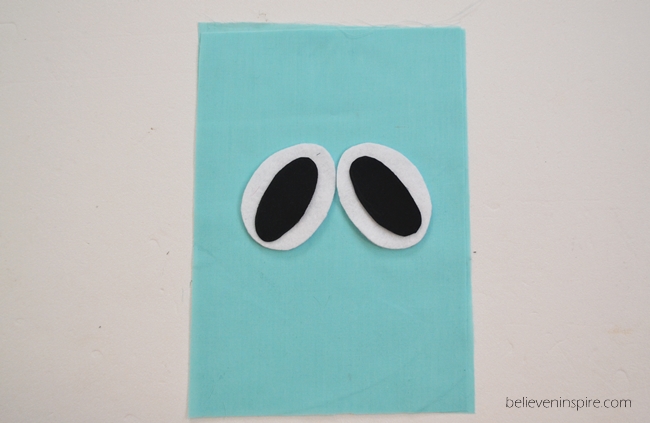
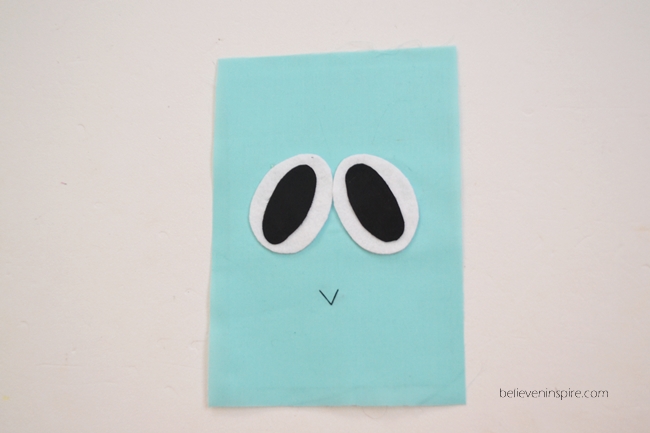
Cut out the eye and pupil from the white and black felt. Place them in the center as shown and using hot glue gun glue everything together as shown.
Step 6
Sew a “V” shape just below to make the mouth.
MAKE THE ELASTIC HOLDER
Step 7
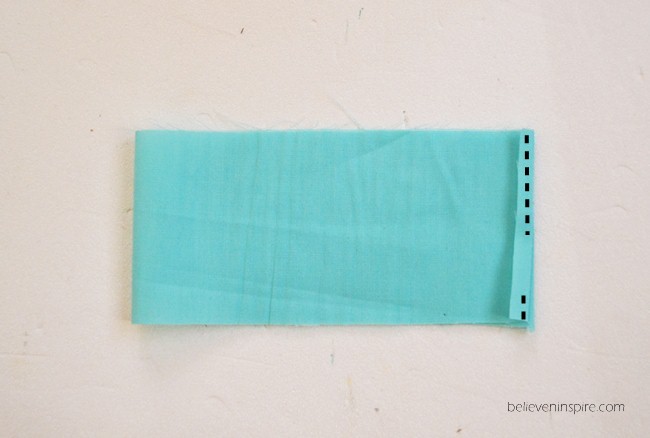
Take your elastic holder piece, fold into half (horizontally), fold in the edges and sew as shown by the dotted line.
Step 8
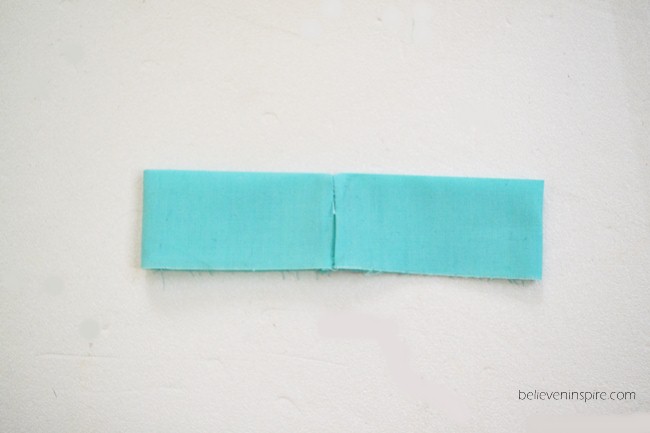
Fold it again (vertically) and press. Keep aside.
MAKE THE STRAP
Step 9
Take your strap piece, fold it into half and press.
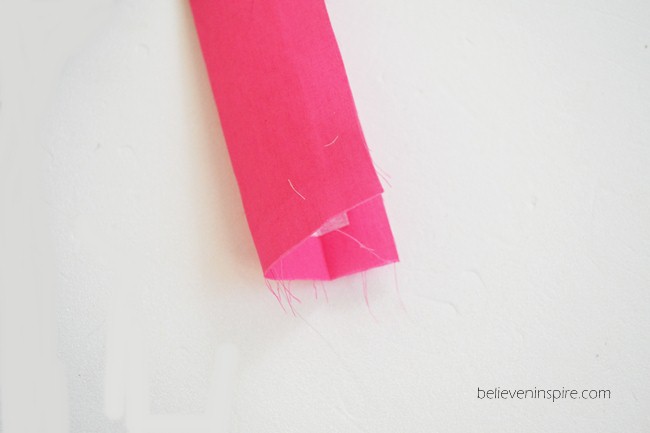
Open, and fold the outer edges inwards to the crease and press.
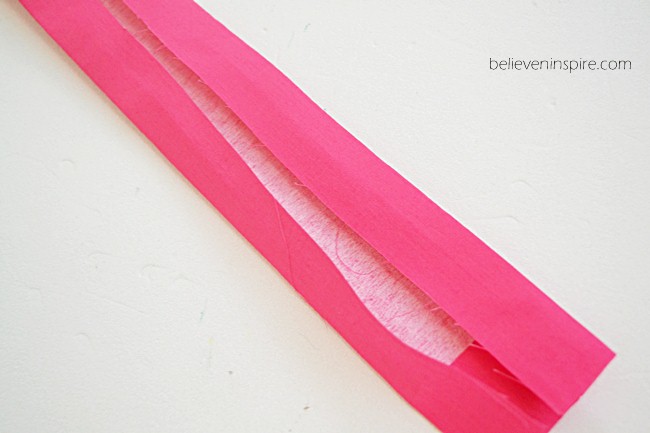
Fold from the crease and press again.
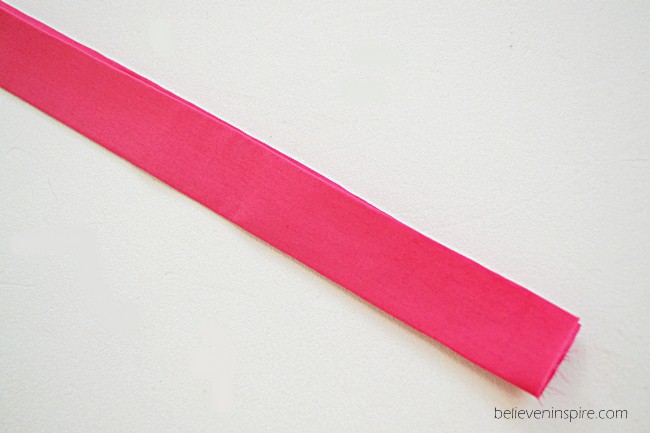
Do an edge stitch on both sides.
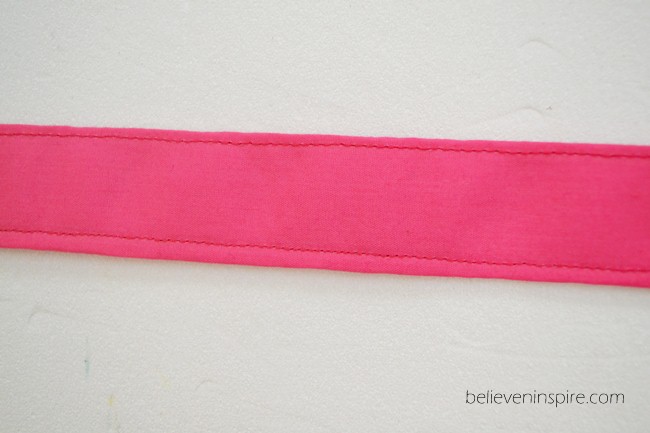
ASSEMBLE
Place the two wings on TOP of the FRONT piece as shown below so that the right sides are facing each other and pin in place.
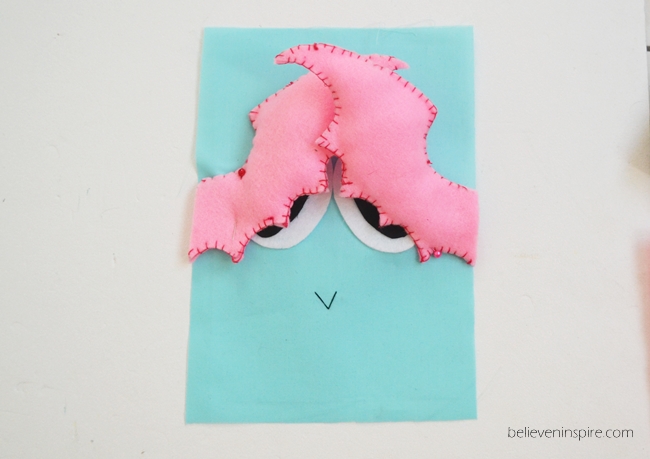
Next, place the BACK side on top with right side facing the right side of the front piece. Pin and sew in place. This way the wings would be sandwiched in between the front and back exteriors.
Next, pin the tail on the bottom side of the BACK exterior piece somewhere in the center. Here’s a shot of the view. The tail should be on the inside as shown.
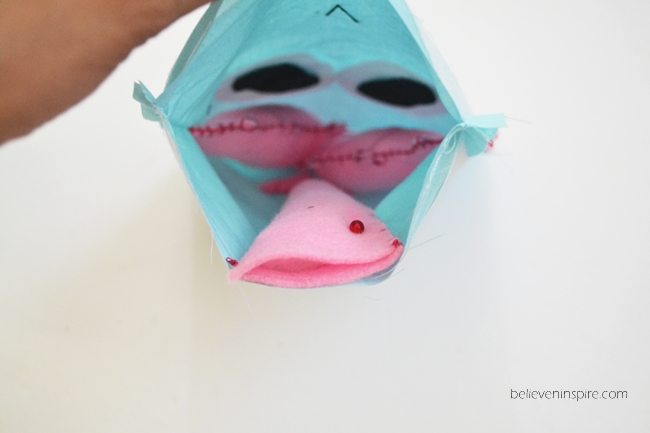
Next, pin the circle in place or hand baste it to make sewing easier and sew. (It might take few tries to get the perfect fit).
Repeat the same thing with the lining making sure to leave a small opening to turn the fabric out.
Pin the elastic holder (pressed edge facing down and raw edge aligned with the raw edge of the lining) to the lining as shown and sew in place along the raw edge.
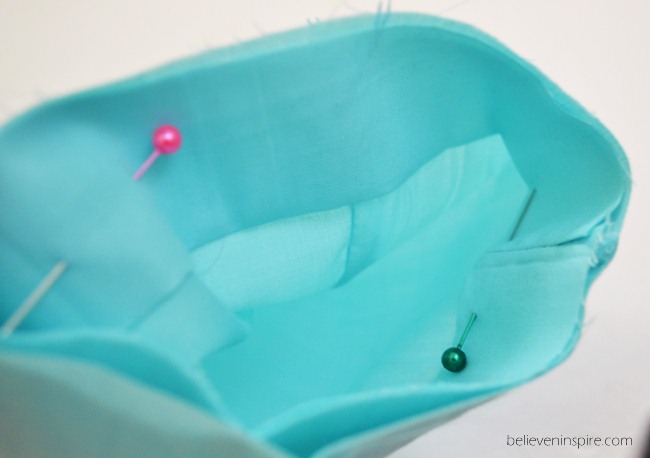
Take the exterior piece, place and pin the wings, tail, horns and strap to the exterior fabric as shown. The straps should go to the either sides.
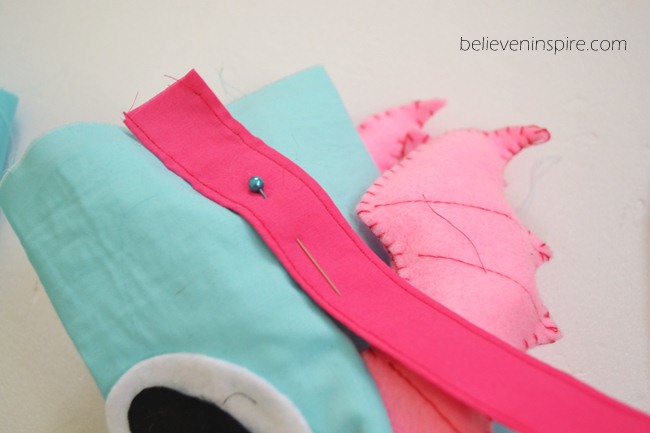
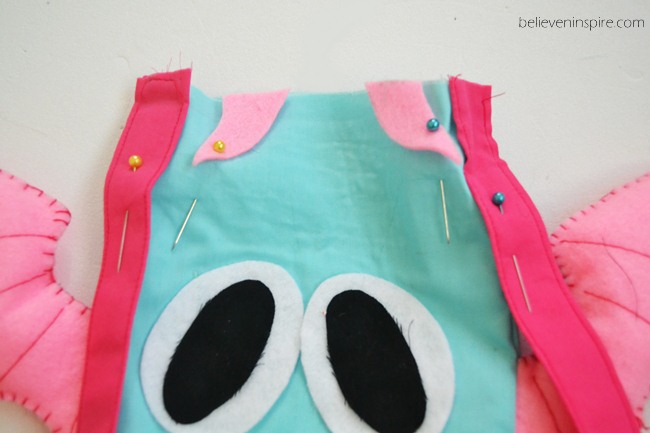
Place the lining and exterior together so that the right sides are facing each other. The elastic casing would be sandwiched in between the exterior and lining. Sew from top.
Turn the right side out, press and do a topstitch. Insert the elastic into the casing and you’re done!!

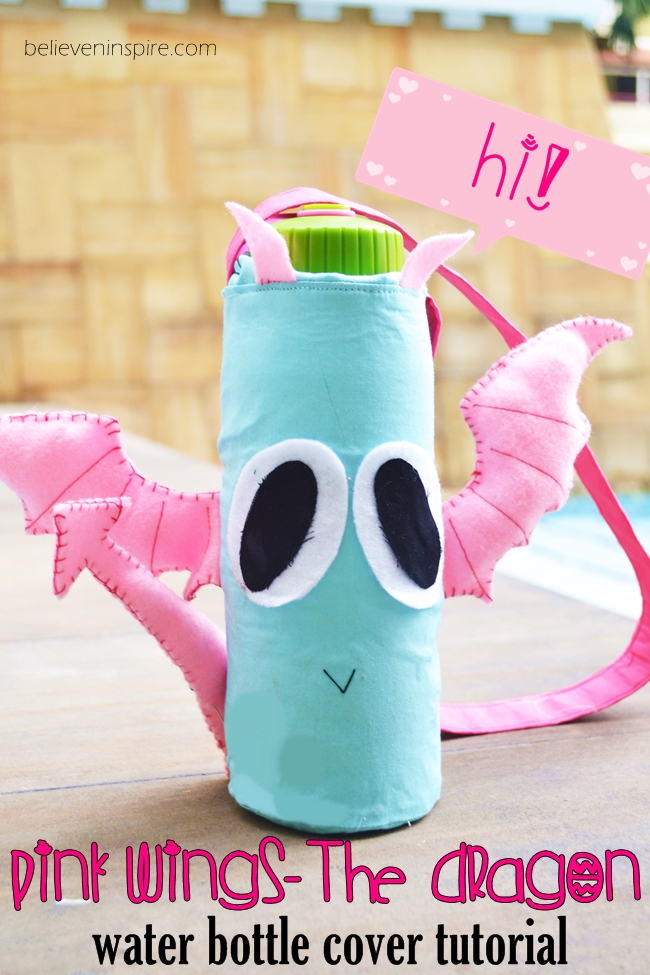
That’s the end of the tutorial where I showed you how to sew a cute water bottlle case with straps otherwise known as Pink Wings. So, will you be making Pink Wings for your kiddoes? If you do make one, share the pictures on Facebook. I would love to see how it turns out. 😀
Feel free to ask any questions if there’s a confusion. 🙂 Do pin the post if you enjoyed it. You can use the pin it buttons on the side.
This post first appeared on Believe&Inspire.
Don’t forget to sign up for our weekly summary of blog posts. Psst. there are FREE printables hidden inside! XD


This is adorable but I don’t understand the elastic holder instructions. It looks like a rectangle of the outer fabric sewn into a tube and folded over to make a casing, but when is the elastic put in? I’m also unclear about the attachment of the wings and tail. The way I read this, the side seams of the outer fabric are sewn and the wings and tail added after?
Thank you for the updates!