Okay girls! It’s all coming into place now, the glam room decor I mean. If you have forgotten about the color scheme and decor that I had planned you can visit this post where I shared the mood board for this glam dorm room decor.
First and foremost I did the curtains, which I will be sharing soon. And then came the turn to sew the pillow cases. I found the pictures of the bedding collection online but sadly they were all out of stock :(.
Solution? DIY BAYBEH!
And that’s how this tutorial was born.
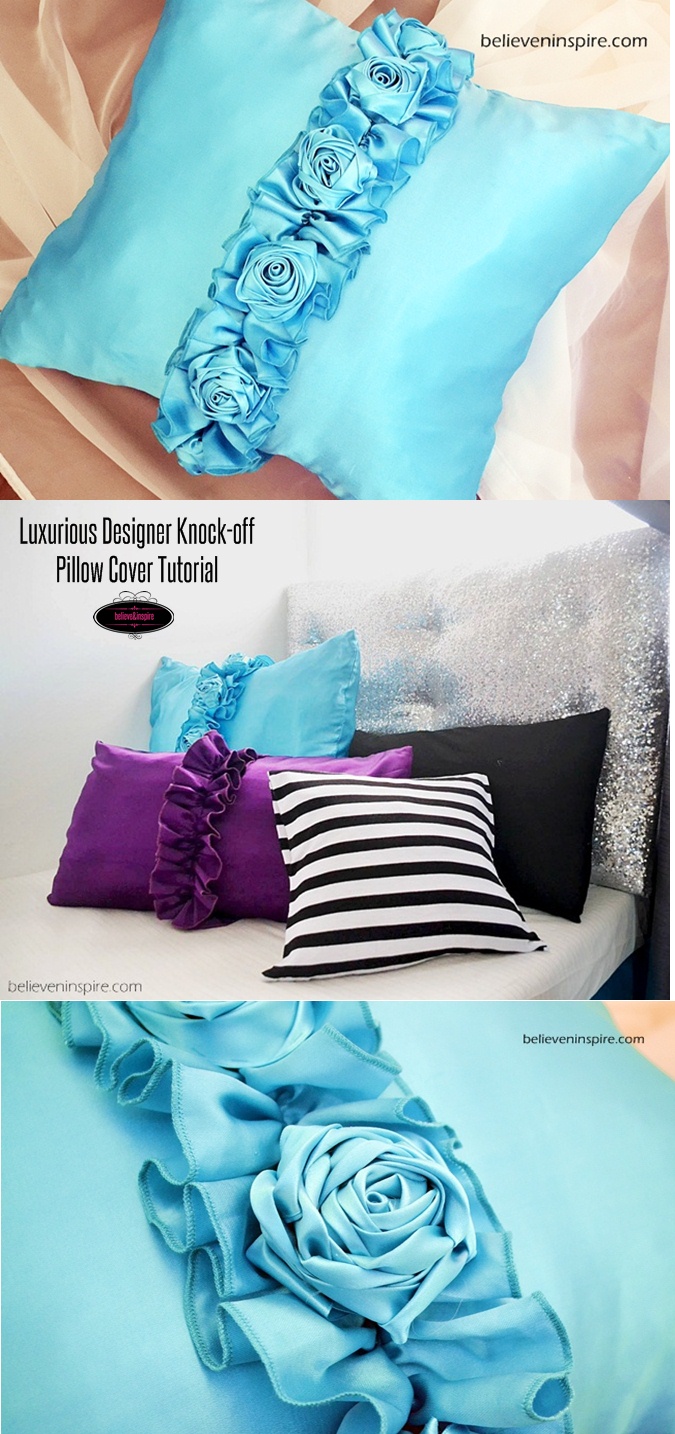
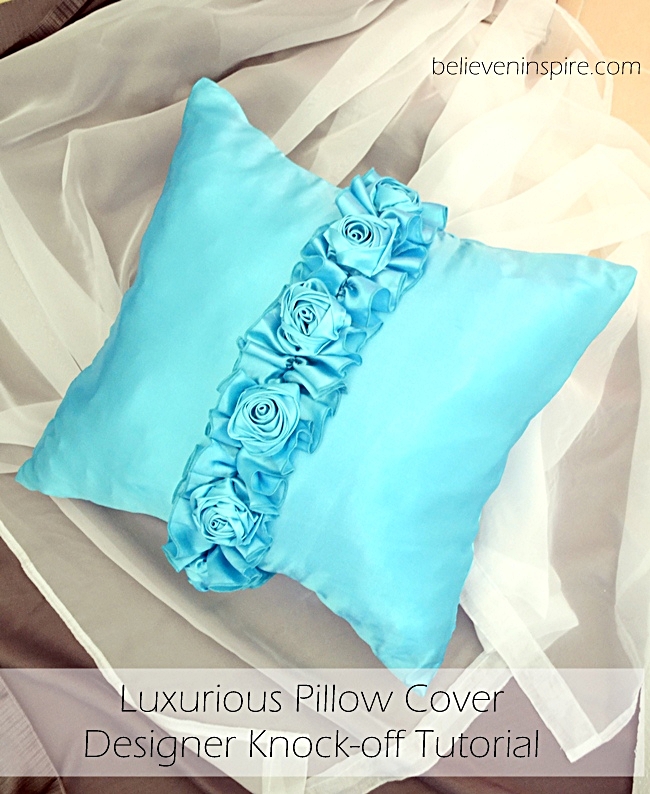
I’m absolutely loving how it turned out!
You can see the official pictures here.
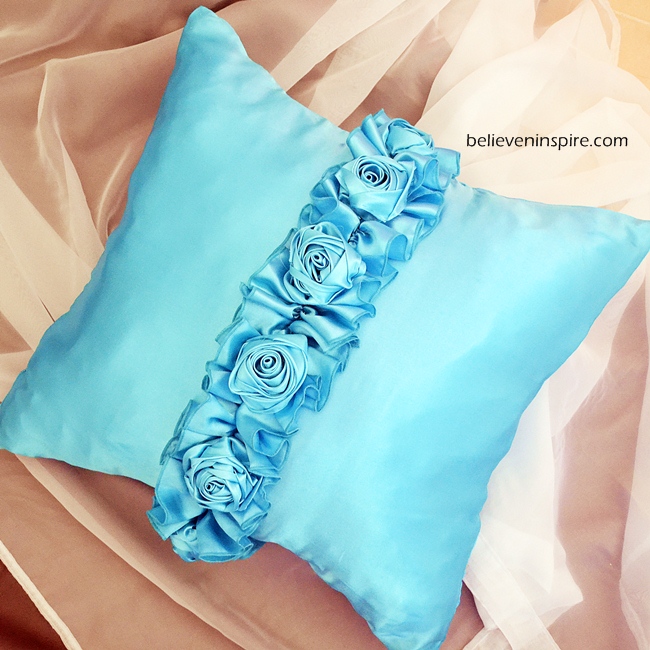
Luxurious Designer Knock-off Pillow Cover Tutorial (Silk Pillowcase)
Step 1:
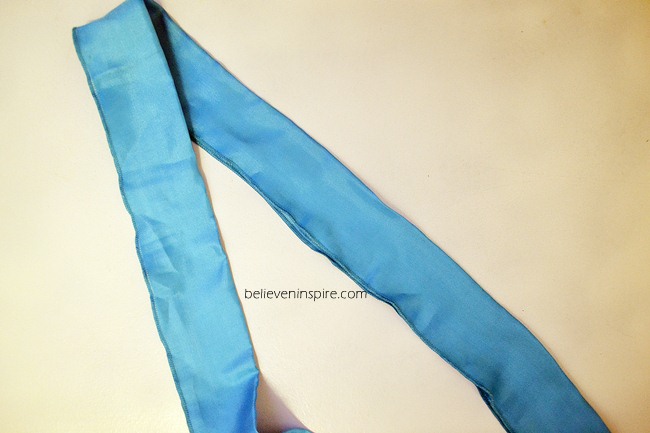
Cut out 5”x52” strip from the silk fabric.
Next, cut out the fabric for your pillow 26”x26”.
Step 2
Fold the edges using the hem feet. (I had to get it done at the tailor’s shop as I don’t have the hemming foot option.)
Step 3
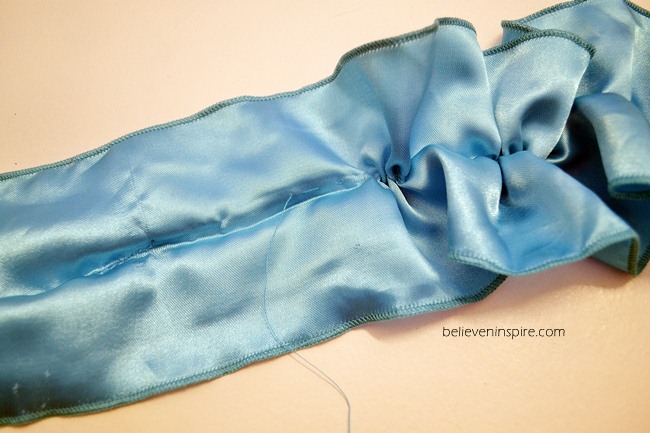
Next add ruffles to the strip.
To make sure that I’m working in a straight line, I first folded and pressed the strips to get a crease at the centre to act as a guide for my stitches.
I used the traditional hand sewing method for this. Thread your needle using single thread. Then, using basting stitch sew in a straight line and pull to gather the fabric.
Keep repeating this step until the length of your strip becomes 26”.
Step 4
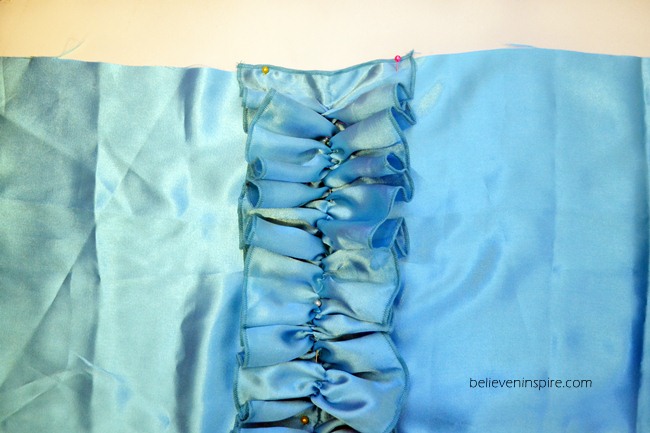
Next, pin the strip onto the edge of the pillow fabric, use as many pin as possible to avoid the two fabrics from slipping. Extra care is needed because this is silk.
Keep pinning on both sides of the ruffle till you reach the end.
Step 5
Sew along the centre very carefully.
Step 6
Finish off your pillow.
Step 7
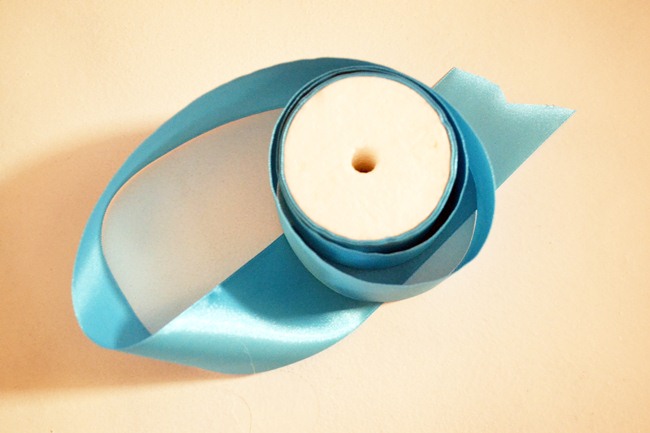
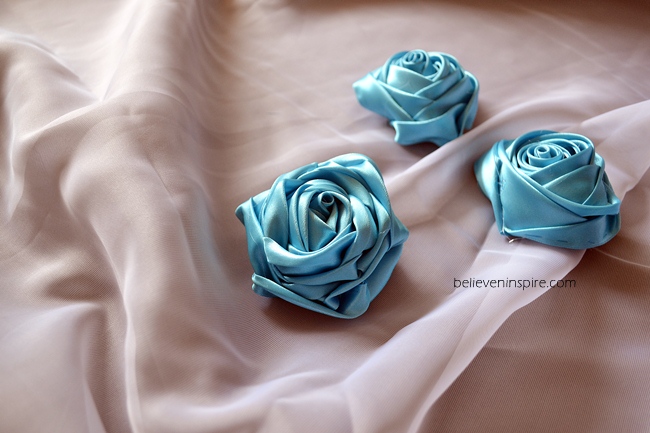
Make the roses. I used this tutorial and 2” wide ribbons for the roses. You will need 7-8 roses.
Step 8
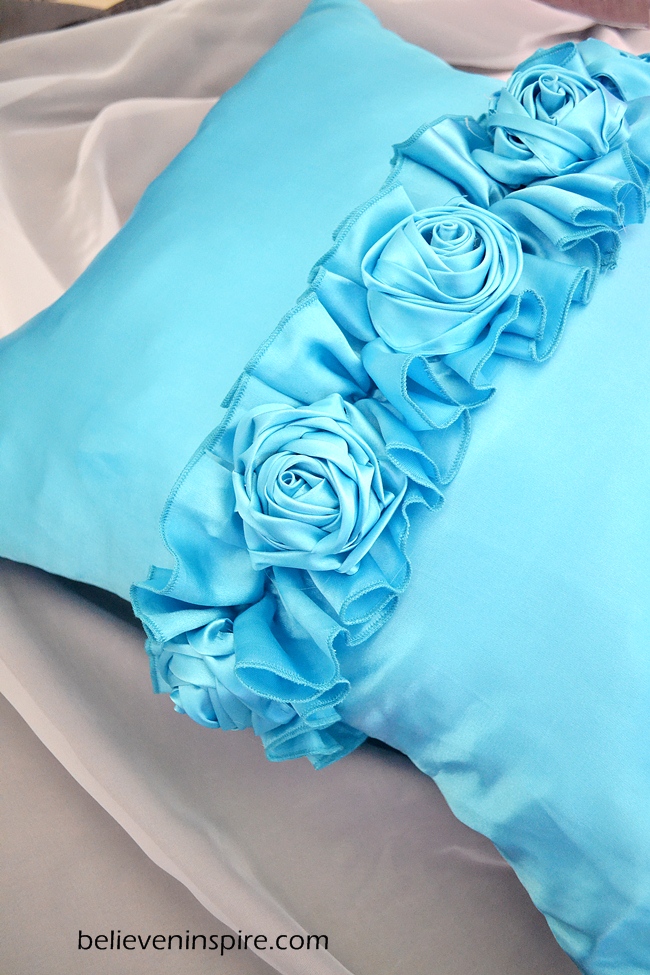
Glue the roses onto the pillow cover in the centre at equal distances.
Insert your pillow form and be amazed! You just made yourself a luxurious designer knock-off pillow cover at extremely affordable cost!
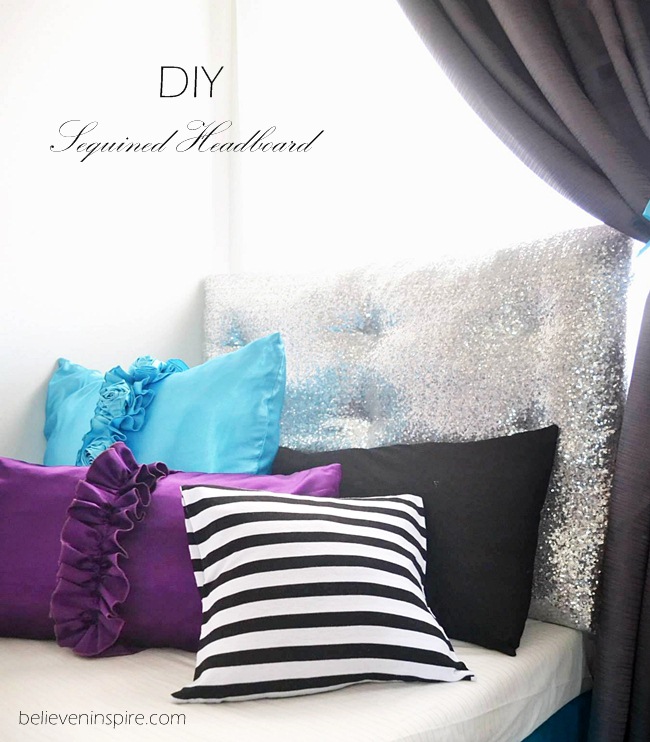
More from this room:
Linking up to these blogs:
Not just a housewife, Savvy Southern Style, Funky Junk Interiors, French Country Cottage, Six Sister’s Stuff, Sew Much Ado, DIY Show Off, I heart Naptime, Craft berry Bush, Coastal Charm, DIY by Design, Too Much Time , The Charm of Home, Flamingo toes, Flour Me With Love, Someday Crafts, What’s Cooking Love, The Crafty Blog Stalker, Create Craft Love, My Romantic Home, Sugar Bee Crafts, Time to Sparkle @ The Gunny Sack, Home Stories A to Z, The Girl Creative, Kathe With an E, The 36th Avenue, Lil’ Luna, http://freshideastudio.com, My Re-purposed Life, 2 Crochet Hooks, It’s Overflowing, Live Laugh Rowe, One Dog Woof, One Project Closer, Glitter Glue and Paint, Natasha in Oz, Lolly Jane, Gina’s Craft Corner
This post first appeared on Believe&Inspire.
Don’t forget to sign up for our weekly summary of blog posts. Psst. there are FREE printables hidden inside! XD


So cute! Also, wanted to let you know that there is a link party on Wednesday at my blog – hope to see you there! Can’t wait to party with you @ http://homeschoolapalooza.wordpress.com
So pretty, the roses are just beautiful. Great job!
Thanks so much Julie, I’m in love with them too. 😀