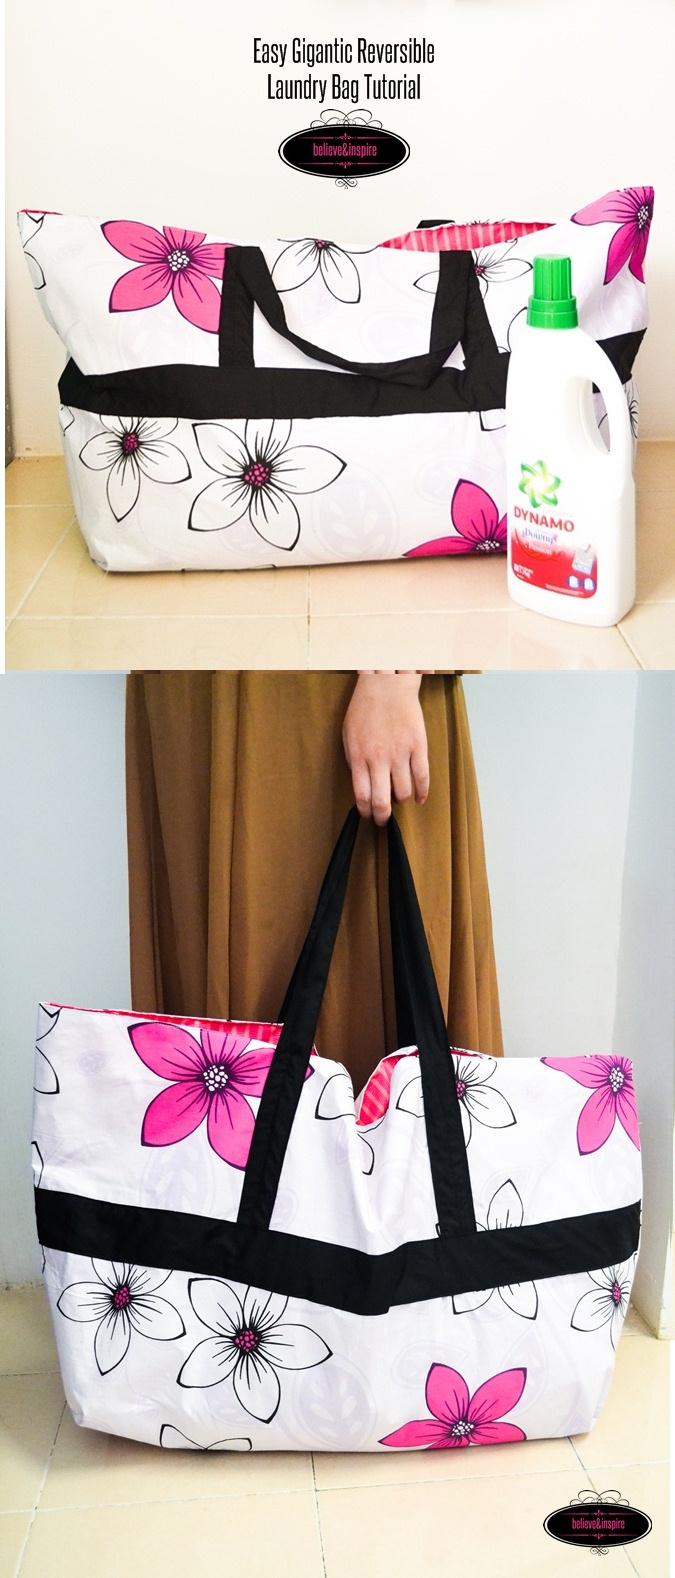
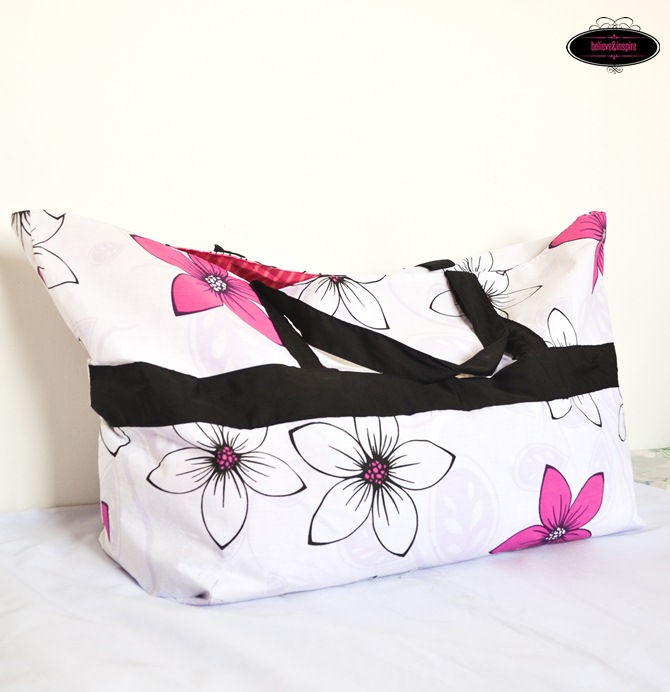
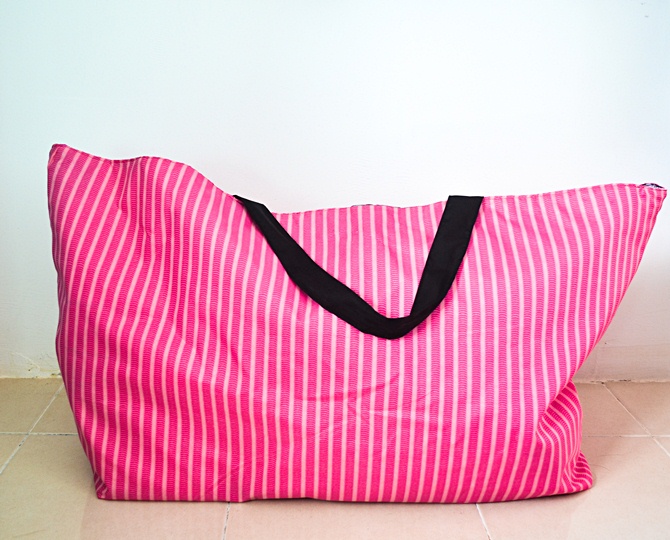
Wohoo! I’m so happy to share this college laundry bag tutorial because it solved my huge problem of carrying laundry to the laundry room that is outside the building. The laundry does not even feel heavy to carry in this bag. I am seriously so happy.

Earlier I used this store bought meshed container but I was always worried that it might tear off any moment. I had been looking for an alternative, the obvious choice was the big IKEA bag but it looks so BORING! I wanted something more unique and fun. So I decided to sew this gigantic bag. Plus, I also wanted to finish off this fabric and I succeeded! My roommates are crazily in love with the bag and I have two requests for this bag already. Haha!

How to sew a laundry bag?
Okay let’s begin with the tutorial.
Supplies:
- 1 yard heavy weight main fabric (cotton)
- 1 yard lining fabric
- 1/2 yard accent fabric
All seam allowances are 1/2″. But it’s upto you what measurement you want to choose.
Cutting:
Cut the following pieces from the main and lining pieces.
- 35″x 23″ body (2 from main, 2 from lining, 4 from fusible interfacing)
- 43″x 20″ strap (cut two from accent fabric and two from the soft interfacing)
- 36″x 4″ for the mid strip (cut two from accent fabric)
First of all, cut out two 5″x 5″ squares from the two bottom sides of all the body pieces as shown. These should be cut from both the lining and exterior fabrics. You can see this in the pictures below.
Sewing:
Fuse all the pieces to their respective interfacing.
Take the two straps and prepare them based on the tutorial shown here. Next, place one strap on the exterior piece so that it is 11″ away from sides and 11″ away from top as shown in the picture below. Pin it in place and sew all around so that you make a rectangle.

Next, take your mid strip, fold the edges toward the center so that each fold is 1/2″ in size and press.
Pin it on to the exterior 10″ away from the top and sew along the edges.

Repeat these steps for the back side of the main fabric.
Next, take your lining pieces, place them on top of each other so that the right sides are facing each other and sew along the dashed lines as shown in the picture below. Leave a small gap on one of the dashed lines to turn the bag right side out.

Repeat these steps with the main pieces.
Okay, now comes the fun part which will shape the bag. You can read about how to sew boxed corners in this post for more clarification. Or watch the video for demonstration. What you gotta do is, when you have finished sewing along the dotted lines, you pull your fabrics away from the part which is not dotted and bring them together and sew. That will make the side of the bag.
After sewing it should look like something in the picture below.

Repeat this step for the lining. After you’re done place the lining inside the exterior so that the right sides are facing each other. Align the top edges of both the bodies and sew along the top edge. After you’re done, turn the right side out through the hole in the lining that you left earlier. Press using a hot iron along the top edge and the whole bag. Then, sew a top stitch all around the bag as shown by the dashed line in the image below.

Finally, don’t forget to sew the hole you left in the lining. And you’re done!
This hanging laundry bag will make a great gift for any girl who is going off to college because it is easy to store and carry, like when not in use, you can just fold it into something small and keep it in your closet.

Hope you liked this easy laundry bag sewing tutorial, for more tutorials do check out the tutorials page.


Great laundry bag and awesome tutorial! I would love for you to link up at the Stitch It, Blog It, Share It Link Party going on now at behindtheseamssewing.com.
~Bonnie
LOVE this bag and will give it a try. Coming by from Behind the Seams Sewing blog. Best wishes! Come by and visit us. All the best ~ denise
This is such a practical solution to carrying loads of laundry. Your bag looks fabulous, too, in that large floral print. Feel free to add any of your sewing projects to our Ongoing Themed Sewing link parties at Threading My Way..
http://www.threadingmyway.com/p/threading-your-way.html
Superbe sac qui ne semble pas trop difficile à réaliser. Merci beaucoup pour le tutoriel. Je vais essayer de le faire.
Bien cordialement