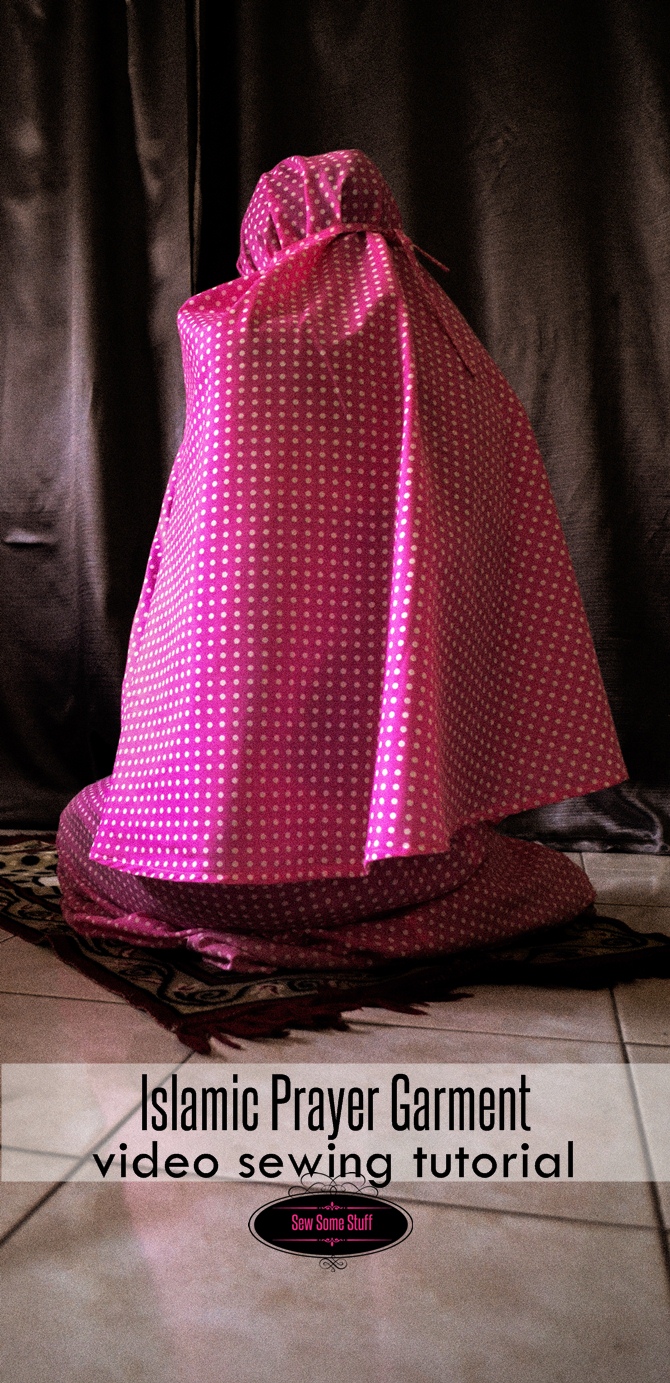
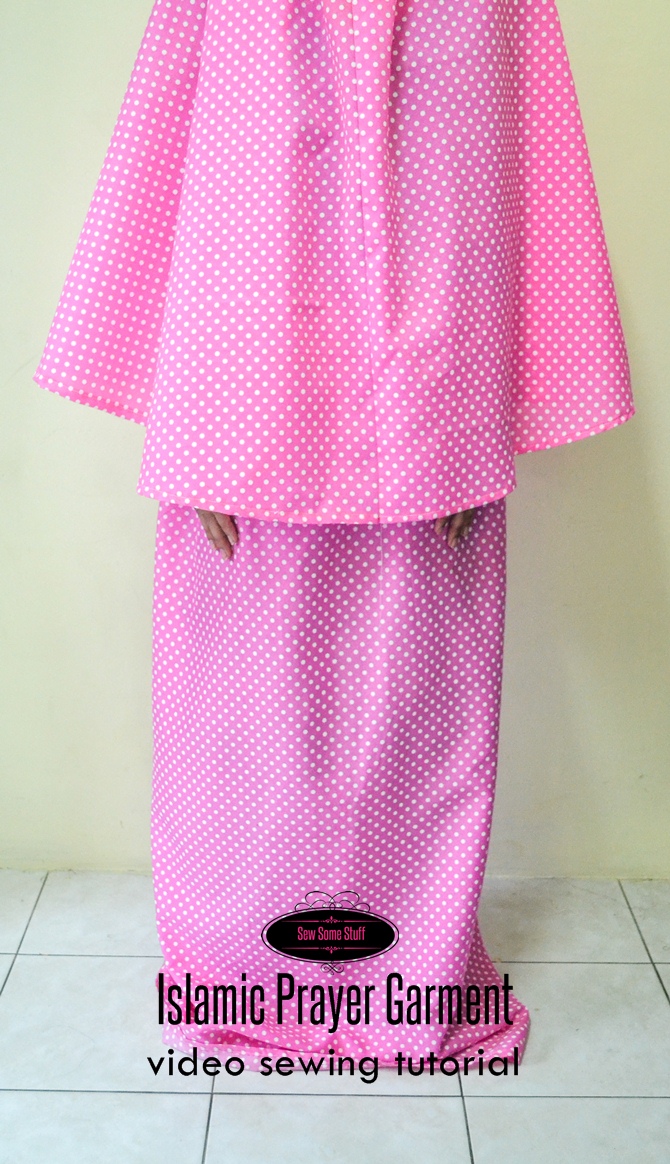
Assalamalikum sisters, I’m back here with a new episode of Islamic Sewing Channel by Sew Some Stuff. Today, as promised I’d be showing you how to make this pretty and quick Islamic prayer garment.


Supplies
These are the supplies you would need for this project:
- Cotton fabric (4m – 5m) You can check out the post 12 Online Fabric Stores with Huge Perks for stores where you can buy your fabrics online.
- Sewing machine
- Sewing tools
- A pen
- Elastic (size of your waist)
- Notepad
These are the measurements you would need to take:
- S = Length from the top of your head till your fingers/knees.
- A = Measurement of your hip at its broadest part
- B = Length of the skirt
If you’re new to sewing you might want to watch this beginner video about sewing tools.
How to Sew Islamic Prayer Garment:
Click here to watch the video – Islamic prayer garment sewing tutorial
Prepare the fabric
First off, prepare your fabric by washing it. Just throw it in a bucket of warm water for an hour or two. It’s a really good habbit to get into because all fabrics shrink and it ruins the fitting later.
So after you’ve washed and dried your fabric start off with the sewing.
Measure S:
First I measured the length from the top of my head till the tip of my longest finger. This length determines how long the scarf is gonna be. So if you prefer to make it longer you can take the measurement from your head till your knee. But for that you would need more fabric too. I’m gonna name this length as “S”.
Cut the scarf:
Next, I folded my fabric into half. Starting from the folded side, I measured and marked the S length from the top like I’m doing here and went all around in a circle measuring from one point at the top. Now using my chalk, I’m gonna connect all the small marks and in the end I had something like this as seen by the red line. Now using my super sharp fabric scissors I’ll cut on this line. In this image you can see what all the parts are.

Fold the hem:
Next I folded and pressed the edges of the hem. First I made a big fold around 1 inch and pressed. Then, I opened the fold, and made a smaller fold half way through. I hope you can see it in this shot. And pressed it again.
Now it’s time to sew!
Tip:
Before I proceed let me show you this awesome sewing trick that will surely make sewing more fun. This is a very handy tip to keep your seam allowance accurate. Normally you must have noticed some marks on your machine on the needle throat plate for different seam allowance, what you can do is put a tape on it so that it becomes prominent. Since I don’t have them on mine, I’ll just measure 5/8 inch using my measurement tape and then I’ll stick the tape. You must use a painter’s tape as it doesn’t leave any residue, but I’m just gonna use this tape. Now whenever I’m sewing I’d know the exact length of the seam or else I might just end up sewing one part broader than the other.
Since I’ve pressed the hem, you can see how easy it is to feed the fabric after pressing. Plus it also gives a more professional look. Pressing for the win!
Work on the front:
Here’s my hem all neatly done, now I’m gonna work on the front part. I laid down my piece so that the folded part is to my right and the hemmed part is on the left.Make sure your fabric is folded so that the two right sides are together. For this measurement, I measured my head from the top till the chin added two inches to it and then marked that length on the fabric. So my head was 9 inches after adding two it became 11inches. This is just to ensure I have enough space for fitting it later. I’ll just add a pin for reference.
Now, I’m gonna sew from the bottom till this pin, keeping the seam allowance as 5/8 and my tape here is gonna help me in making sure it’s accurate from the top till bottom.
Okay, now it’s time to work on the head hole. I’m gonna turn the opening inside, like one large fold just like I did for the hem and press. Now, I’m gonna unfold it, make a smaller fold half way through and make two folds and sewwww!
Okay, so I’m almost done, just gotta add the straps and my scarf would be all ready!
Make the straps:
To make the straps I first cut out two rectangles measuring 17”x1.5”. I’m gonna fold one piece into half and press. Now I’m gonna open the fold bring, the outer edges towards the center crease, fold and press again. I’m gonna repeat this for the other piece. In the end this is what I have. All the raw edges hidden and ready to sew.
I’m just gonna sew along the edge away from the crease. But before I start I’m gonna fold the top and bottom inside.
Okay all done! Now it’s time to attach these straps to the scarf. I’m gonna measure 4.5” from the top of the scarf and mark and pin the strap. Gonna do the same thing on the other side. Now I’m gonna sew it on the scarf using the smallest length of stitch. Gonna do it like 2-3 times to make sure it gets sewn in strongly.
Yahoo all done! If you have any special blings and laces you can go ahead and add them wherever you want. I’m all done here but oh wait, one last step to make it look all beautifully sewn. And that is PRESSING! Yup, I’m just gonna press the seams to one side which will set the outer portion perfectly, also gonna iron my hem for the same perfect finish.
Measure the skirt:
Okay to sew the skirt first measure your hip at its broadest part as shown by the red line in this image and write it down. Let’s call it A
Next, measure the length from your waist till your feet for the length of the skirt. Call it B. Normally the length of my skirts and pants is 40 inches but I added a couple of inches to this length and made it 45 inches so that my feet also get covered during the salah and I don’t have to wear socks separately because that’s just too much work.
Cut the skirt:
Okay now fold your fabric from the edge as I’ve done here like a rectangle. The longer side is gonna be our length B and the shorter will be our length A.
Using my measurement tape I’m gonna measure the length A horizontally from the edge till the fold. I’m gonna repeat the same thing for the entire length to make sure it’s accurate.
Sew the skirt:
Now I’m just gonna cut the excess fabric out and take the two long sides as it is and sew it with ½ inch seam allowance.
Now, ill fold the top inside twice, this is where my elastic goes. I’m gonna leave a small gap to insert the elastic which I’ll show you in a couple of minutes. If you are doing this for the very first time, I suggest you press and pin first for smooth sewing.
Now I’m gonna repeat the same thing for the hem. Two folds and then sew.
Okay now let’s insert the elastic inside the skirt. I’m just gonna tie the elastic into a knot at the top of the pen so that it stays here. Then I’ll just insert it through the hole, gather and pull till I reach the other side. Then I’ll just pull the two ends together and tie into a knot.
You’re done! Alhamdulillah
Okay our hem is done which marks the end of this tutorial. Both of our skirt and the scarf are ready and now you can offer salah in these new beautiful garments! Alhamdulillah.
And ill see you in the next video where I’ll be showing you how to sew a designer grade long dress.
For more free sewing patterns do check out this post where I list places you can find free sewing patterns to try new projects.


Assalam u alaikum, I have been looking everywhere for a tutorial to make a one piece prayer garment but No luck 🙁
Would you be interested in making a tutorial or do you know of any?
Thank you
Walaikum assalam! I sent you a link on your email. Let me know what you think. 🙂