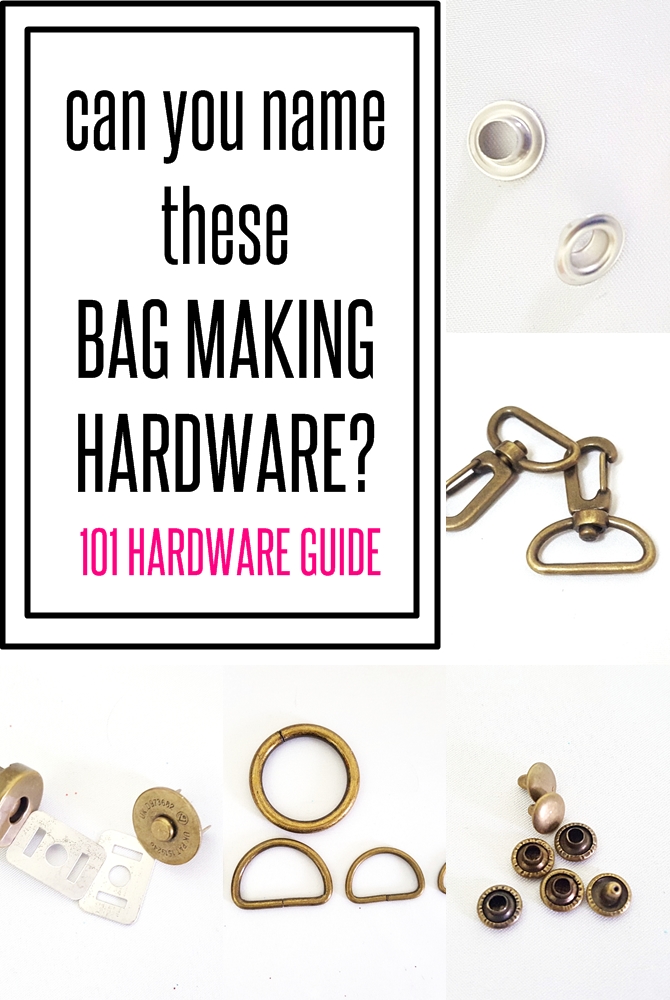
Hello girls! This post will serve as the bag making supplies dictionary. Here you will find the names of all the different bag making hardware that you would normally come across when making a bag.
When I was new to making bags I had quite a hard time figuring out what were the names of the hardware you would need, hence I thought it would be great to list them down for someone who is starting new to avoid future confusion.
DISCLAIMER: Sew Some Stuff is a participant in the Amazon Services LLC Associates Program, an affiliate advertising program designed to provide a means for sites to earn advertising fees by advertising and linking to Amazon.com.
Bag Making Hardware Dictionary
Swivel Clips
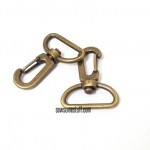 So the first thing here is the swivel clips.
You must have seen them attached at the end of the straps in a crossbody bag. They make it really easy to convert a purse into a crossbody bag. The inner diameter is measured based on the width of the strap. So far I’ve come across a 1/2″, 1″ and 1.5″ diameter.
D- Rings and Rectangle rings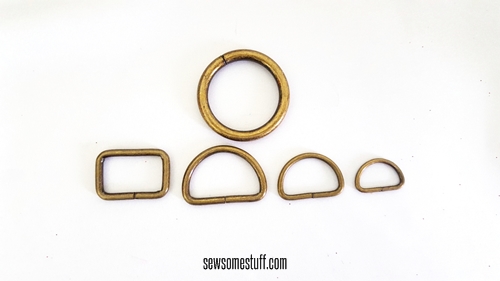
These are used with the swivel clips or can also be used separately for decor on the bag. They come in different types as you can see on the picture on the left. A circular ring, a rectangular ring, and D-ring. All these can further be divided based on their inner diameter lengths. You can choose the one you want based on the size of your strap. You can also choose from different finishes like brass and nickel.
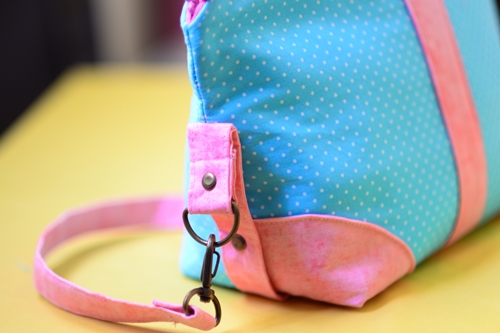
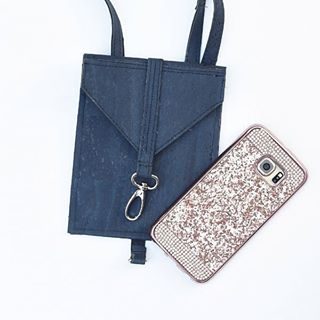
Here’s a picture showing the clips and rings in action. This is a shot of the Seema Crossbody Bag, the pattern for which will be releasing soon.
Sliders
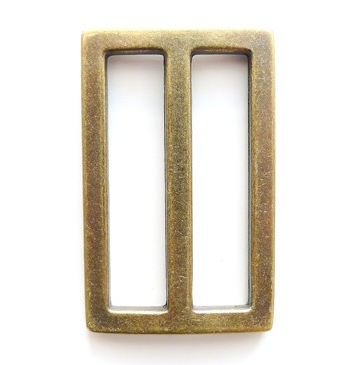
Sliders are added to the straps to shorten and lengthen them up.
 Metal snaps
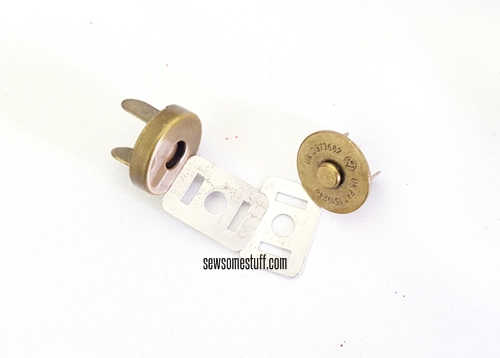
Metal snaps are my favorite! They give such a perfect look to the bags. They can be a perfect alternative to zips and can be used for pockets and such. Want to learn how to install them? Read how to install magnetic snaps in bags in my bag sewing secrets series.
 Metal rivets
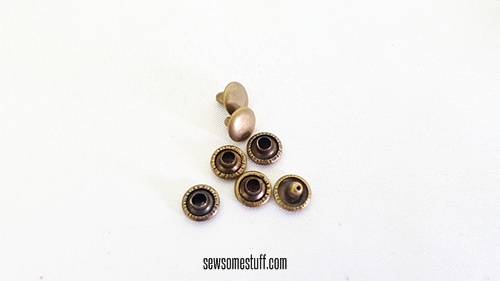
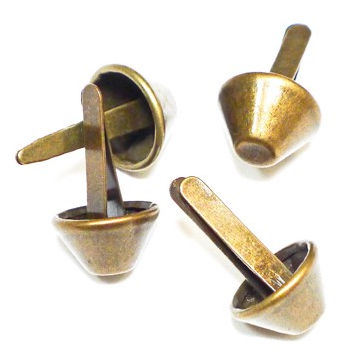
Rivets are also my favorite for giving an edgy look to the bags. You must have seen above how I used them on the Seema bag for a cool look. They can be of different types too. For example the ones with pointed tips used on leather bags. To install them you need special tools like the rivet setting tool and the anvil. With the help of the tools, you can get the perfect results.
Here are two different tutorials on installing rivets to your bags:
Zippers
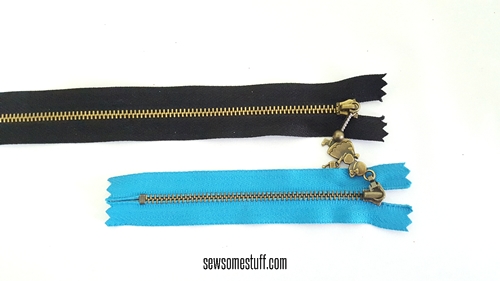 A professional looking zipper is a must for sewing bags. They can give such a different look to the bags by taking them from homemade to the handmade level. I don’t know about you but I always get attracted to bags most of the times because of their shiny metal zips with gorgeous zipper pulls. So, investing in some pro looking bag zips is a must. But, good zippers are not always easily available all across the world. However, if you’re in the US you must check out Zipper Island on Etsy for their awesome zipper collection.
Check out my post how to install recessed zippers in bag sewing secrets series.
Eyelets and Grommets
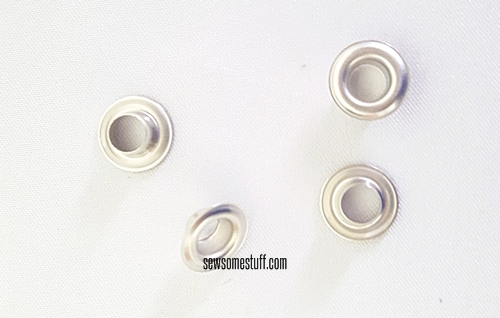 These can be perfect when making bucket bags. Eyelets and grommets are made of different materials like metal, plastic, and rubber but the most common are the metal ones. You need a special tool for inserting them too. Normally when you purchase a kit, you can get all the tools together. They also come in various sizes. Smaller grommets are called eyelets.
Bag feet
You must have seen them on the bottom of the bags. They are added to prevent the bottoms from getting scraped. Also adds a nice metallic touch to the bags.
Interfacing
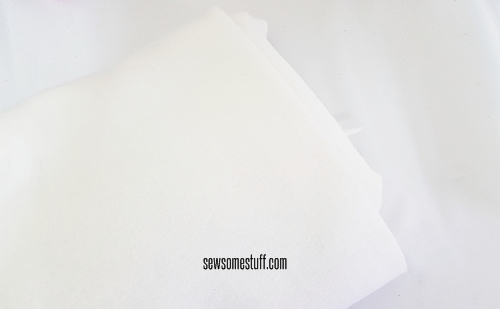 Although these are not a bag making hardware but they play a very important role in bag making so I think it is compulsory to talk about them. These are the most important things to take your bag from ordinary to the professional level. For bag making, a completely different type of interfacing is used which easily gives bags a perfect and sturdy shape. 6 Pockets pro looking bag is one that I made without a thick bag interfacing and you can see from the results it does not look so impressive.
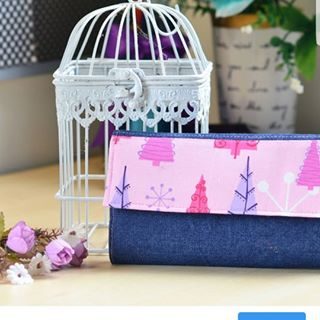
Now, look at the Night out purse below.
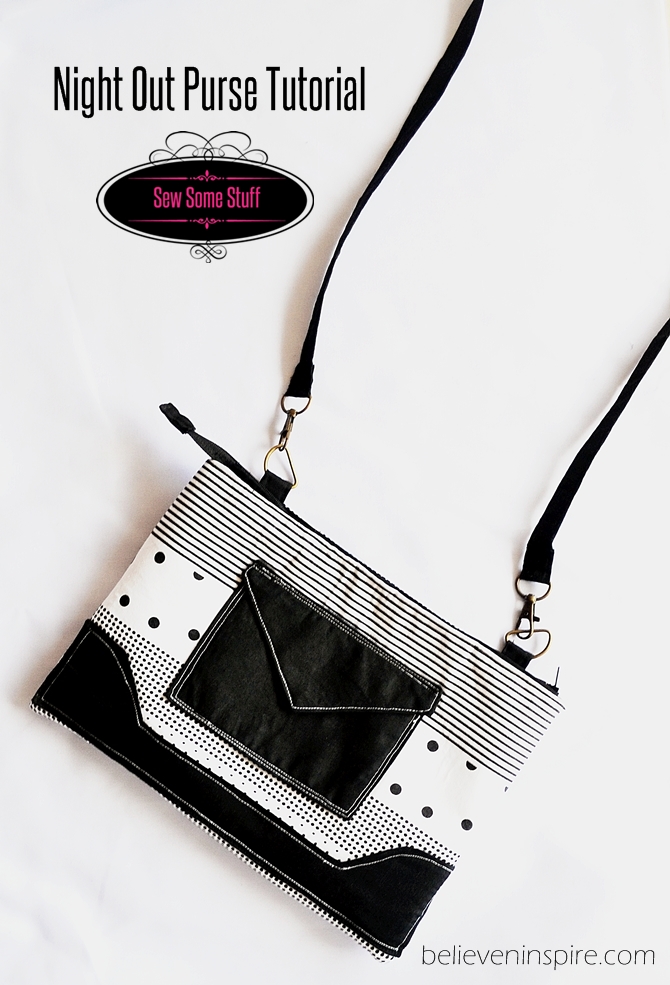
Notice how the bag is perfectly sturdy and shaped. This is the magic of the bag interfacing. The most commonly used and highly recommended interfacing is the ByAnnie’s Soft and Stable, however if you don’t have access to that you can always talk to your local craft store and get an alternative. What interfacing do you use for your bags? Have you tried foams as an alternative? Do share your thoughts in the comment. So far I haven’t used ByAnnie’s because it’s hard to find in this part of the world. I use something similar, a woven cotton like thing and it works good too. In my next bag I’ll be using a foam and I will let you know the results. If you want to learn more about the interfacing you can check out the (affiliate link) Building better bags – interfacing and structure class by Sara Lawson on Craftsy.
Want to learn more about bag making? Check out my post on bag making classes to take where I have listed down different bag making classes that you can take to improve your bag making skills.
So, did you get all the bag making hardware terms right? Did you learn some new bag making hardware term and go like “oh, dang! Now I know what’s that called!” I hope this post was helpful in learning the new terms.
Okay so, what bag making level are you on? If you’re an expert, do share some of your bag making secrets with us in the comments below. If you’re a beginner, what bag making techniques are you looking forward to learning?
Other Helpful Posts to checkout
- 8 BEST and AFFORDABLE Online Bag Making Supplies Stores
- Top Trusted Purse Hardware Suppliers on Aliexpress
Before you go, don’t forget to pin this image on your sewing board for future reference.




Wonderful post!!! One of my daughters would really like to start making purses. She is 7 but she is sew serious about it! Haha!
That’s great!Don’t stop her, age is just a number.