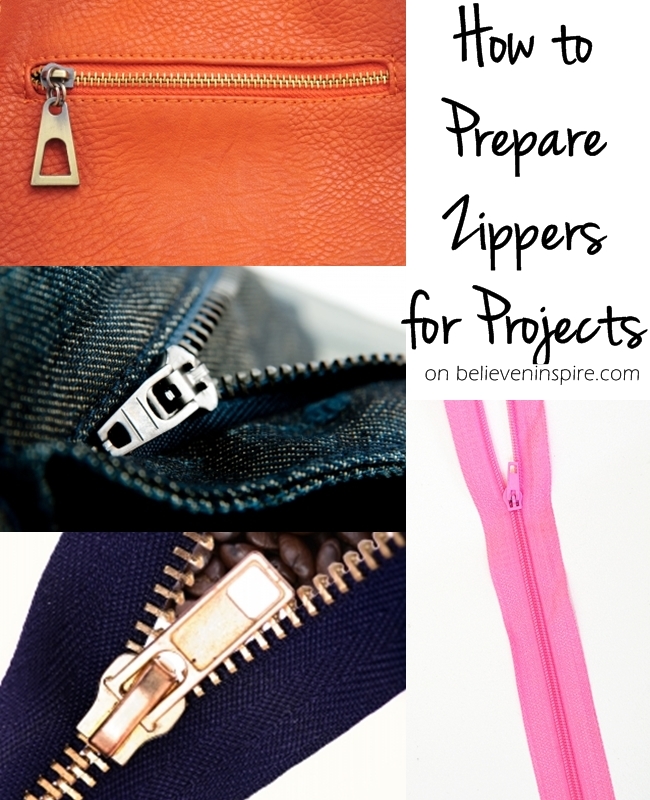
Zippers can be quite tricky to sew, and based on different requirements it can get trickier. There’s a different way of adding zippers to bags, garments and pockets. When it comes to garments; there’s slot seam, invisible and lapped zippers. When you look at the bags, there is the recessed zipper as well as the top zipper. Whew! That’s a lot!
But, don’t worry we won’t go into all that in this post. But then again, if you’re eager to learn to you can check out this free class by Craftsy on (AD) Mastering Zipper Techniques.
In this class you can learn tips and tricks on how to insert a zipper to any kind of garment so that it looks professional and sleek.
Update: Craftsy recently introduced a new zipper techniques class! It’s all about zipper techniques needed for bags. (AD) Click here to find out more about the class. The class is currently on 50% discount till 5th of July so get it before that! In this class you would be taught how to install zippers in three different designs of bags; Nickita bag, runaround bag and Bendy bag. How fun! If this sounds interesting to you hurry and sign up for the class before the offer expires.
Coming back to our topic, today we’ll just learn how to prepare our zippers for all the different kinds of projects. This is the first step of sewing the zippers and the base of all the different ways of attaching the zippers to different projects.
How to Prepare Zippers for Projects
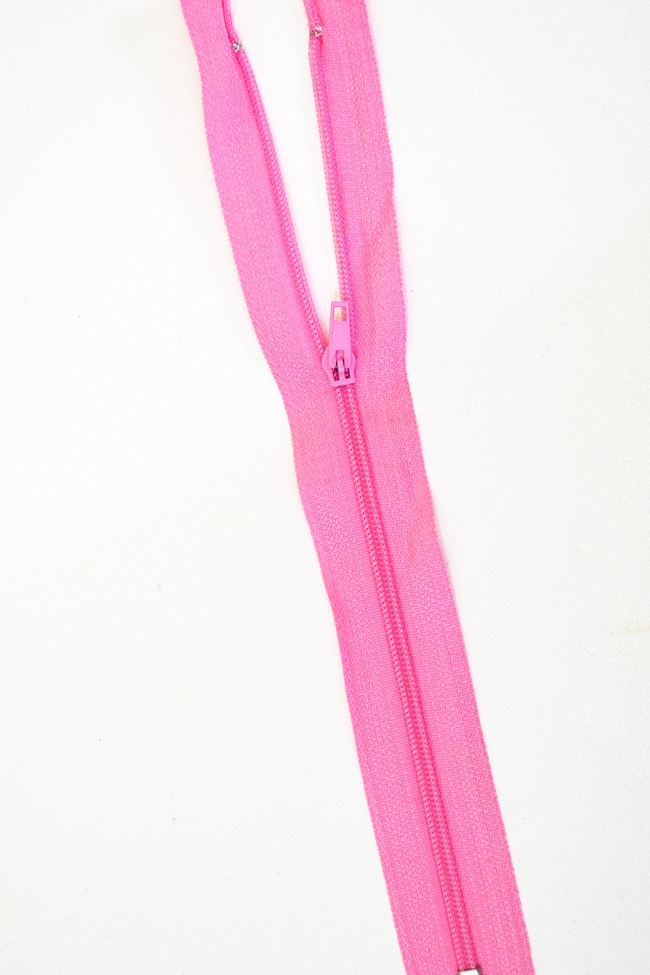
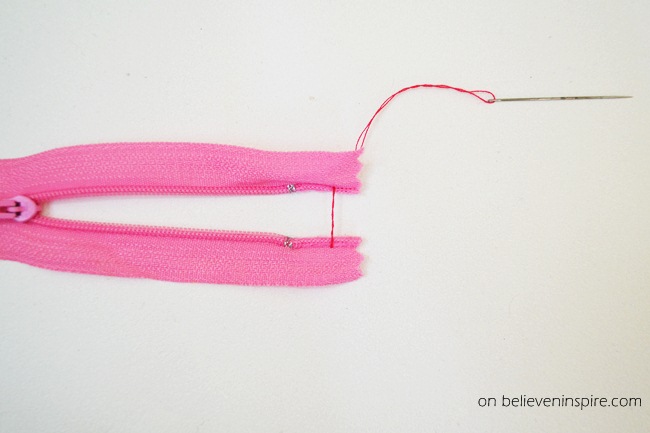
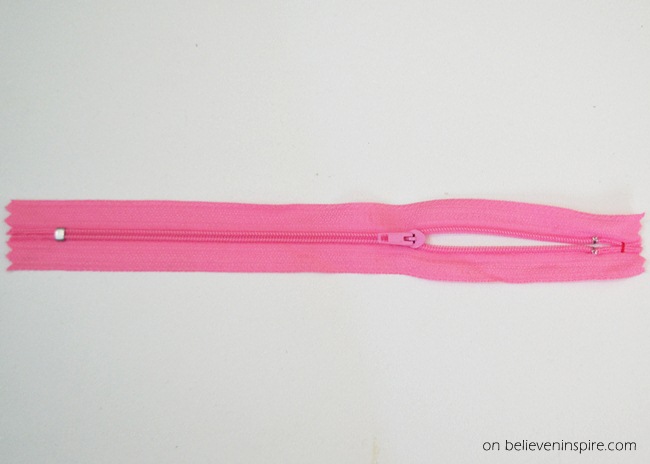
STEP 1: Cut your zipper to your desired length. Next, hand-sew the zipper opening close.
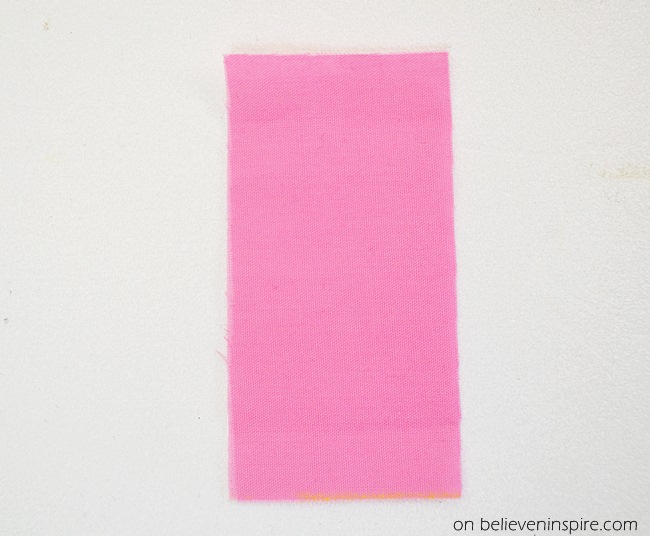
STEP 2: Cut out a small rectangle measuring 1″x2″.
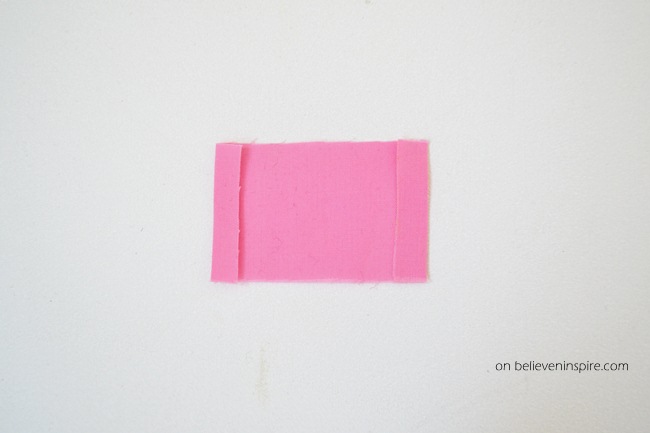
STEP 3: Fold and press the sides of the rectangle.
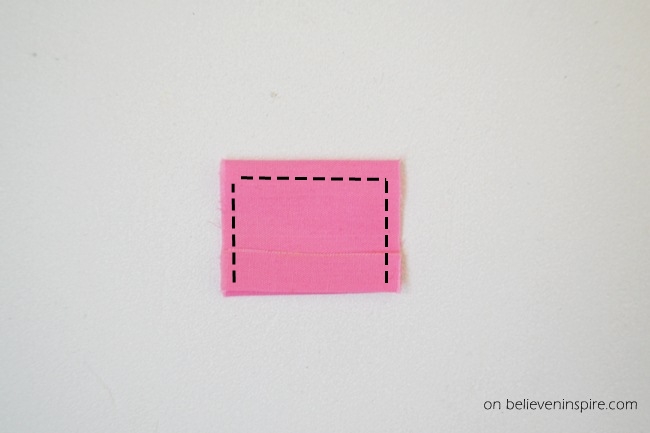
STEP 4: Fold the rectangle so that the pressed sides are facing outward and sew from the three sides as shown.
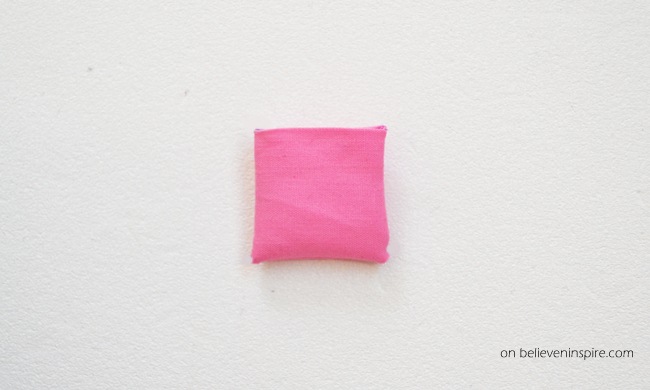
STEP 5: Turn the right side out and press.
STEP 6: Insert the zipper end into the pocket and sew from the three sides and you’re done!
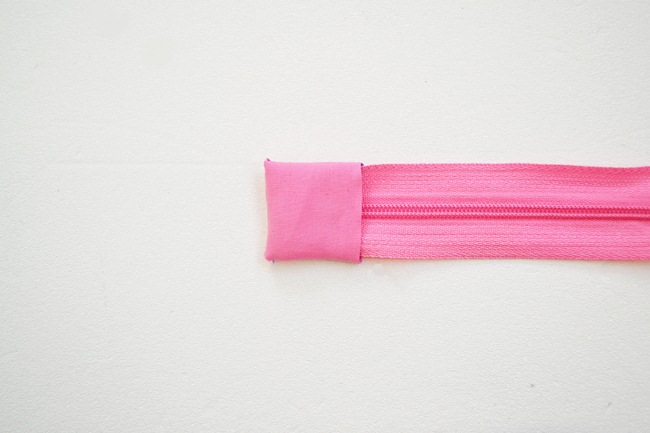
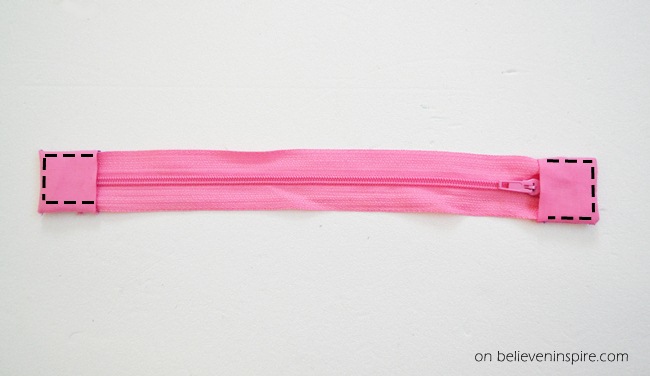
Now your zippers are ready to roll! XD
You can insert them into any bags or maybe pouch.
You may also like How and where to do a topstitch.
Linking up to these blogs:
Not just a housewife, Savvy Southern Style, Funky Junk Interiors, French Country Cottage, Six Sister’s Stuff, Sew Much Ado, DIY Show Off, I heart Naptime, Craft berry Bush, Coastal Charm, DIY by Design, Too Much Time , The Charm of Home, Flamingo toes, Flour Me With Love, Someday Crafts, What’s Cooking Love, The Crafty Blog Stalker, Create Craft Love, My Romantic Home, Sugar Bee Crafts, Time to Sparkle @ The Gunny Sack, Home Stories A to Z, The Girl Creative, Kathe With an E, The 36th Avenue, Lil’ Luna, http://freshideastudio.com, My Re-purposed Life, 2 Crochet Hooks, It’s Overflowing, Live Laugh Rowe, One Dog Woof, One Project Closer, Glitter Glue and Paint, Natasha in Oz, Lolly Jane, The Pin Junkie, Gina’s Craft Corner
This post first appeared on Believe&Inspire.
Don’t forget to sign up for our twice a month newsletter for FREE printable!


[…] Next, prepare your zipper based on the tutorial shown at the post “How to prepare zippers for sewing projects?“. […]