I had never really thought about making homemade fabric luggage tags until this happened.
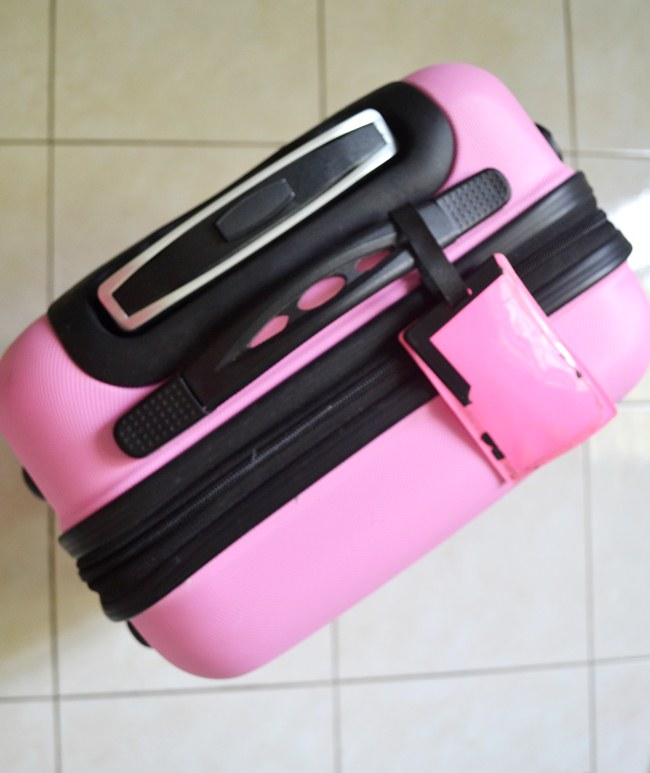
I was always strongly attracted to these plastic luggage tags mainly because of their bold and awesome quotes but I learned the hard way that they are NOT at all reliable!
On my last trip, while boarding, the tags were perfectly fine but when I received the luggage after landing this is what they looked like. *wail* SUCH a waste of money! Ugh.
So, instead of spending more money on these useless tags I just decided to go for easy DIY luggage tags. And, believe me, they are REALLY easy plus these DIY fabric luggage tags are a great money saver. Will take you maximum an hour, if you use the correct plastic unlike me.
ALSO, CHECK OUT:
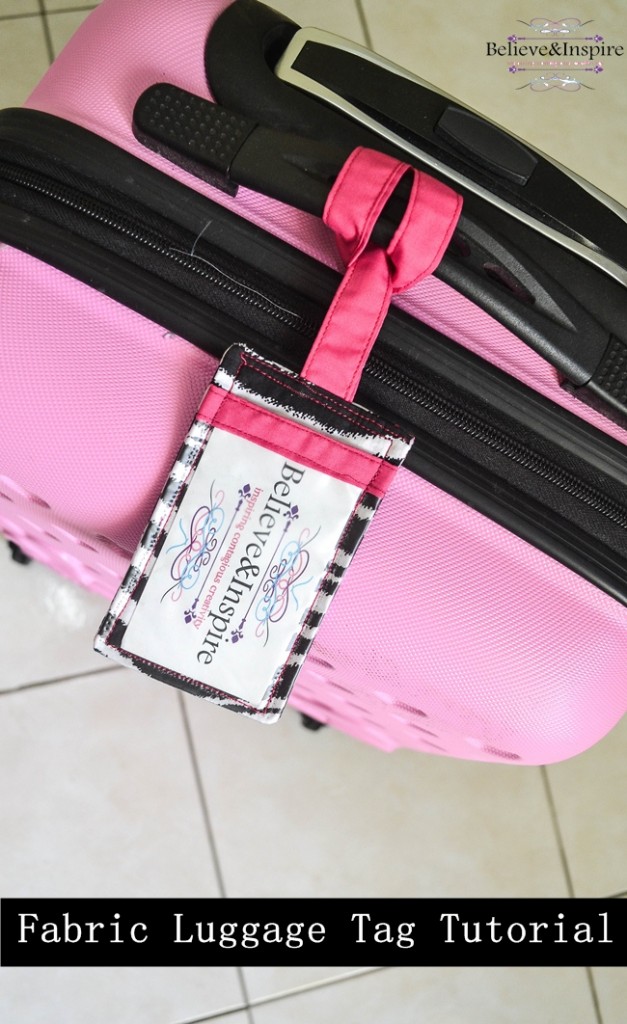
Alright onto the tutorial:
Disclaimer: Some of the links in this post are affiliate links and I will receive a small compensation for any purchase made through these links.
How to make homemade fabric luggage tags:
Supplies
- 1/4 yard main fabric
- 1/4 yard contrast fabric
- Heavy plastic (the one in which bed-sheets come in, DO NOT use the file or folder plastic. Read on to know why)
- Soft Fusible interfacing
Difficulty level: Very very easy
Instructions
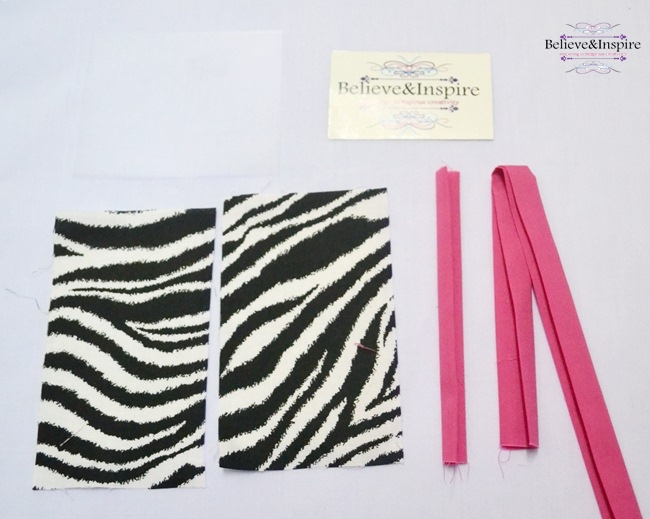
First, cut out the following pieces of fabric
- A= one piece 2″ x 19″ (for the strap)
- B= cut 2 pieces of main fabric: 5.5″ x 3.5″
- C= 4″x 2″ for the bias tape from main fabric
- D= 4″x 4.5″ piece from the plastic
Also cut out fusible interfacing for B pieces.
Next, fold and iron the strap and bias tape as mentioned in this post. Sew the strap according to the tutorial.
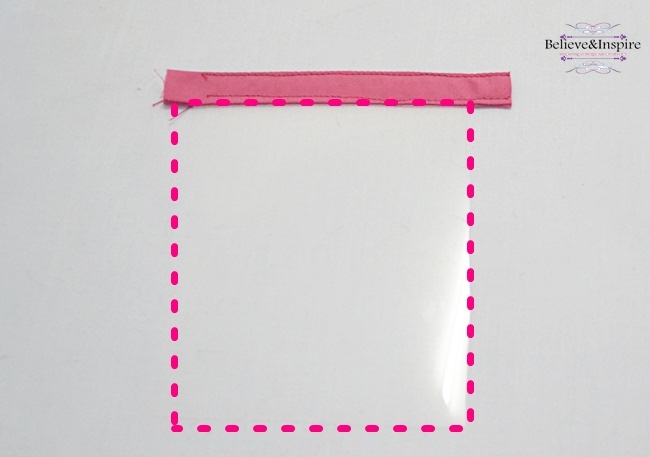
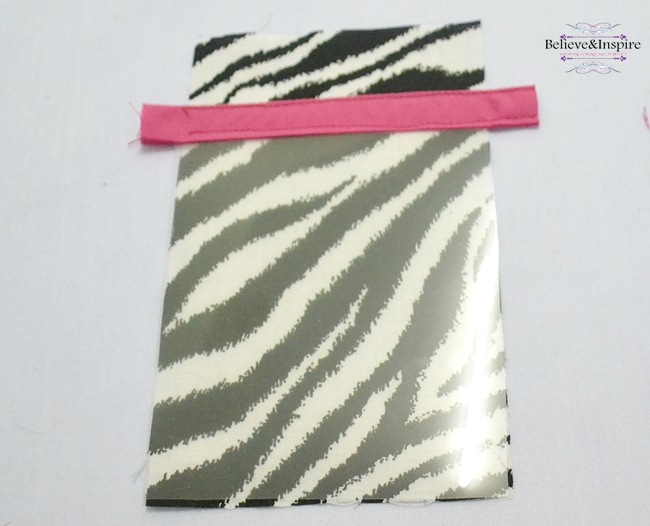
Take your bias tape and open the fold from the center, place the plastic in the middle so that it is sandwiched between the two sides of the tape and sew at the top as shown. The dotted lines represent the plastic.
Next, place the plastic on the right side of one of the main fabric, place the other main fabric right side facing down, so that it makes a sandwich, the two mains are the bread and the plastic is the cheese. I miss cheese. 🙁
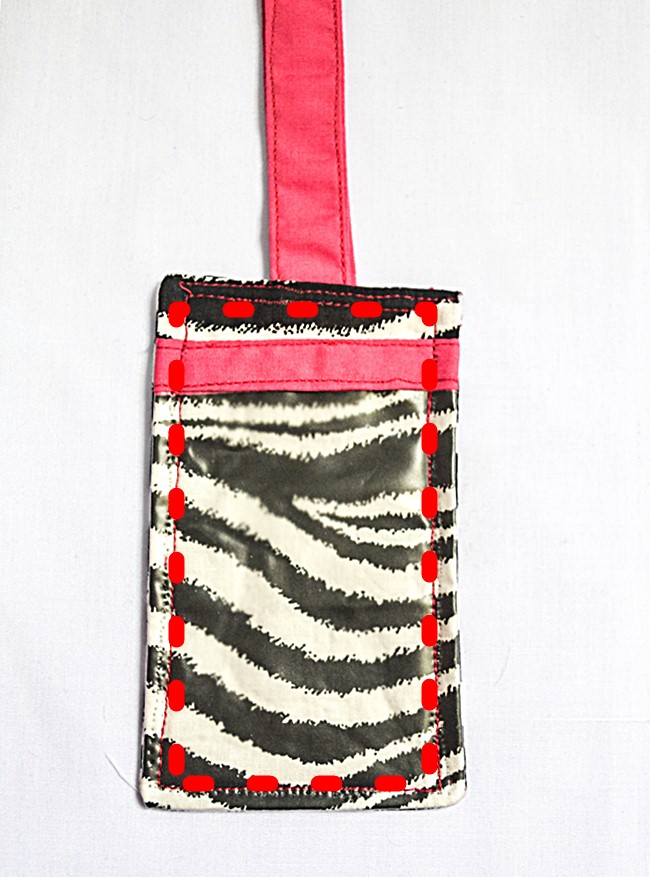
Sew along all four sides of the rectangle, leaving a small gap at the top where you would attach your strap. Clip the corners and turn the right side out. Insert your strap and do a top stitch all around as shown by the dotted lines.
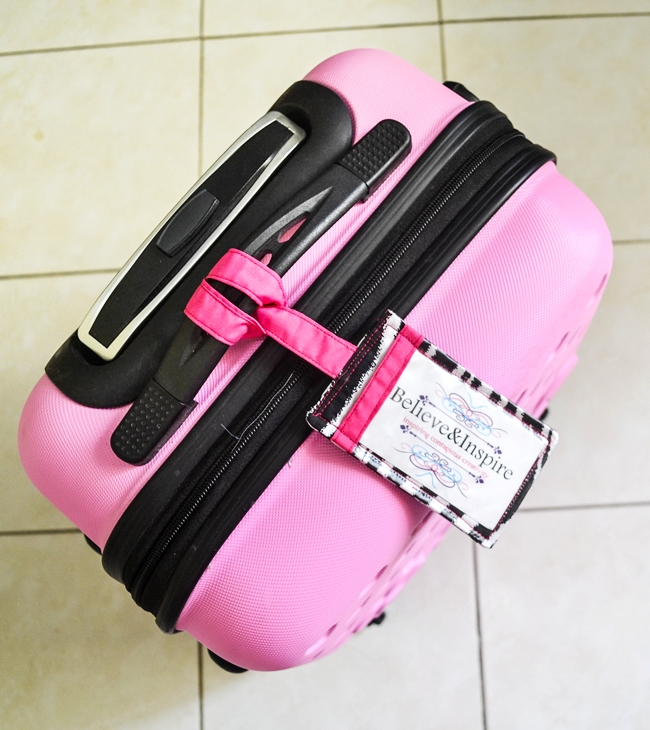
And you’re done!
Bloopers
Okay, here’s what actually happened before the final awesome looking luggage tag was made.
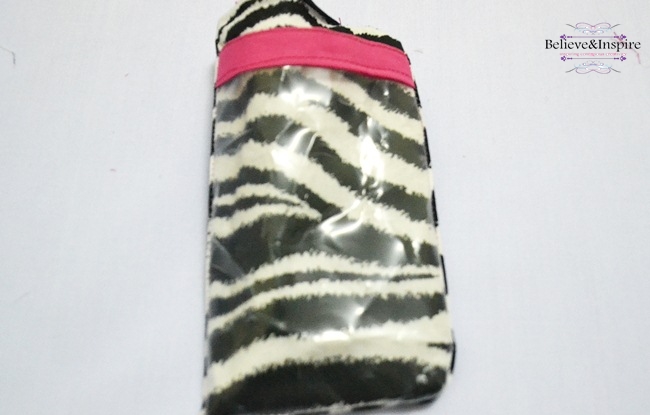
Remember I mentioned earlier you shouldn’t go for folder or file plastics; here’s the reason why. Everything was going fine until I turned the right side out because during the turning procedure the plastic got all bent and dented making it look so gross and just ugly. Not good at all, and I found it out the hard way. 🙁
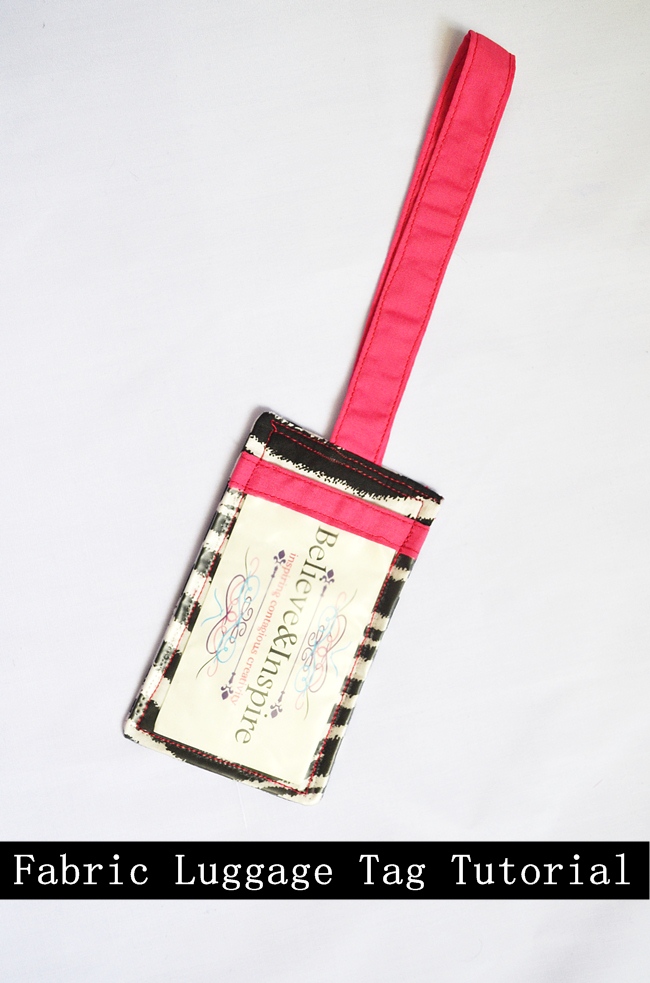
I have made some brand new fabric luggage tags. You can find them on DIY Luggage Tags. The tutorial comes with a FREE luggage tag pattern!
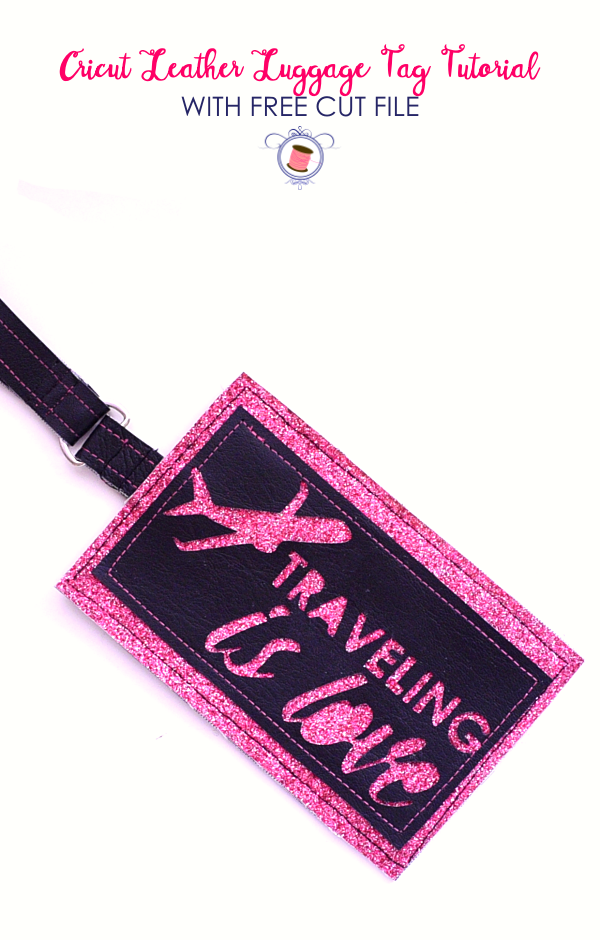
DIY Leather Cricut Luggage Tags Tutorial (FREE SVG)





Your measurements don’t work. I think the fabric needs to be larger than the plastic.